Posted by Ondrej M on 27th Feb 2025
Building the dream - Part 6 Big Brake Kit and suspension
Big Brake Kit and suspension: My Year-Long DIY Honda S2000 Restoration Journey
One of the Achilles' heels of this otherwise very capable platform is the brakes. They simply don’t do much, and even with a decent set of pads, they start to fade. The braking performance becomes unpredictable—every time you step on the pedal, it feels like you can’t be sure how much braking force you actually have.
Maybe that’s just my driving style, but even for heavy-footed drivers like me, this can definitely be improved. I didn’t want to go for a full-on specialist braking kit like StopTech, and it wasn’t just about the price. I wanted something that looked as if Honda could have made it themselves, staying true to the OEM+ spirit of this build.
Several companies offer Brembo 4-pot conversion kits, and I ultimately chose FreakyParts for two reasons. First, they seem to specialize in these kits, and second, it was Black Friday, which meant a 10% discount, saving me nearly £100 off the £1k total, including discs and pads.
Another reason I went with Brembo is that, unlike specialist racing brake calipers, these come from a standard road car—in this case, the Renault Megane RS3. This means they have weatherproof rubber seals between the pistons and the calipers, reducing maintenance and preventing debris buildup.
I understand that rubber dust seals aren’t ideal for a hardcore track car, but if I ever hit the track, it won’t be to set lap records or compete—just for fun.
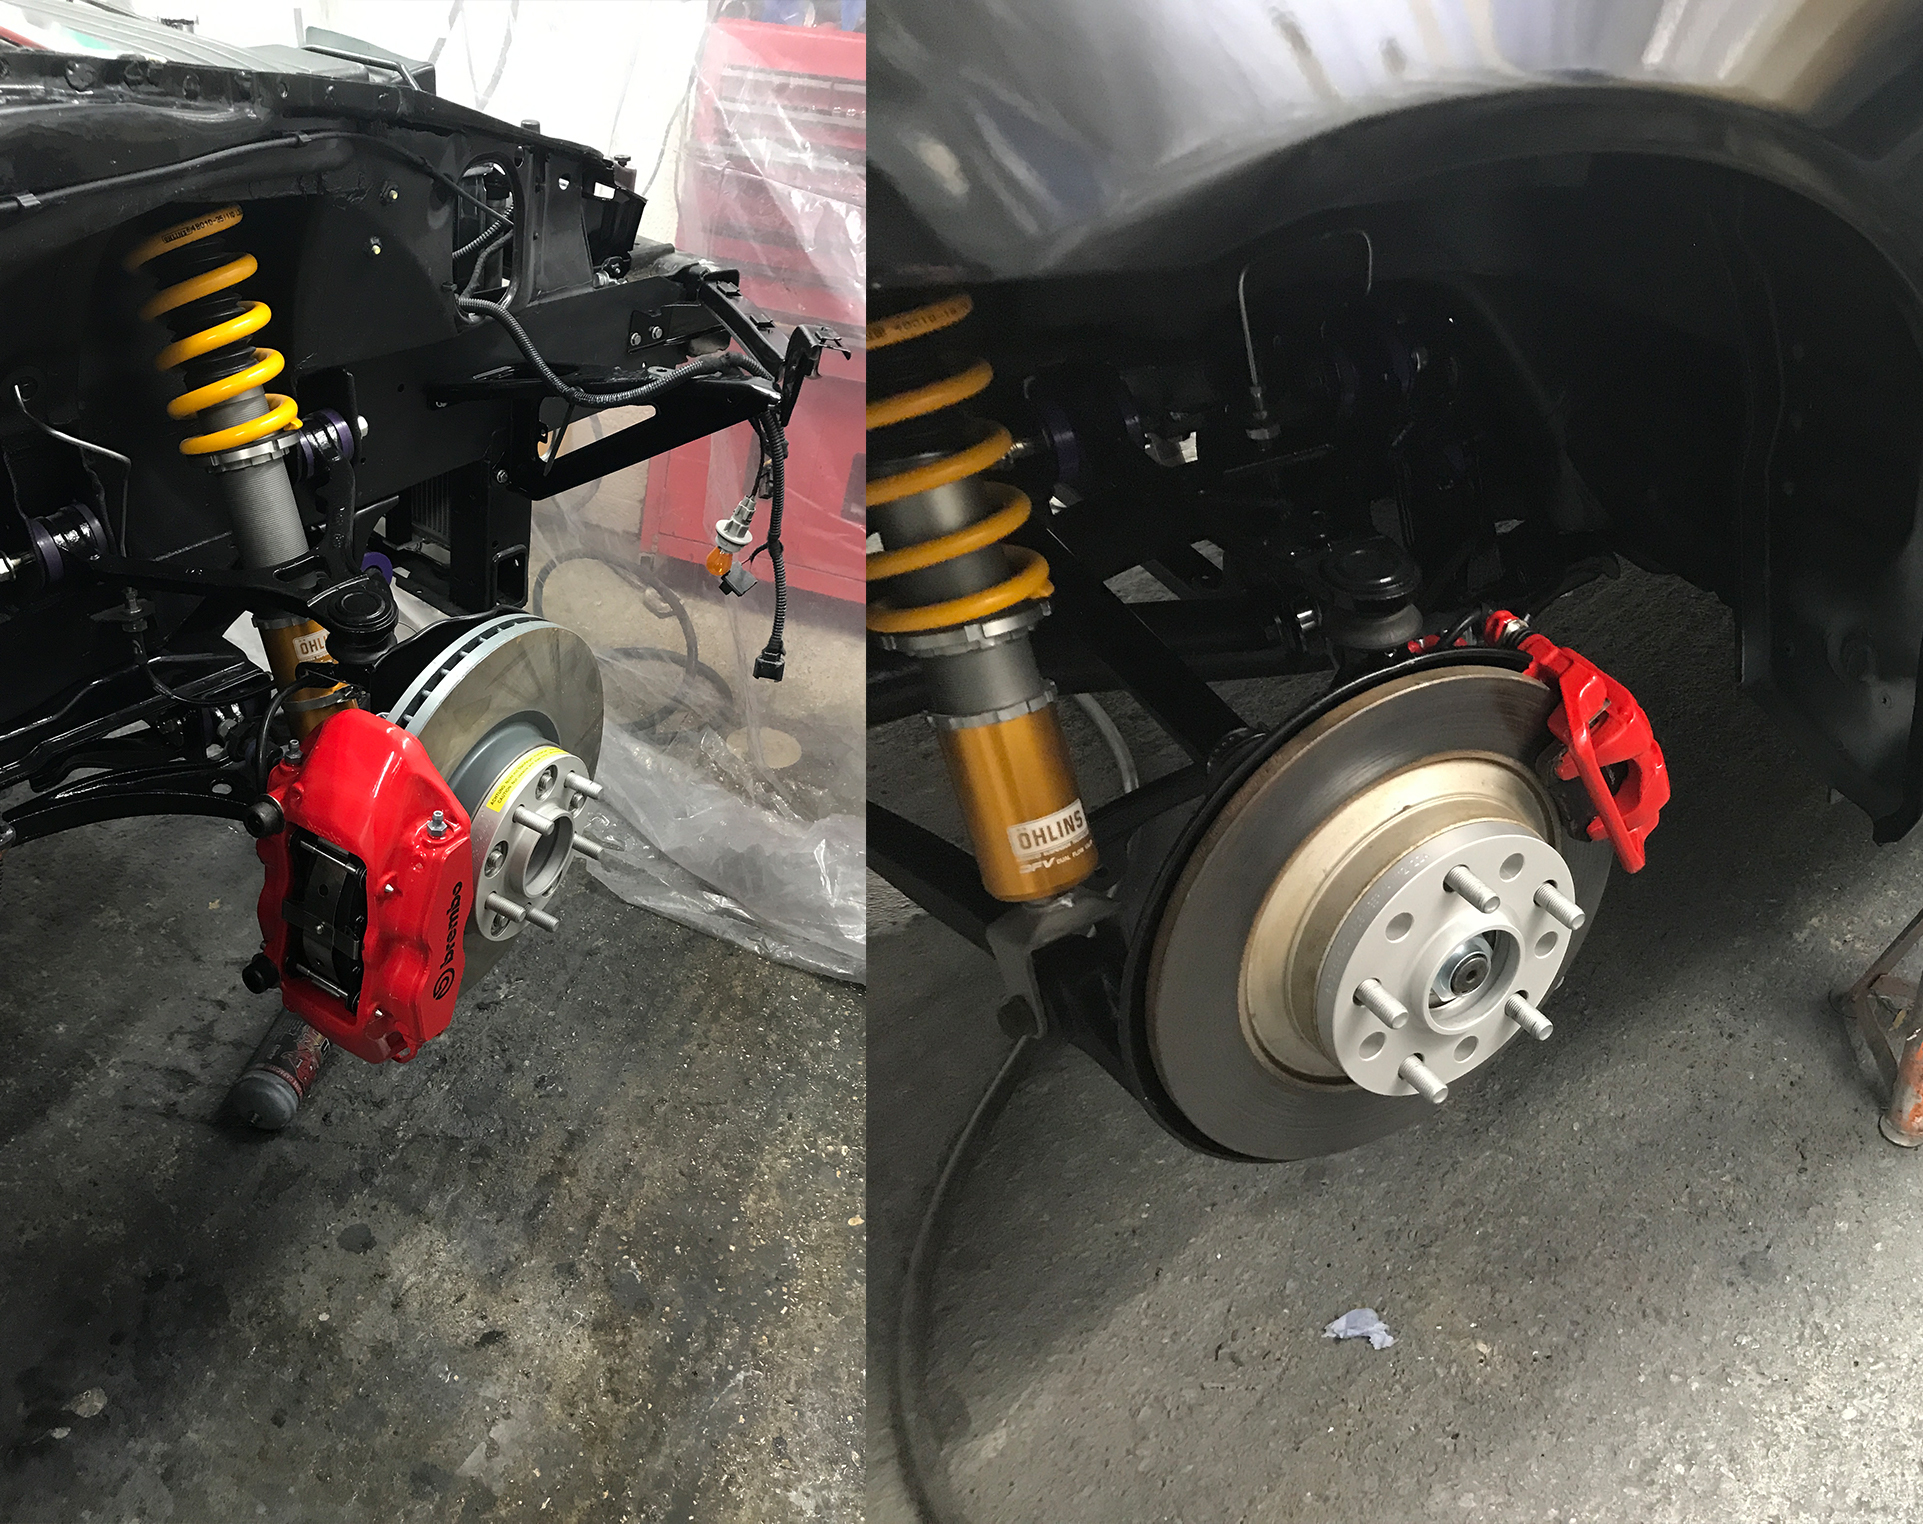
Even in comparison, the brakes already look so much bigger—a massive improvement.
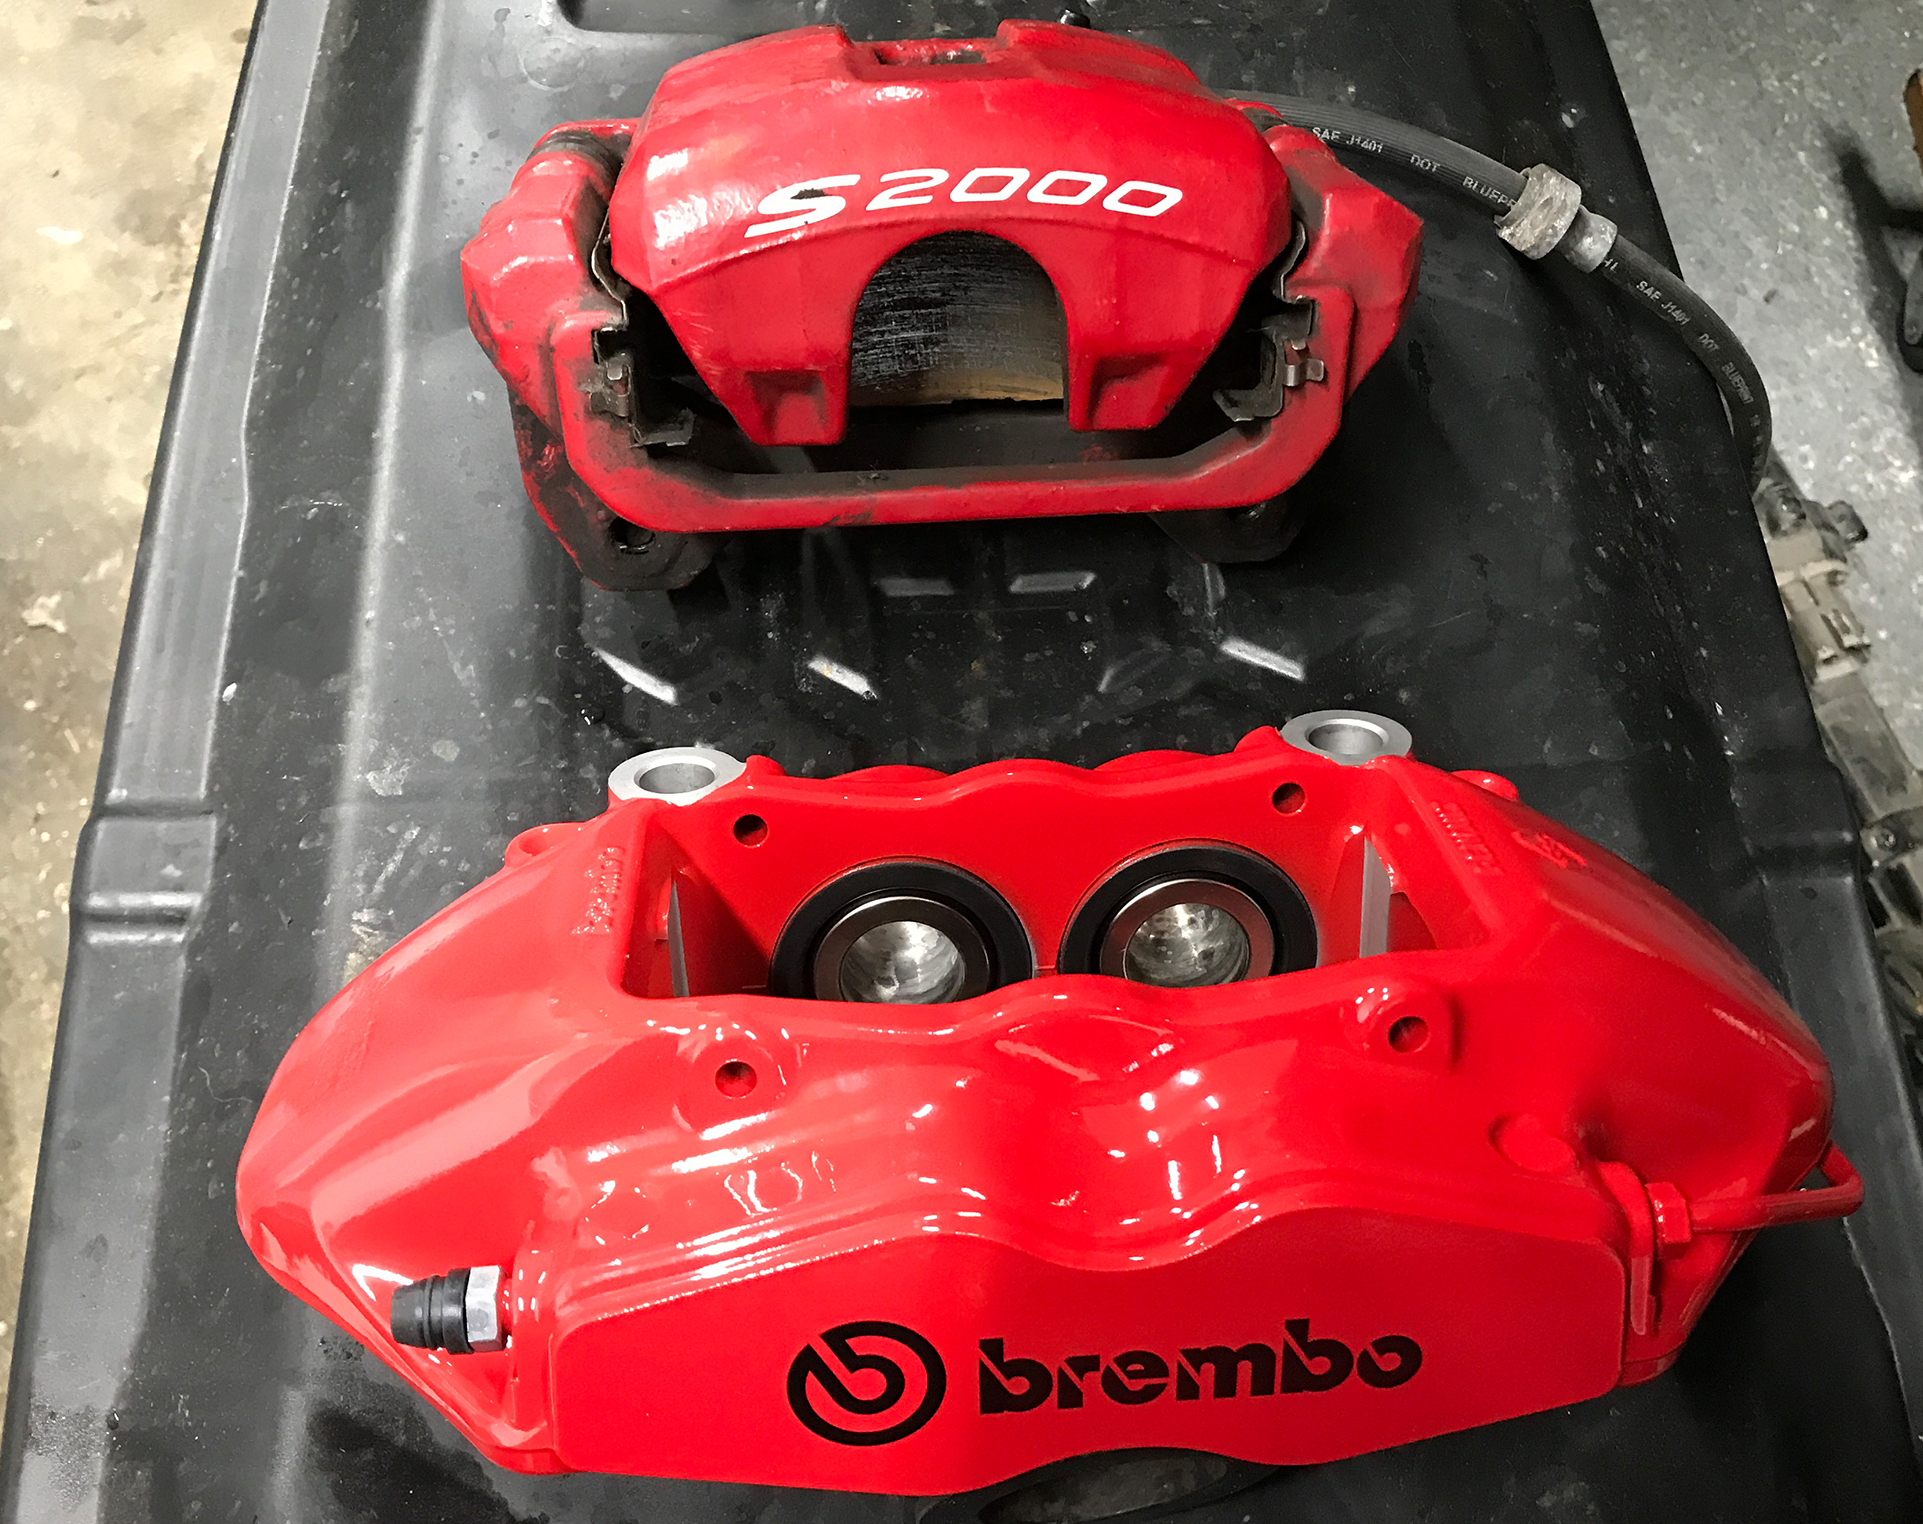
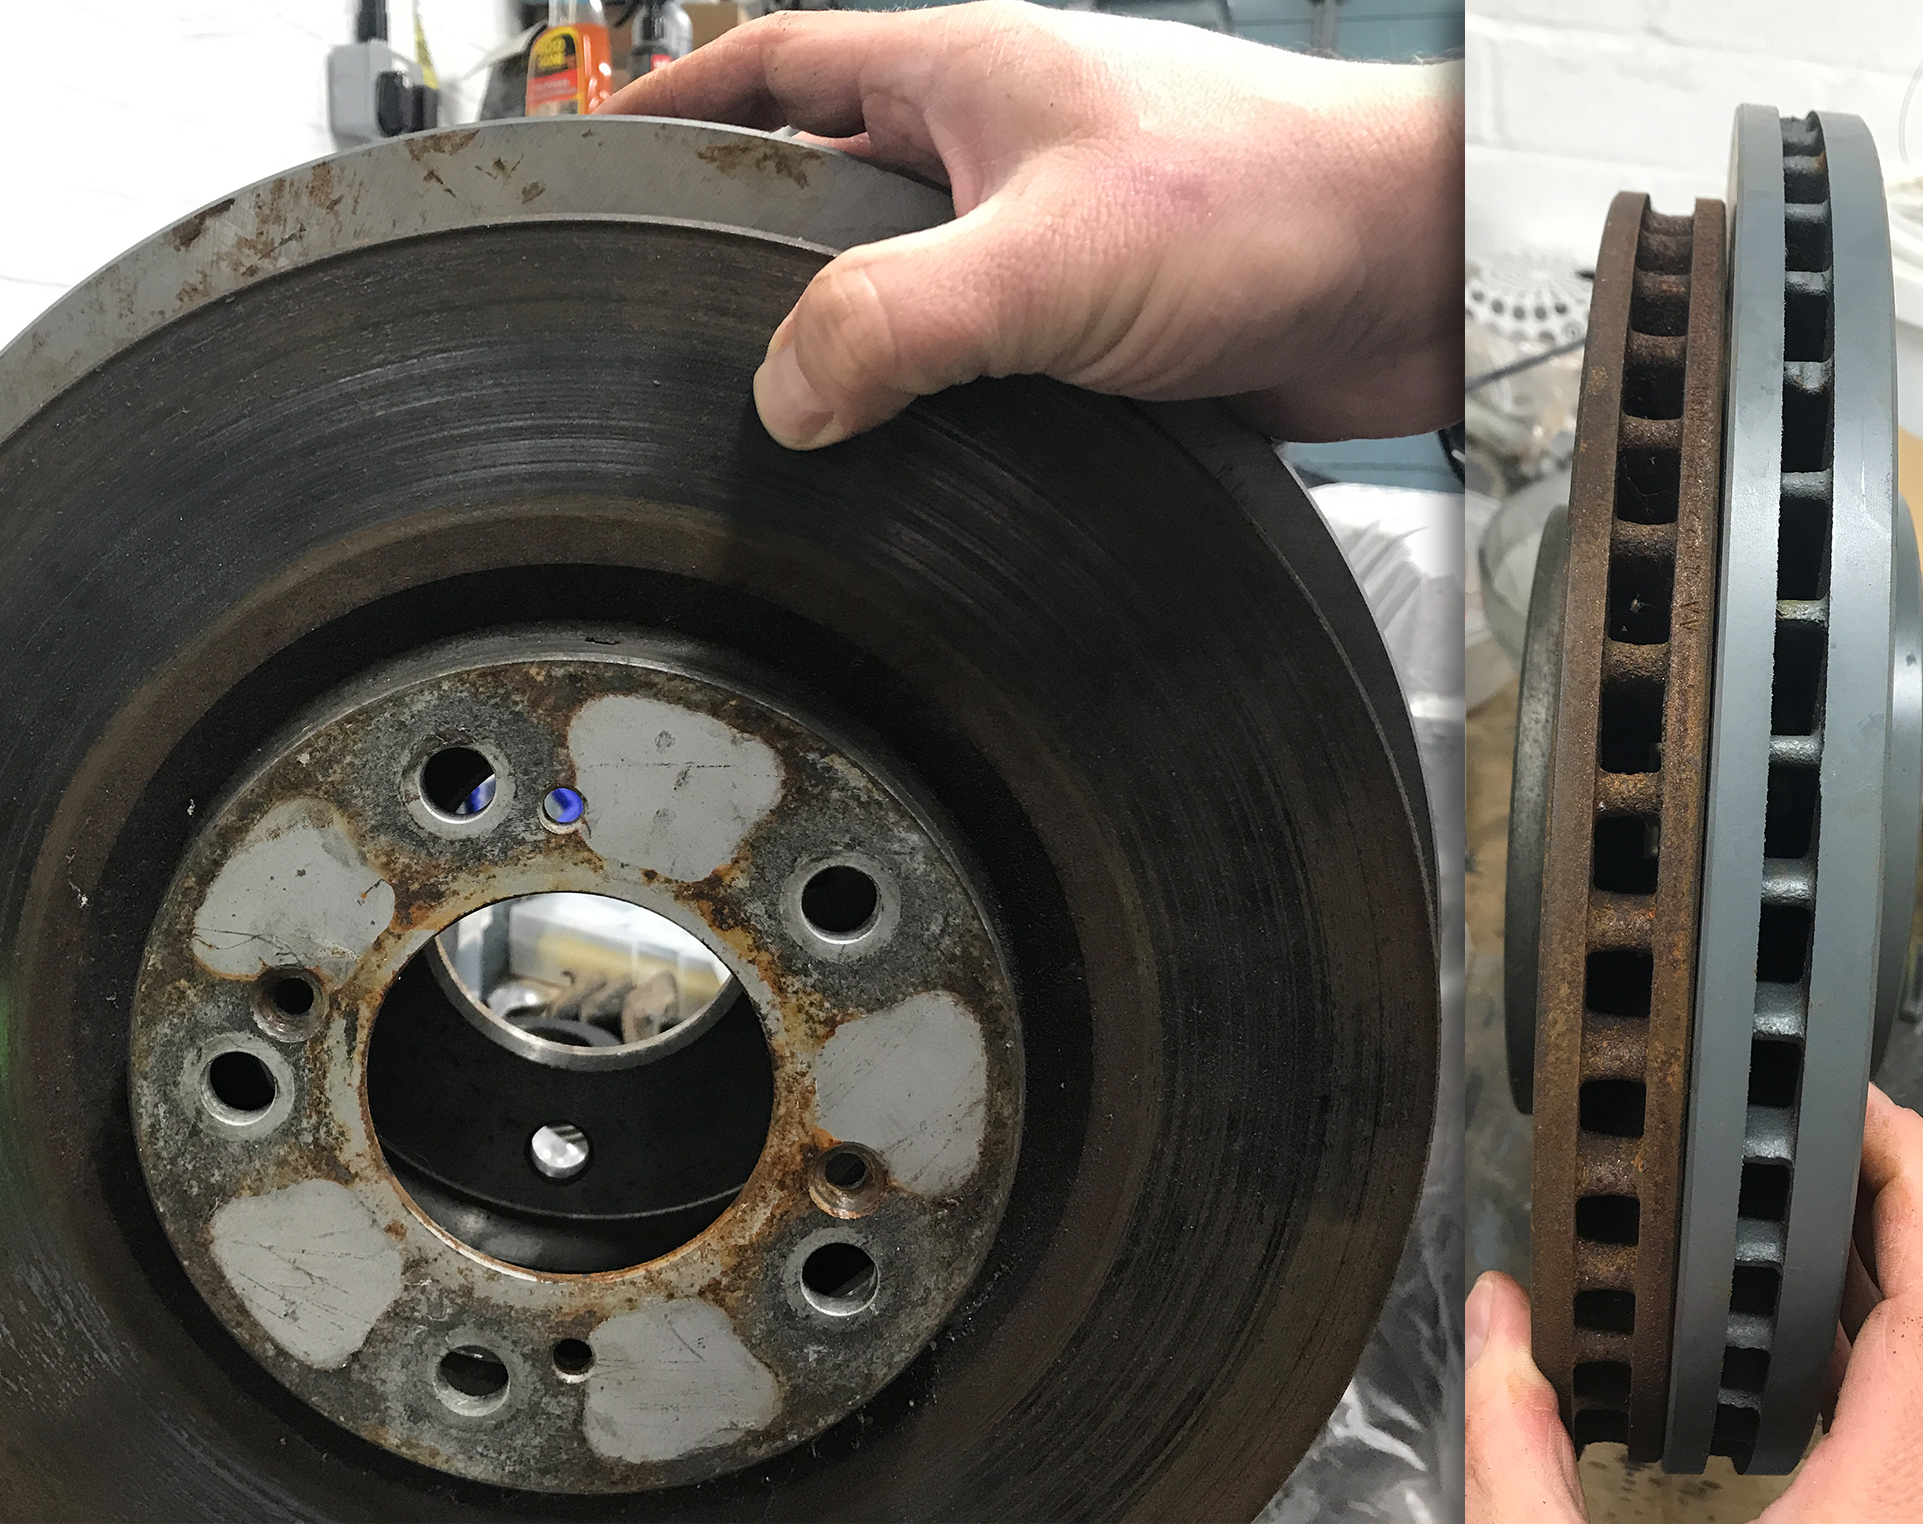
Not only do the Brembo calipers use larger brake pads, but the kit also includes larger brake discs.
The original discs are 300mm x 25mm, whereas the kit comes with discs from a Nissan Murano II 3.5. To make them fit, the center bore is machined to match the 70mm Honda wheel hub bore.
And yes, these discs are significantly heavier than the originals—but that’s the price you pay for better stopping power.
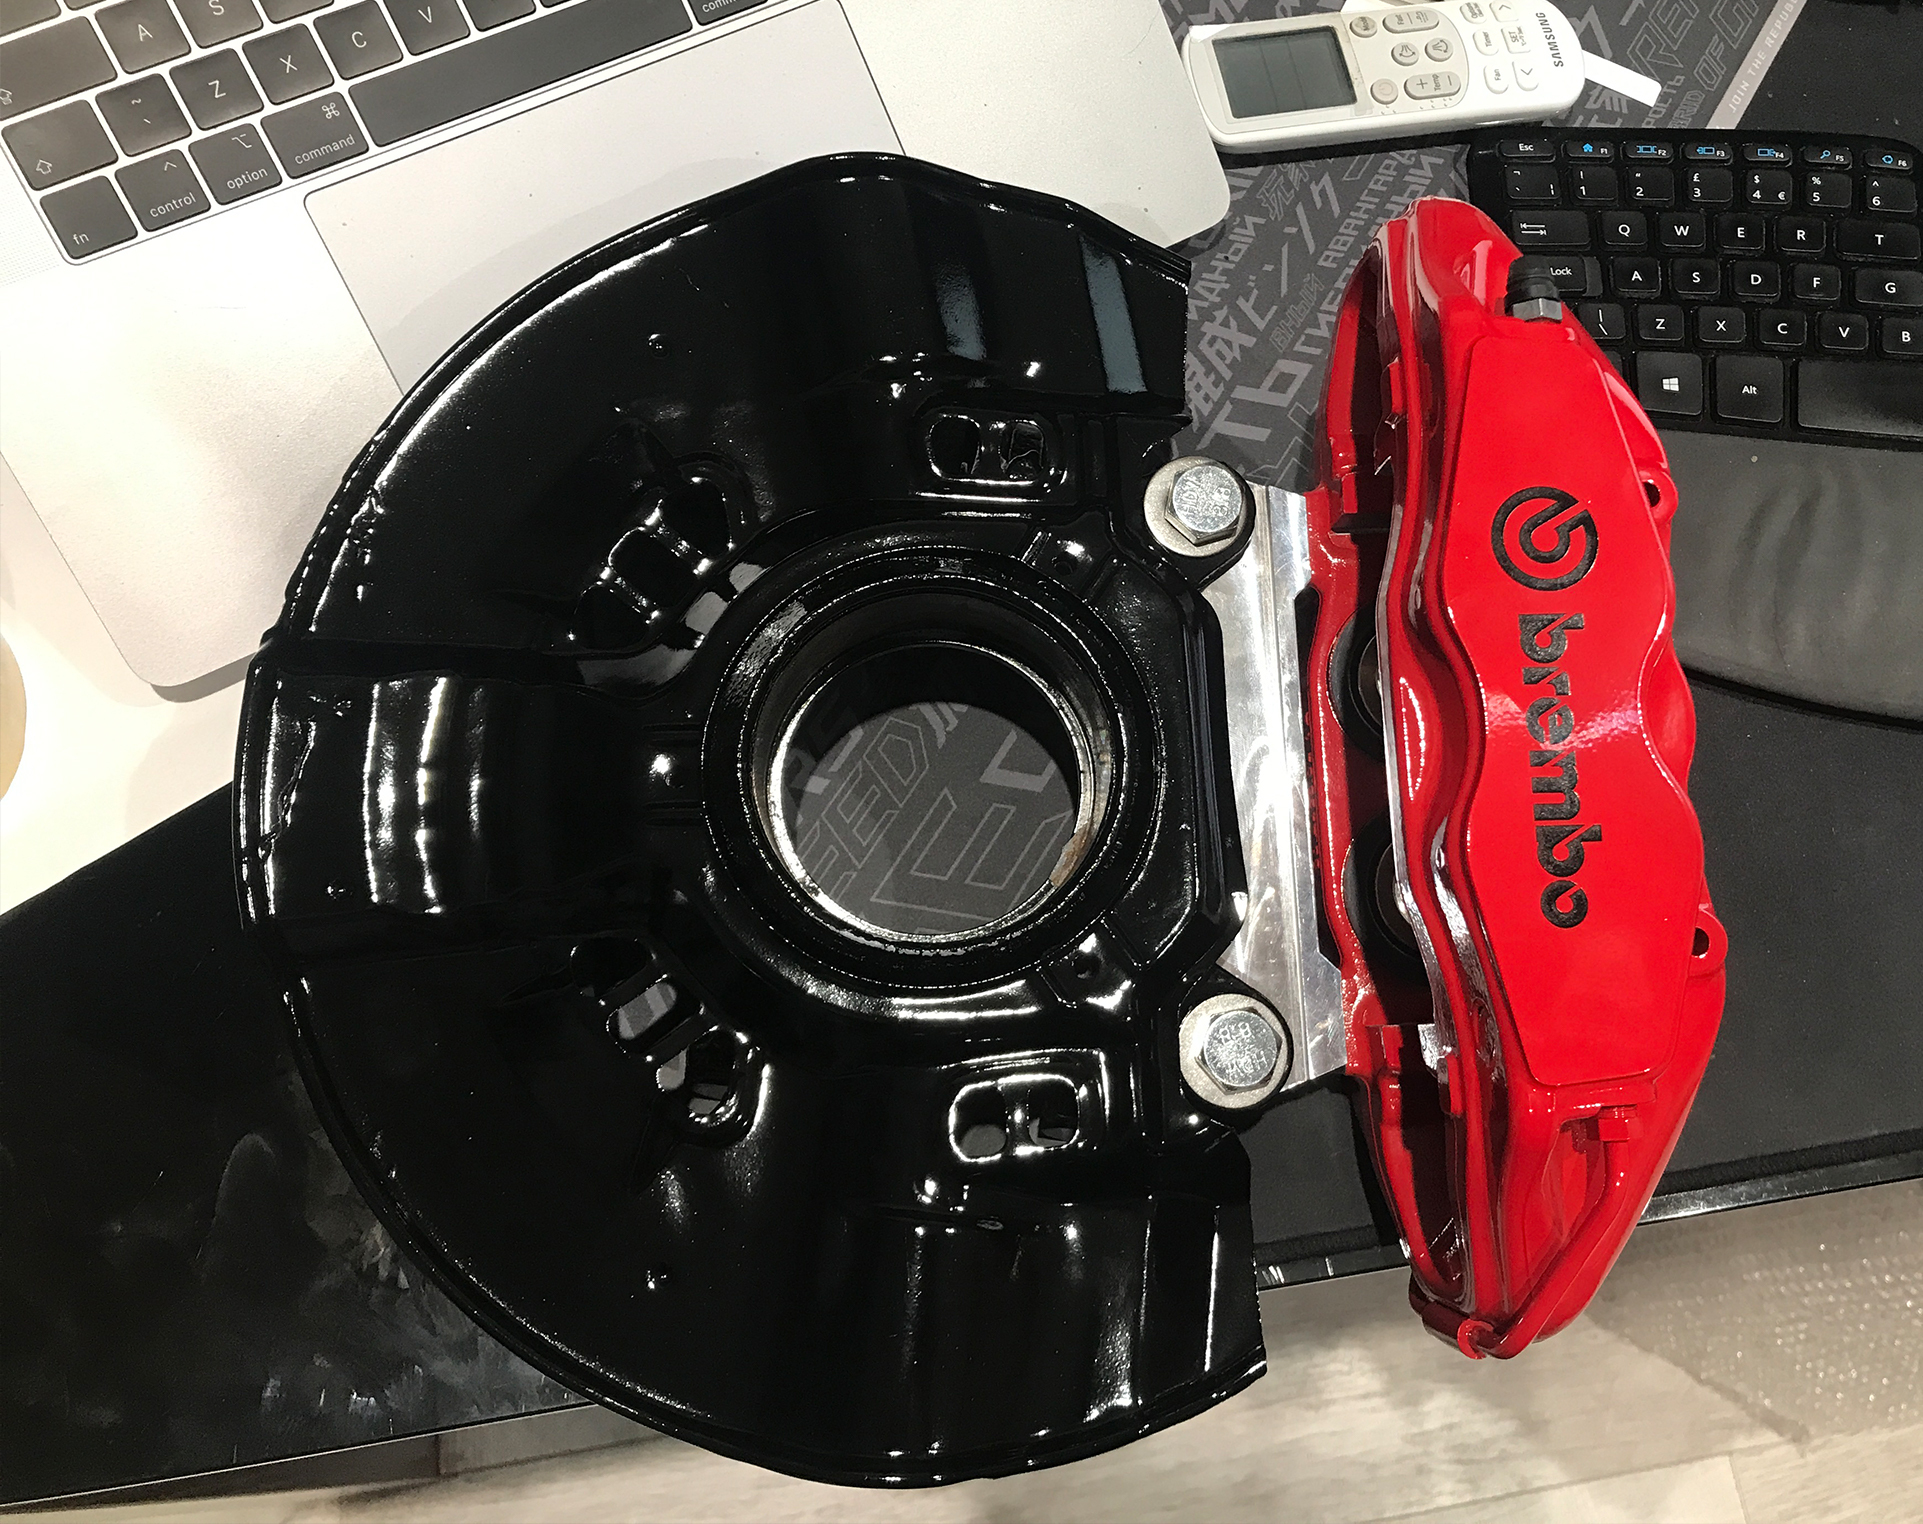
Test-Fitting the Calipers
Before installing everything on the car, I wanted to test-fit the calipers onto the wheel knuckle. It’s much safer to check how everything comes together now, rather than struggling with it when everything is already mounted. Having more space to work with makes the process much easier.
Attention to Detail – Matching the Red
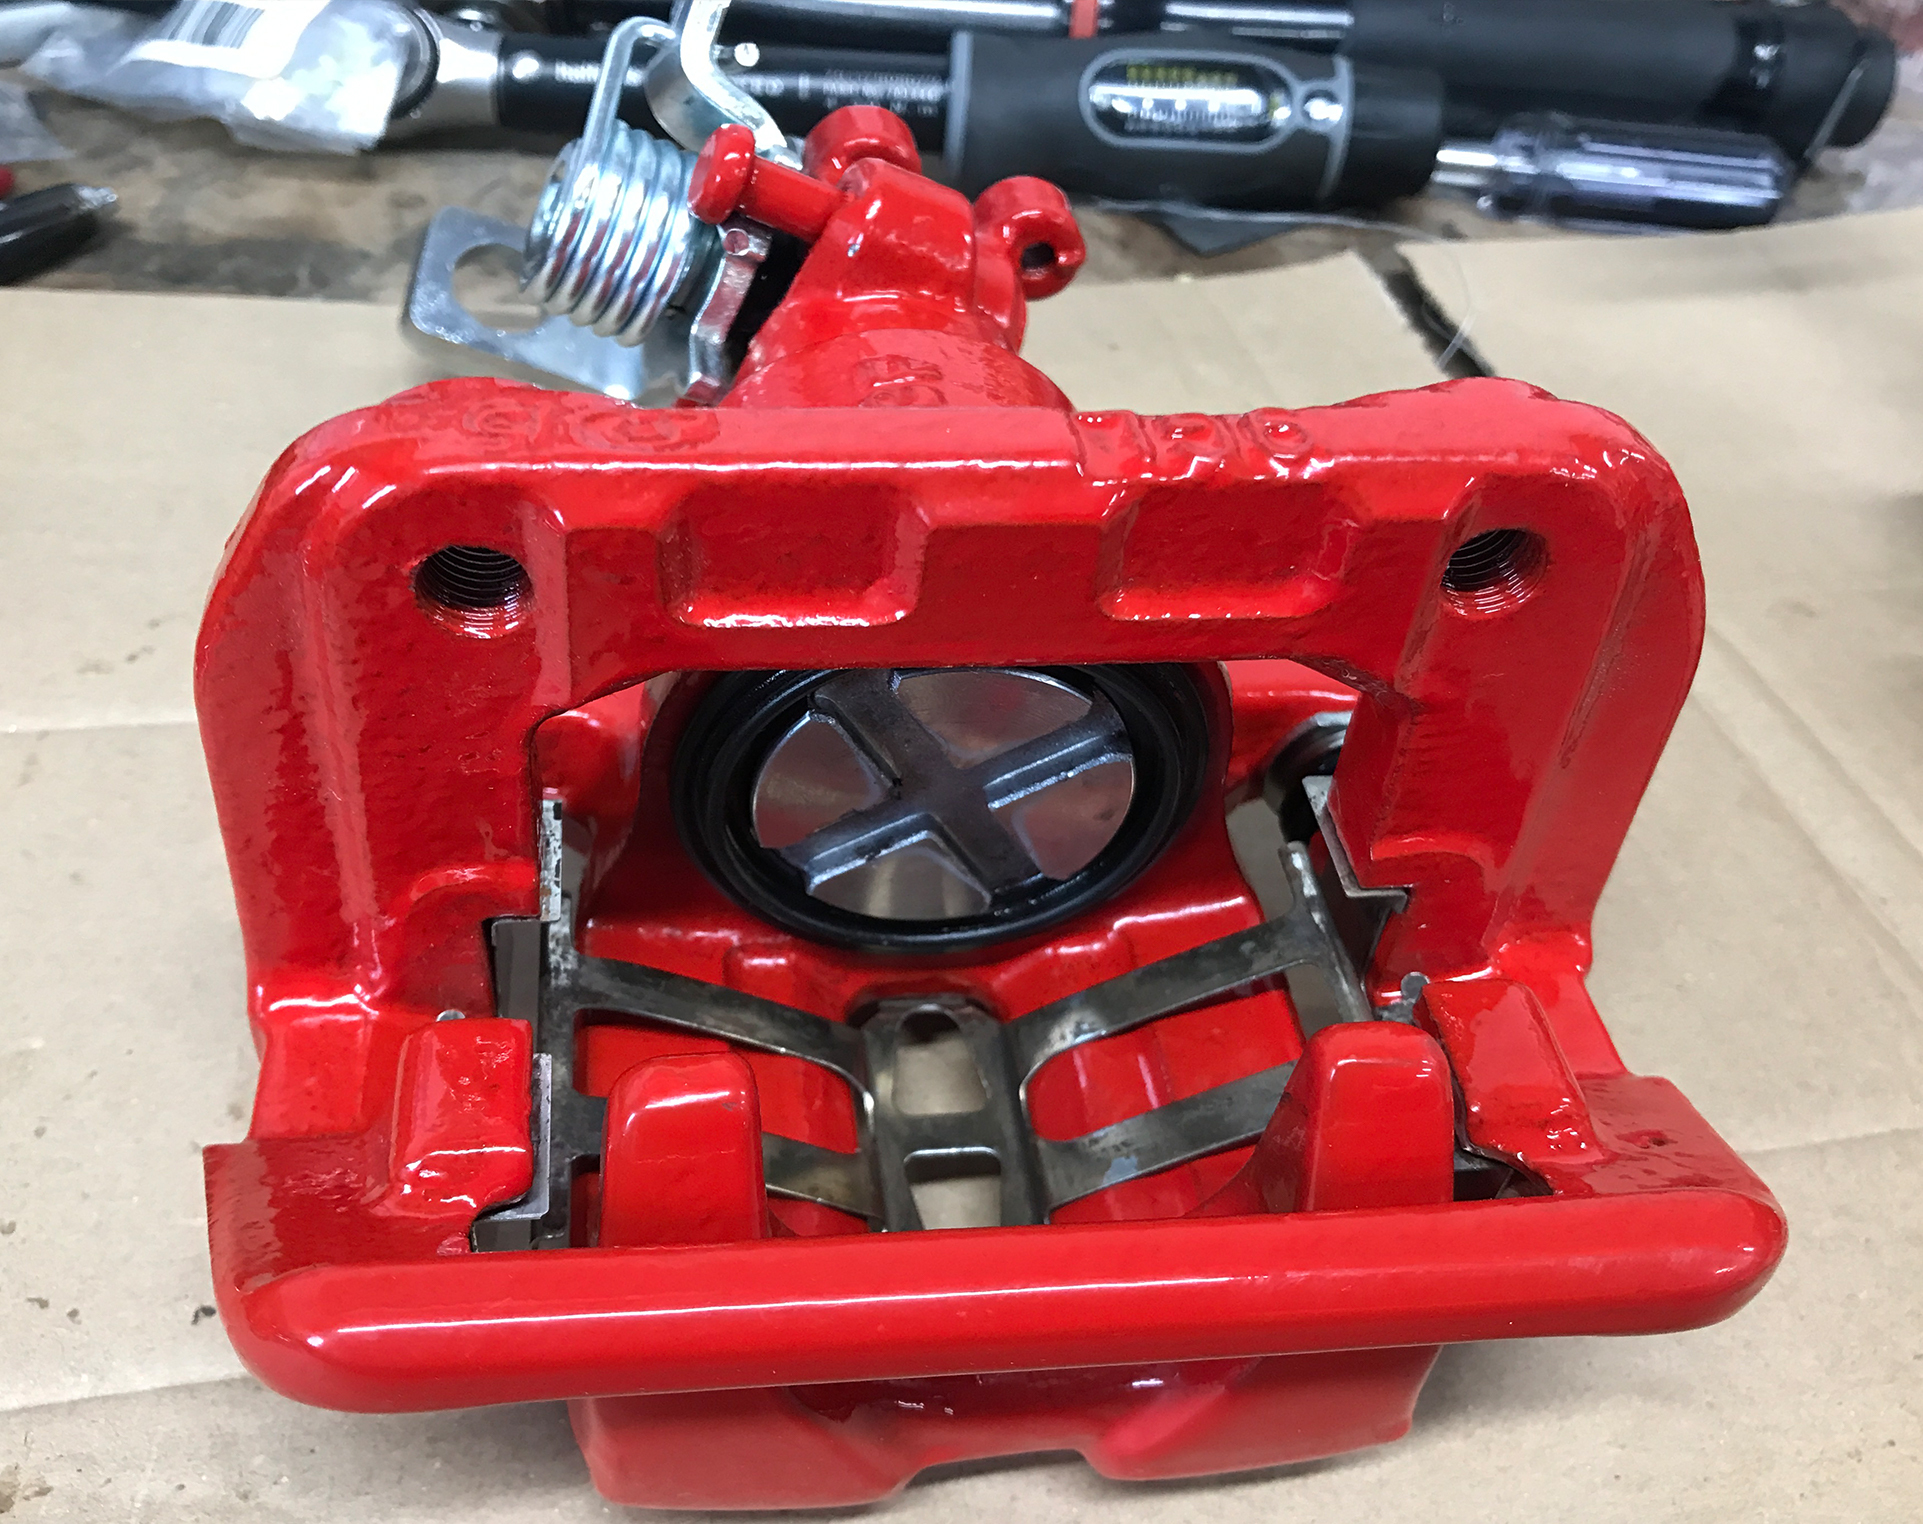
I was also particular about matching the shade of red with the Brembo calipers. Even though they won’t be right next to each other once installed, I wanted to get that fine detail just right.
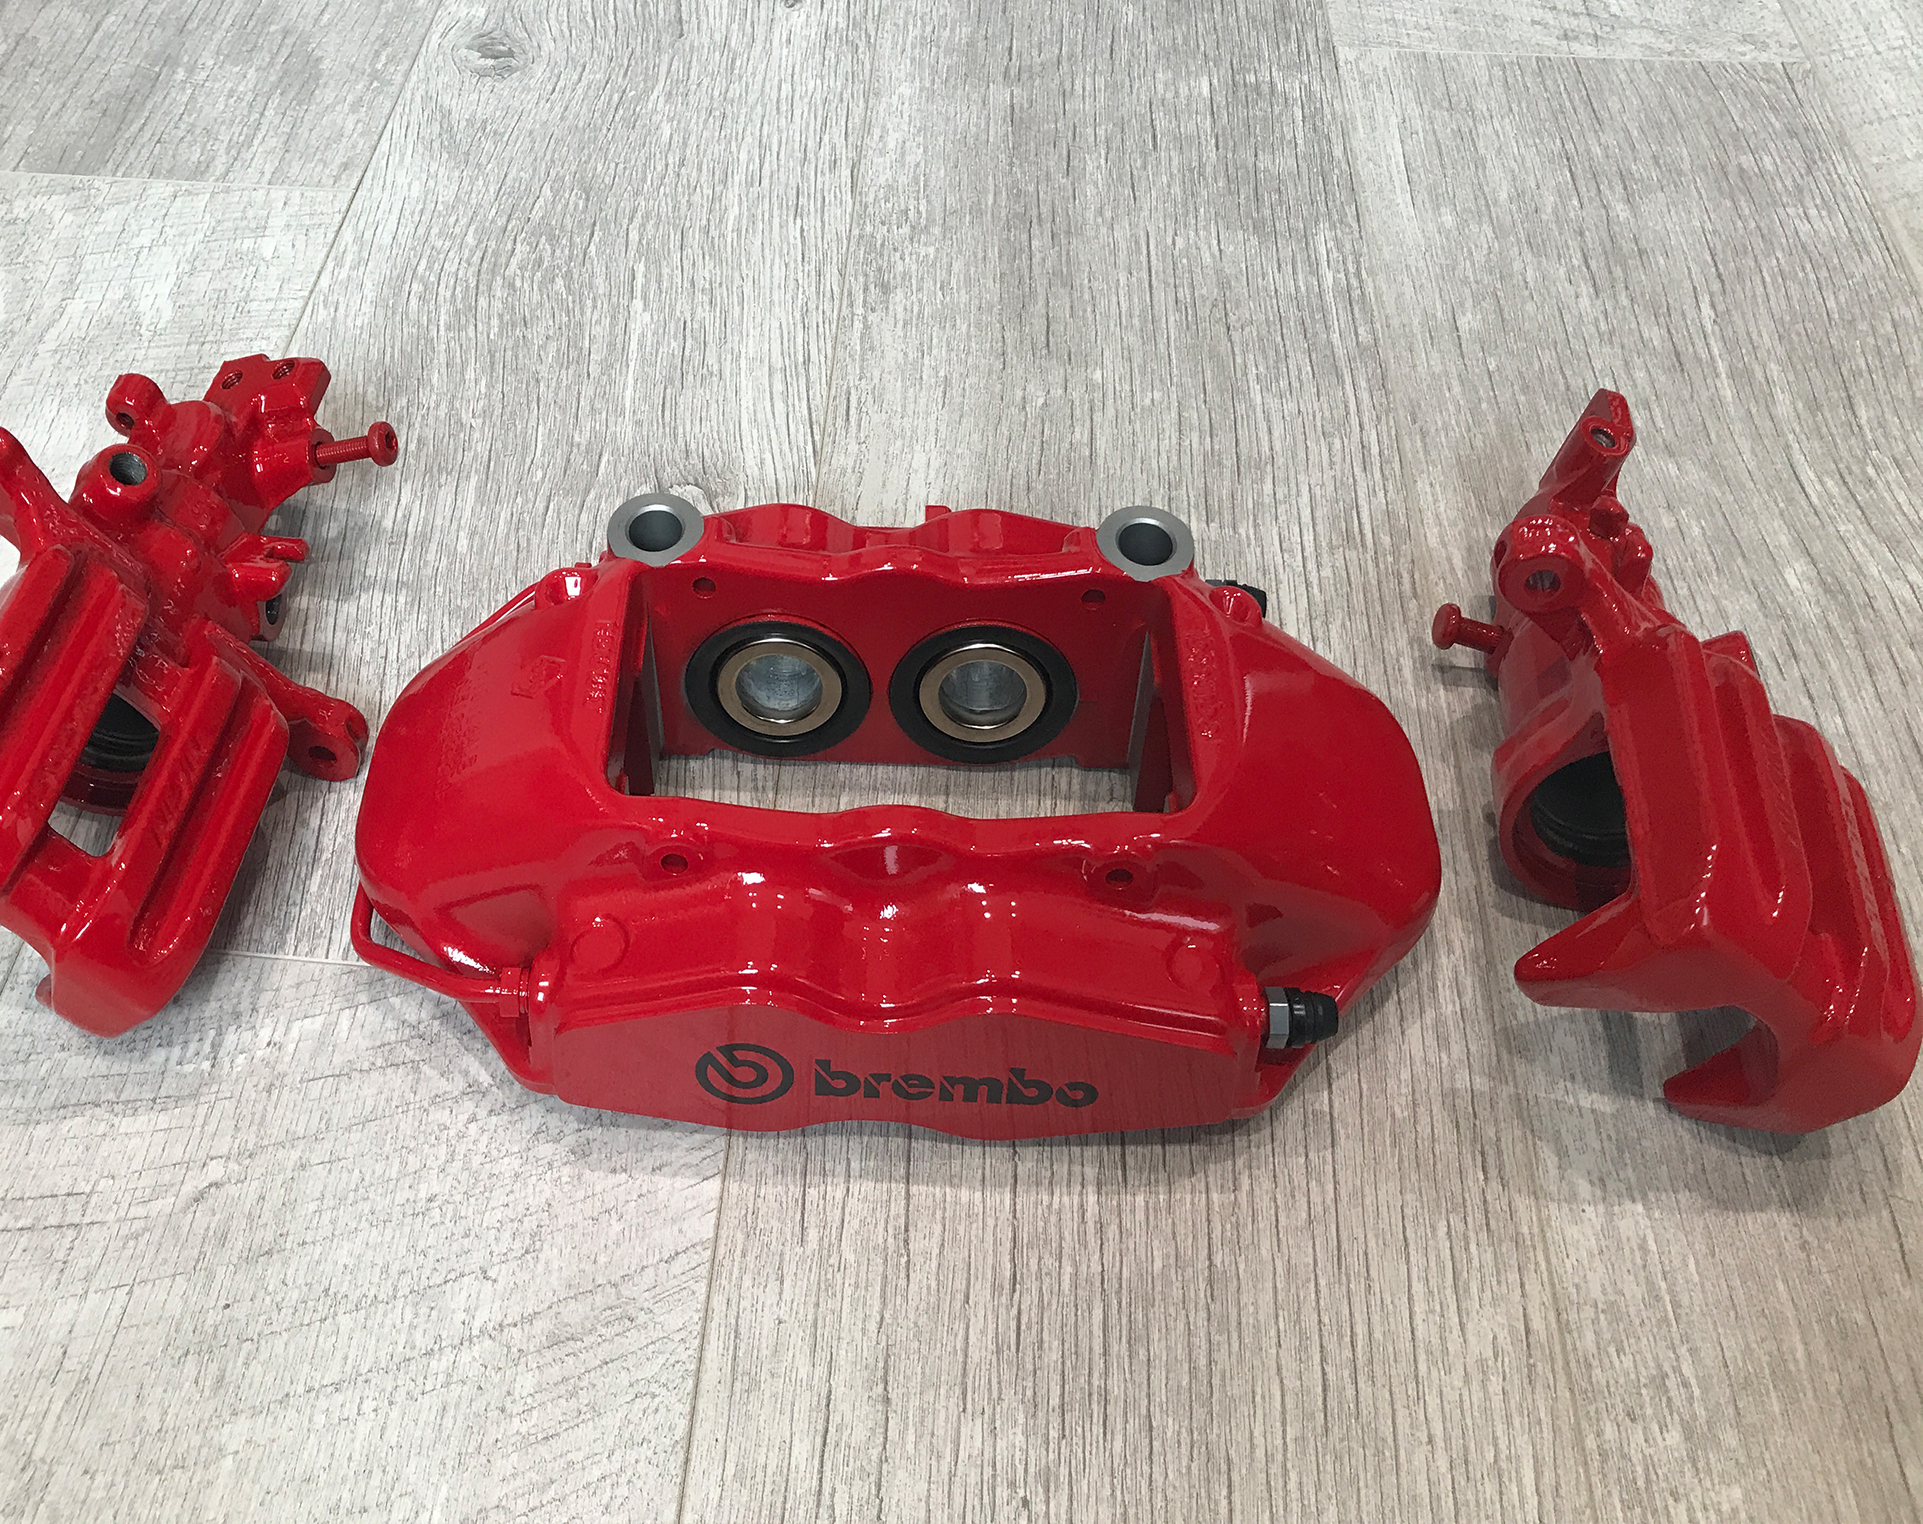
Rear Caliper Refresh
I’ve replaced almost all components on the rear calipers, making them look and perform just like new. They’re now connected to brand-new handbrake cables, ensuring everything functions perfectly.
Suspension Choice – Öhlins Coilovers
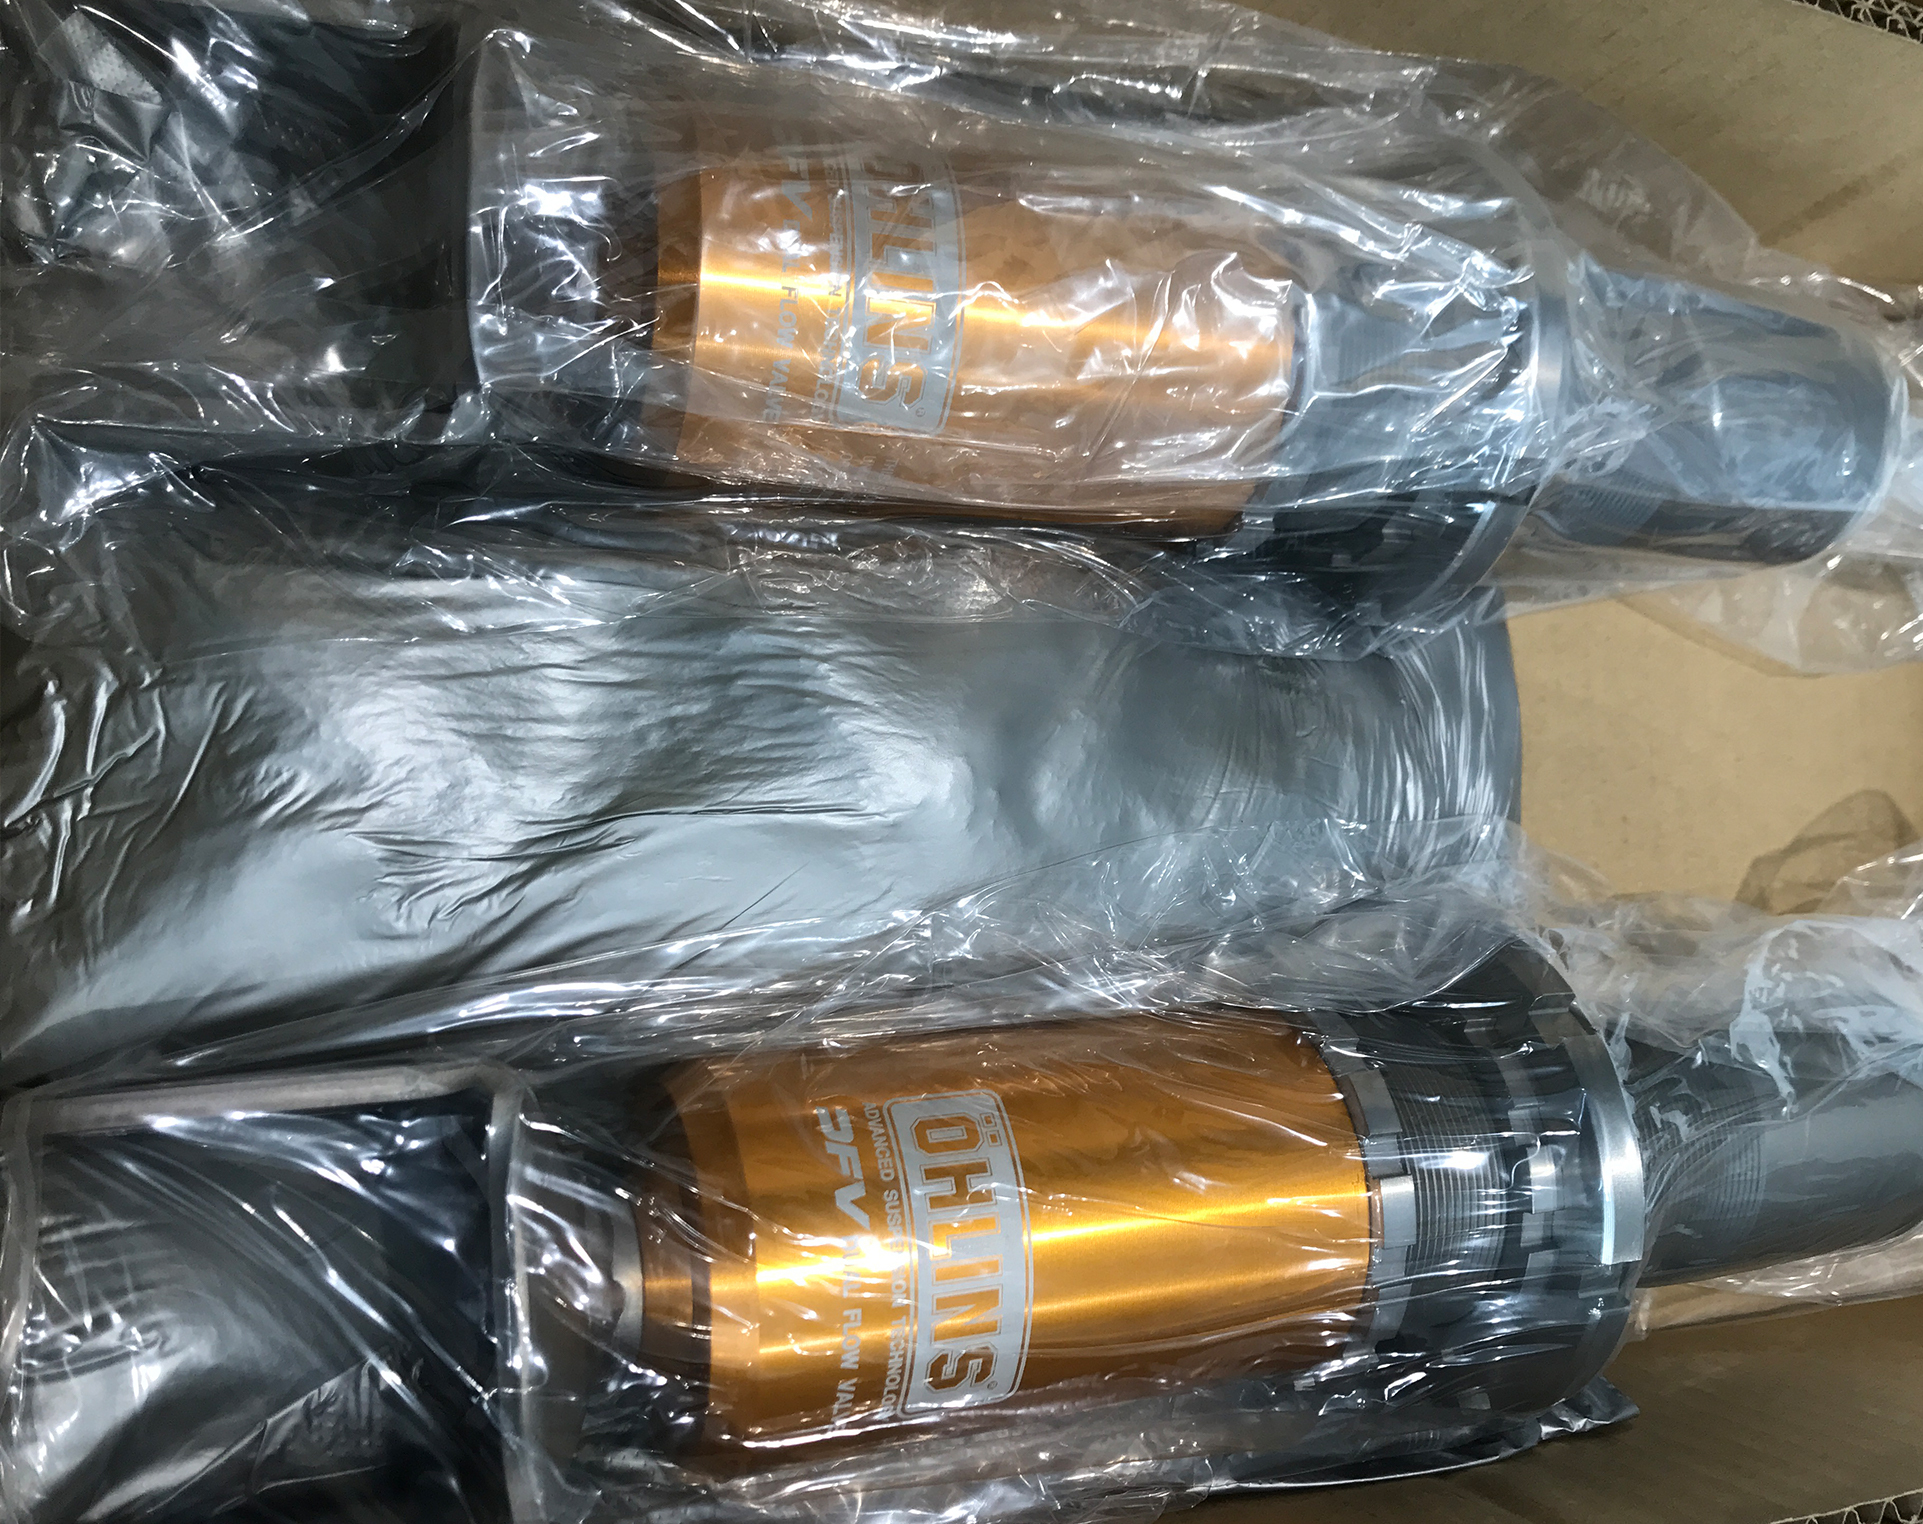
I hinted earlier that my coilovers of choice were Öhlins—and yes, they’re not the cheapest option for the S2000. However, Tegiwa had a 15% summer sale, bringing the price down to around £1,900 for the full kit, including springs—not a bad deal at all.
Initially, I considered Skunk2 coilovers, as they were about £500 cheaper. However, after doing some internet research, I came across several complaints. Since I already knew a few people running Öhlins who were very happy with their choice, I decided to cross Skunk2 off my list and go with proven quality instead.
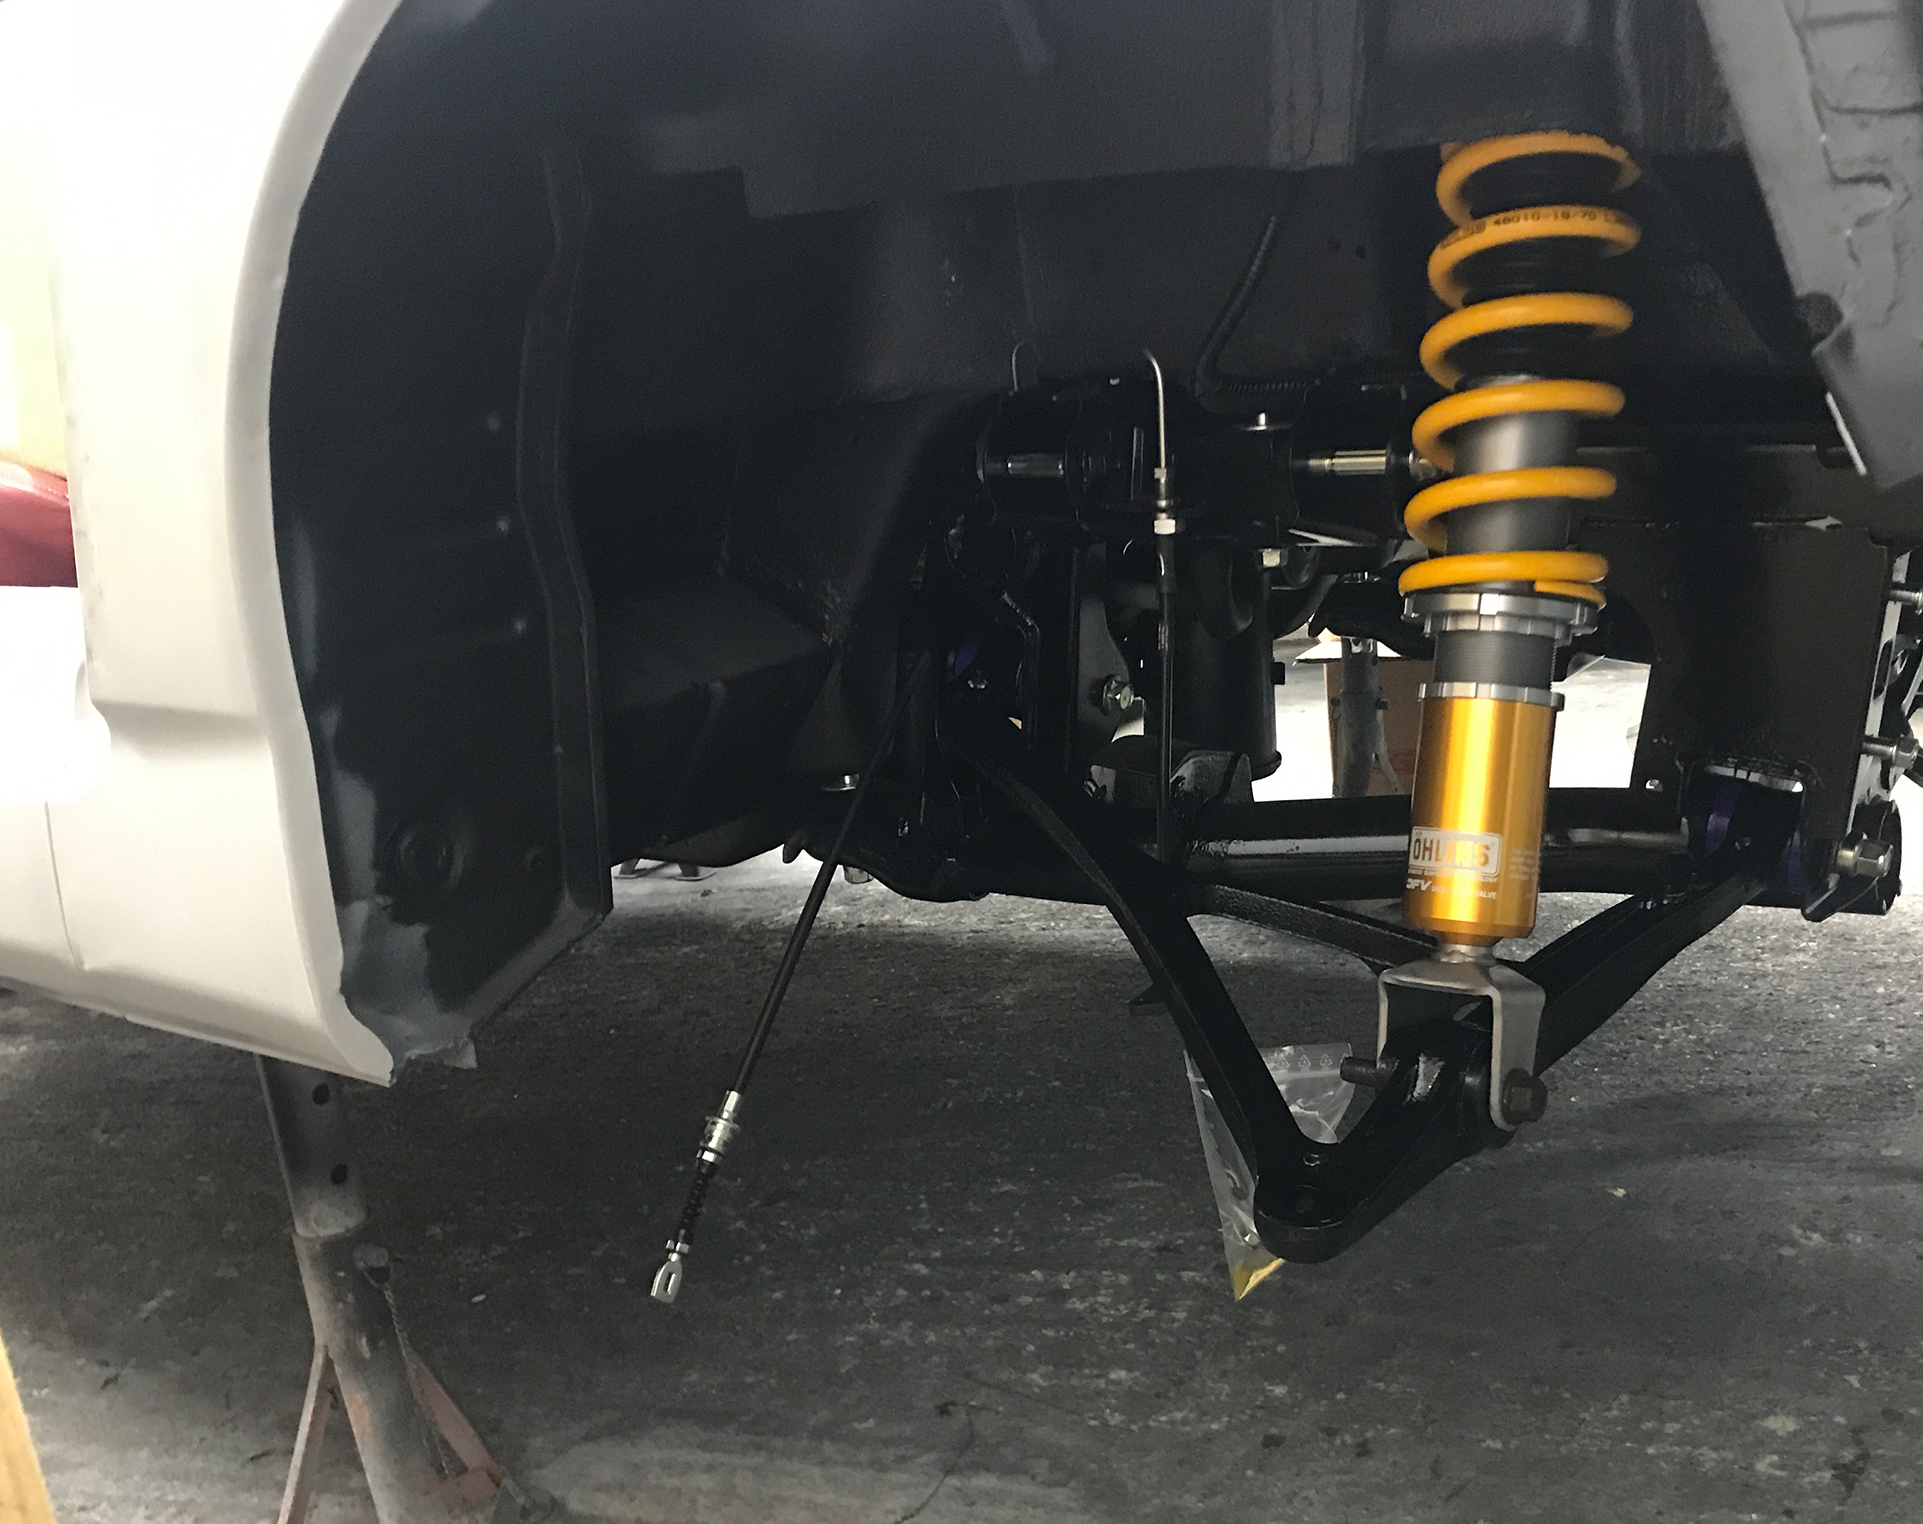
In this picture, the old steering rod ends are still visible. However, they have since been replaced with HardRace OE-style arms and ends, ensuring better durability and performance.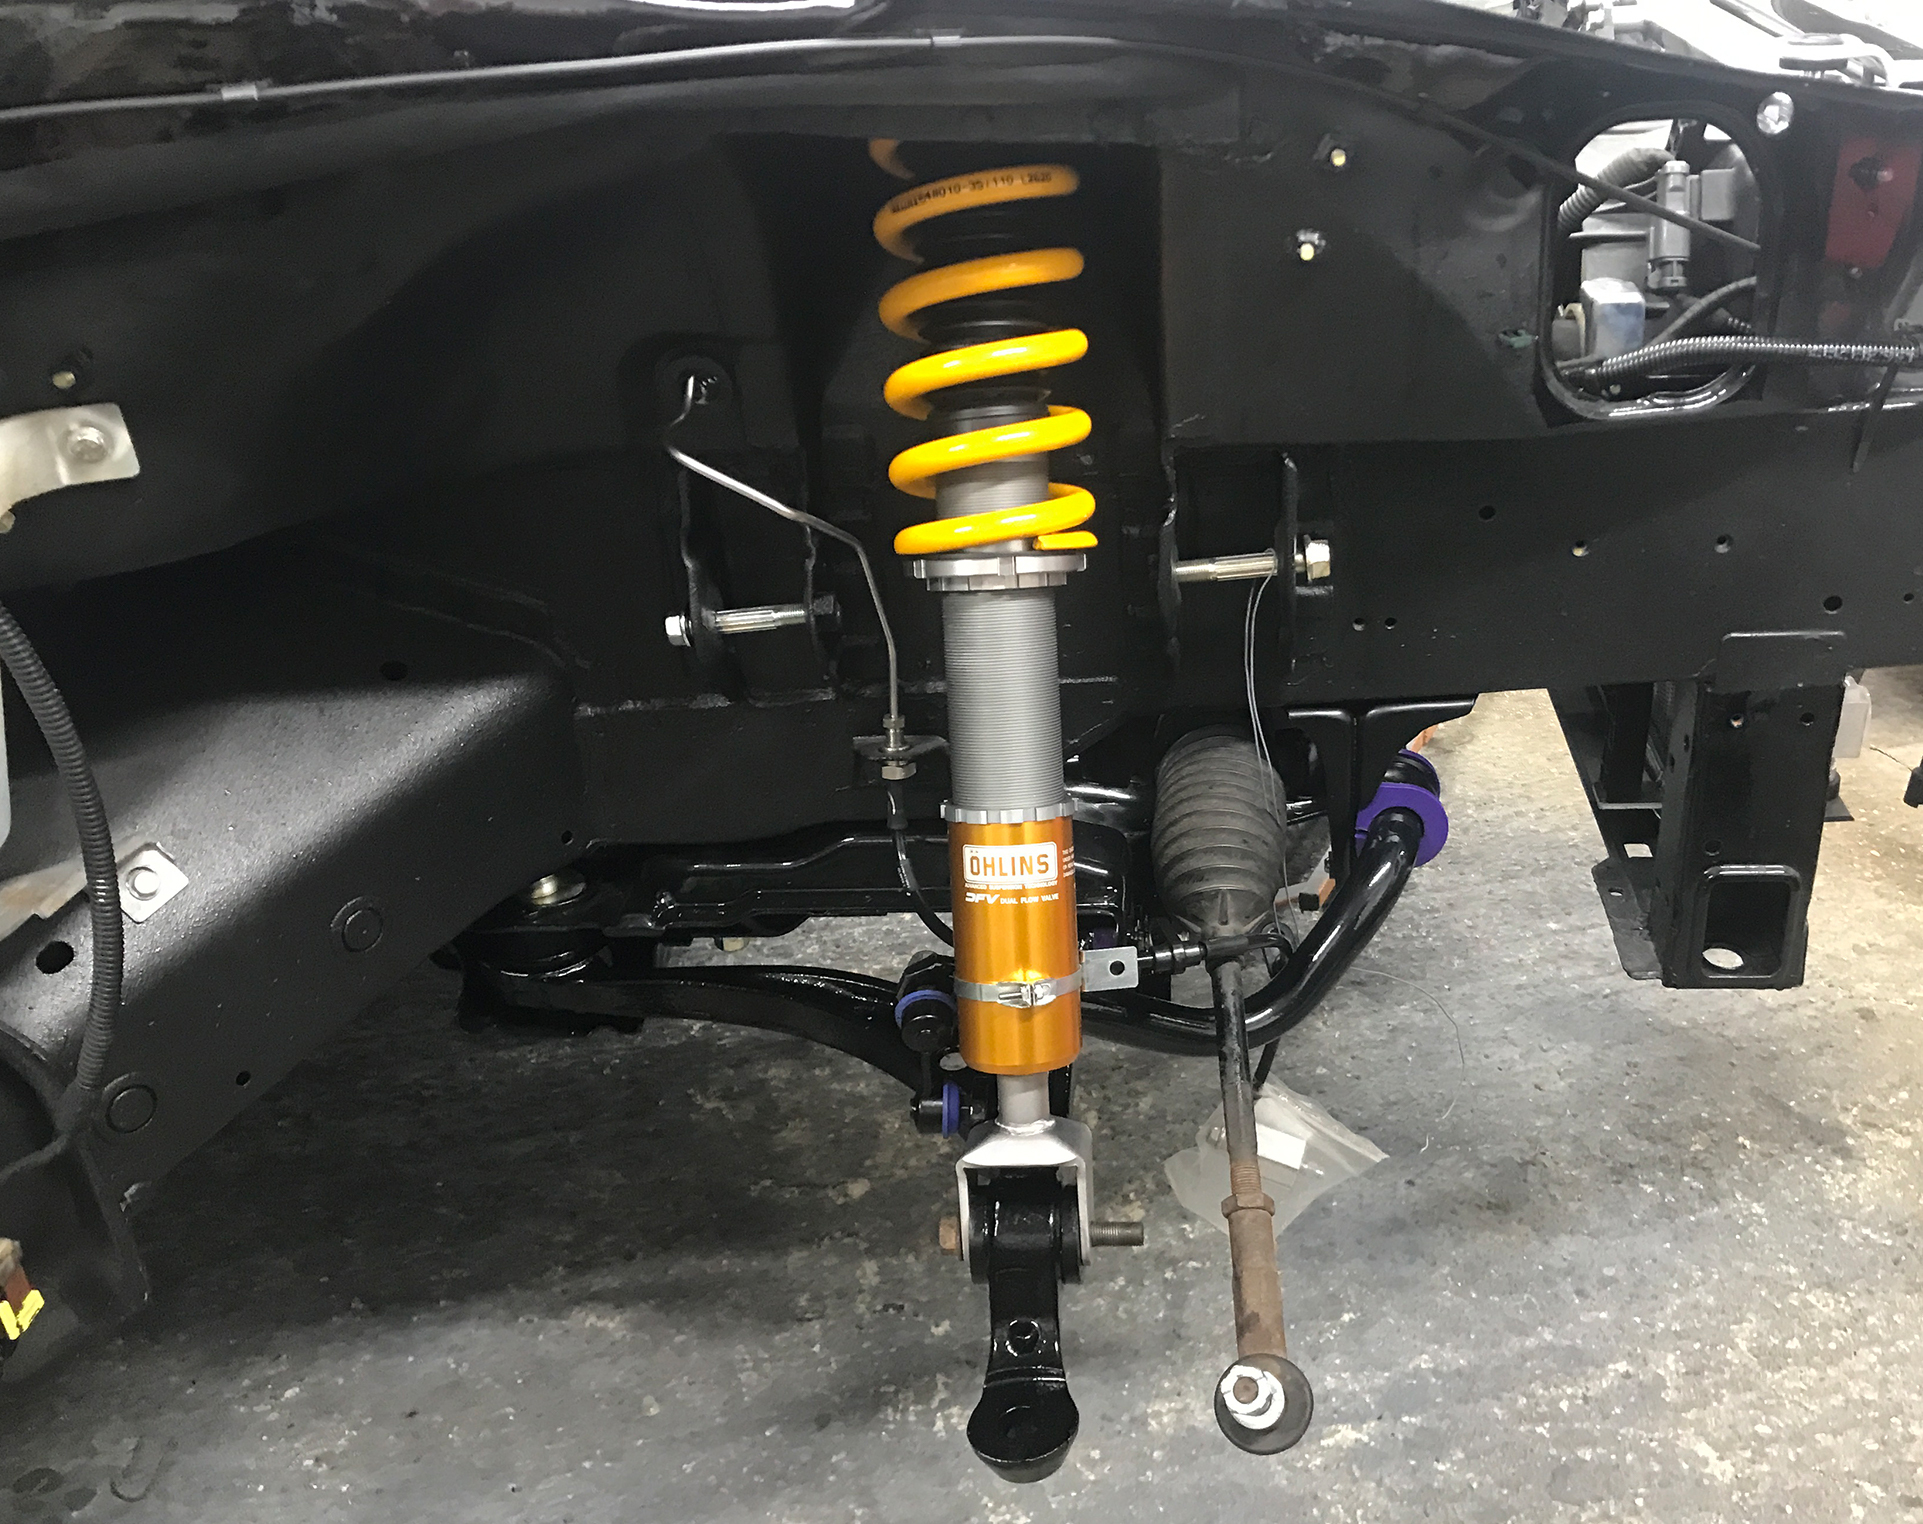
Brake Line Upgrade & Spacer Fitment
To connect the brake calipers to the solid brake lines, I opted for Bridgestone black braided hoses. I chose black to keep them low-profile, making them more of an invisible feature rather than something that stands out.
Unfortunately, the front wheel hubs required 20mm spacers. Unlike the rear, where I was happy to fit extended studs for the 15mm spacers, 20mm was too much for that style. Instead, I went with H&R bolt-on spacers. I really like the first edition facelift wheels, and I didn’t want to swap them for aftermarket wheels just to make them compatible with the big brake kit.
Once everything was fitted and connected, it was time to fill the system with Motul 660 brake fluid, bleed out any air, and check that all fixed lines and unions were properly sealed. Since the car is still lifted—and will be for a while—this also provides a great opportunity to monitor for any slow leaks that might appear over the coming days and weeks.
Here’s how the brake calipers look with the facelift V1 wheels—a perfect fit that maintains the OEM+ aesthetic while accommodating the big brake kit.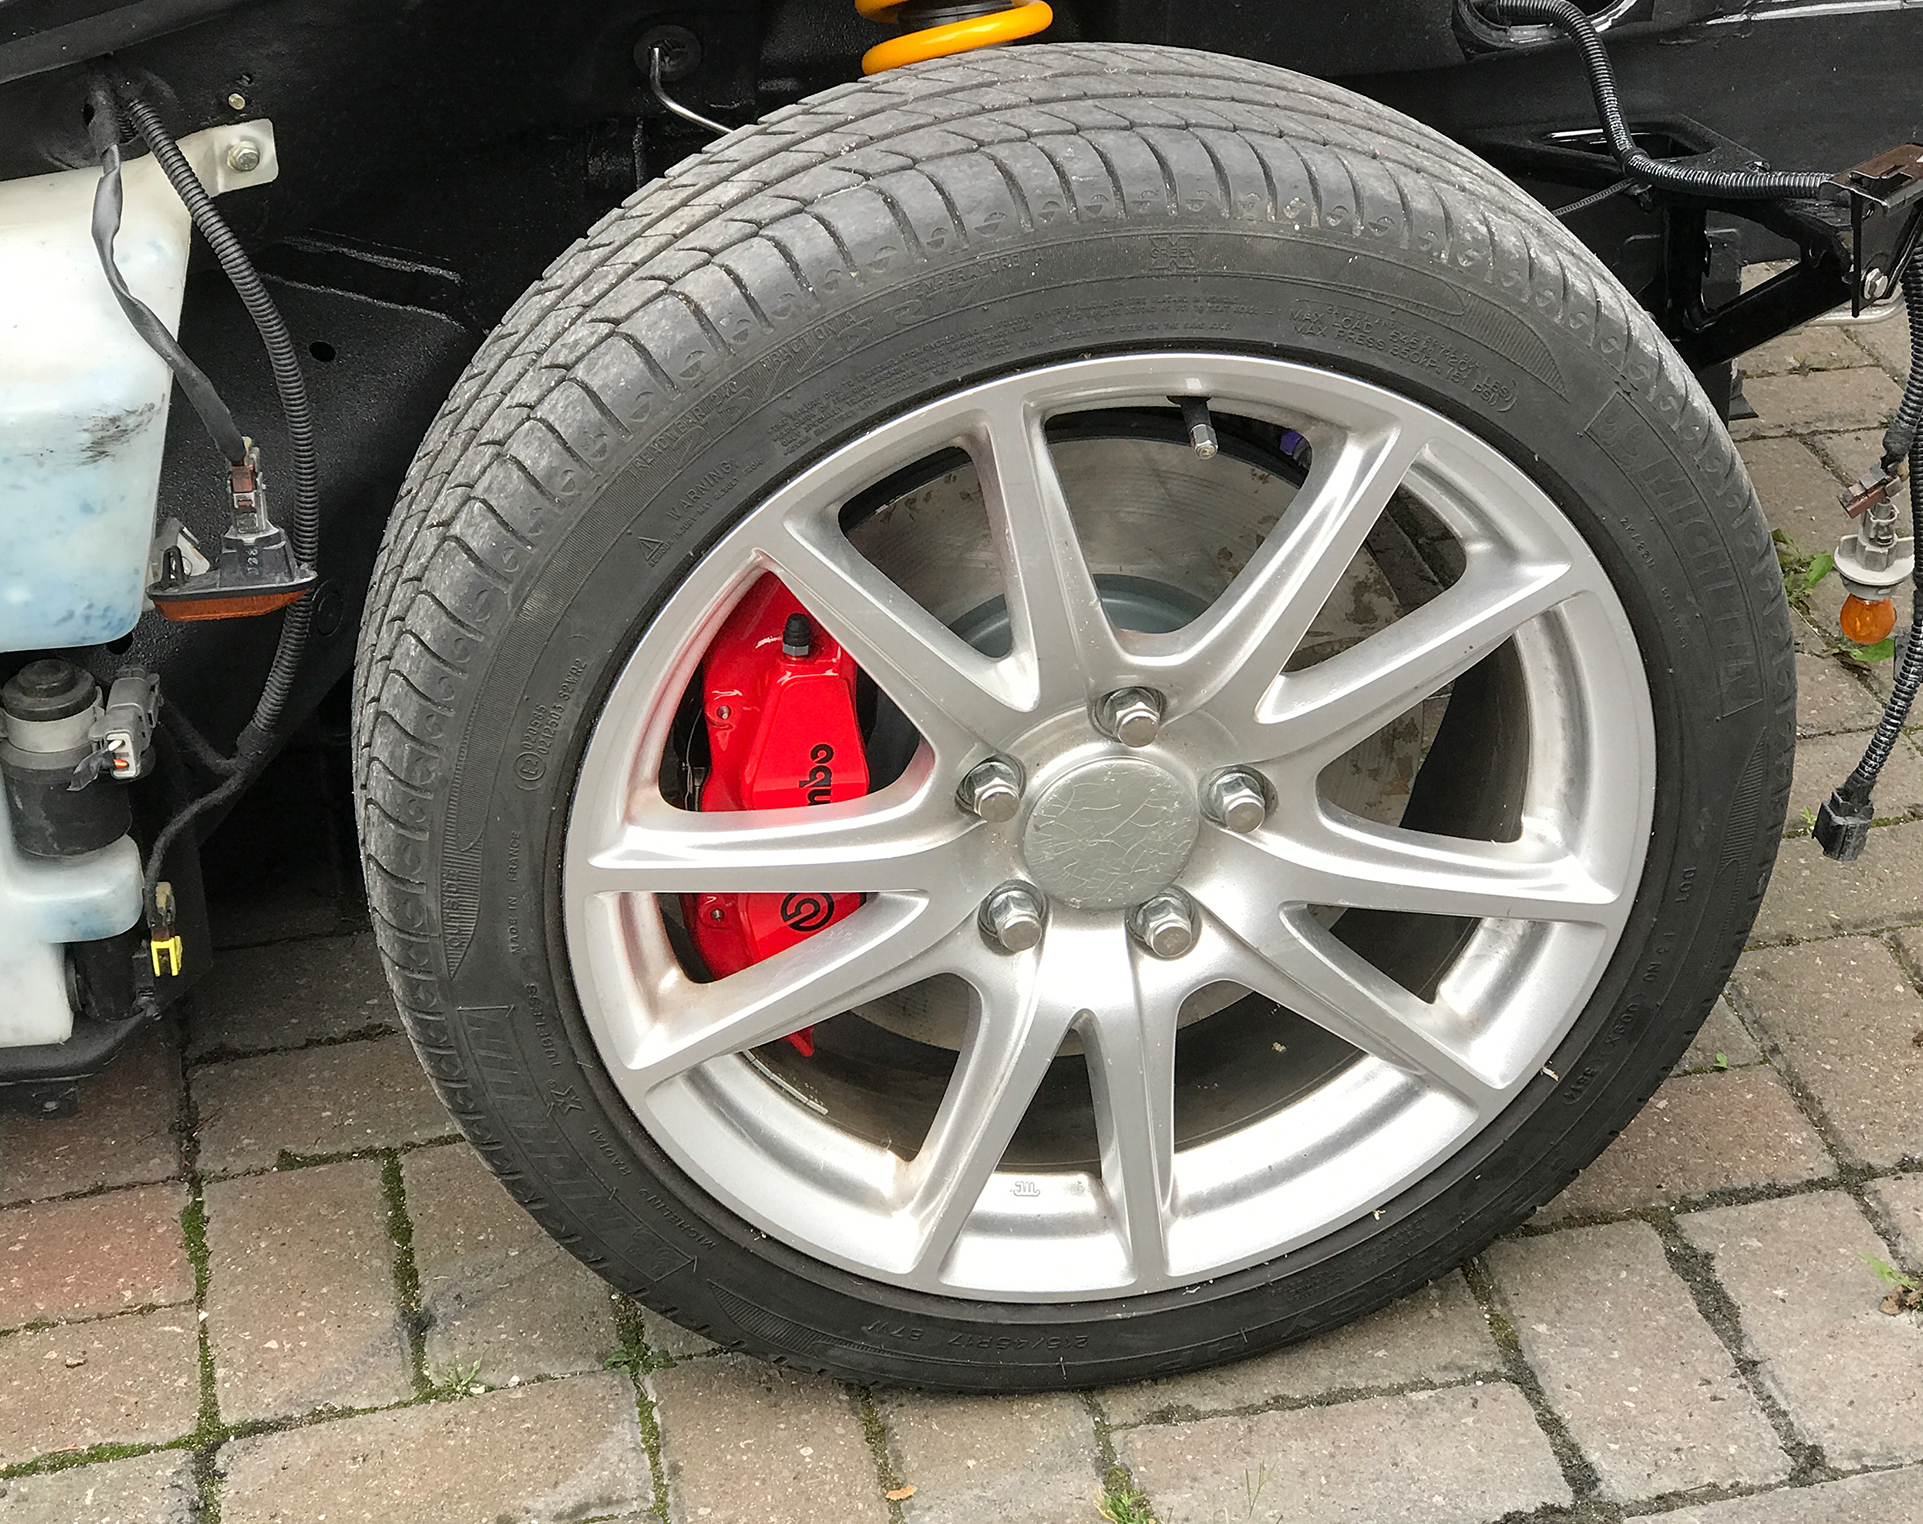
This is starting to look more and more promising—almost time to fire up the engine for the first time! ??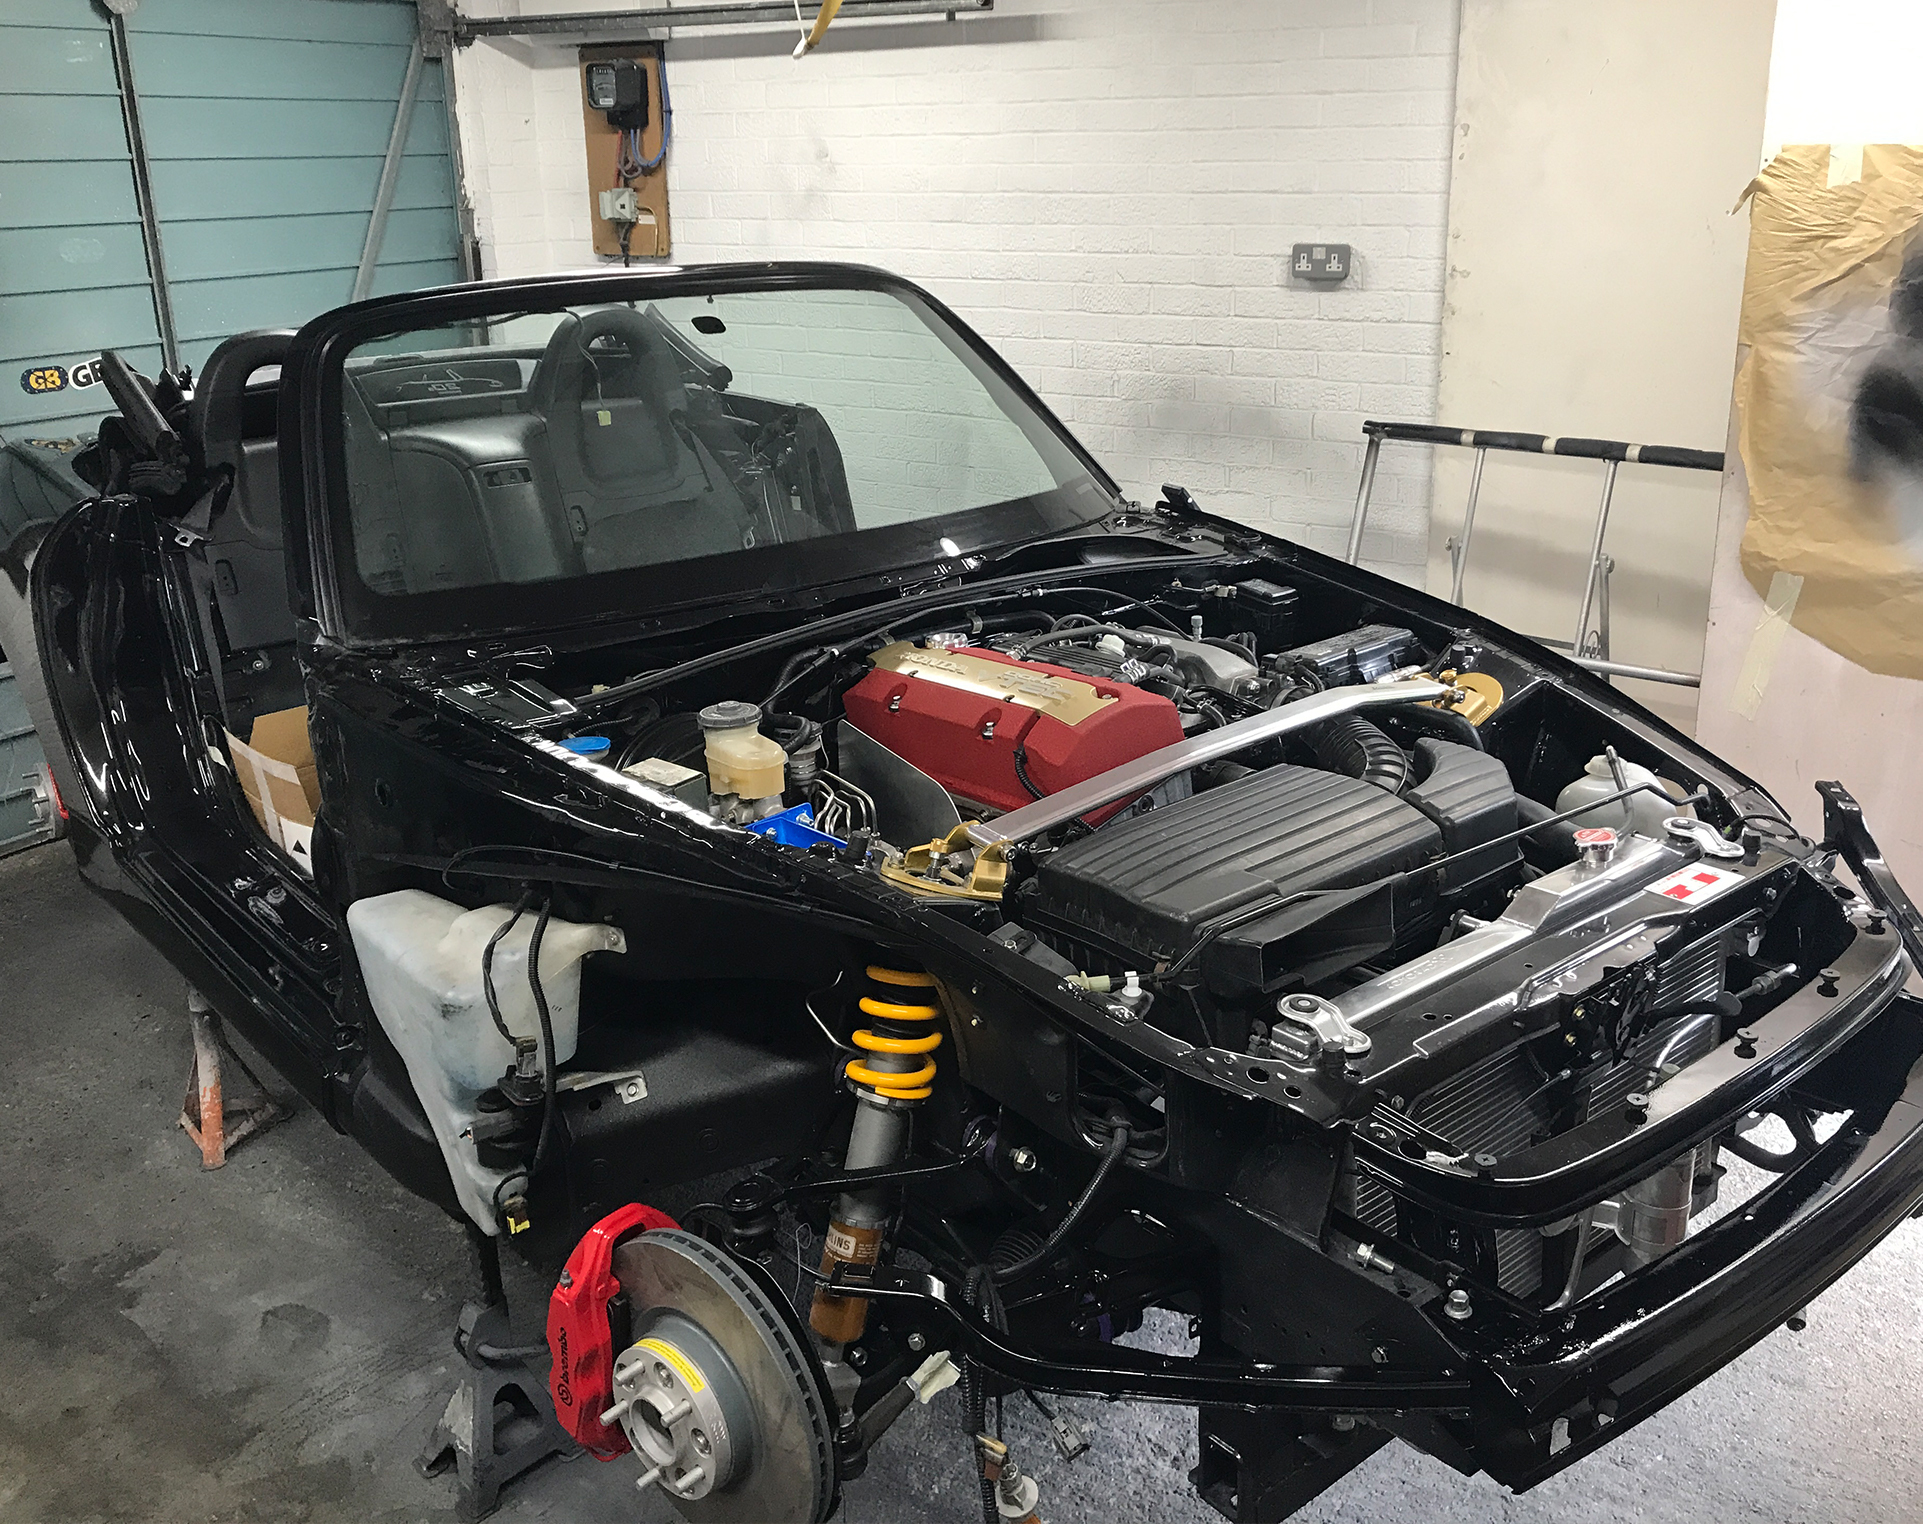
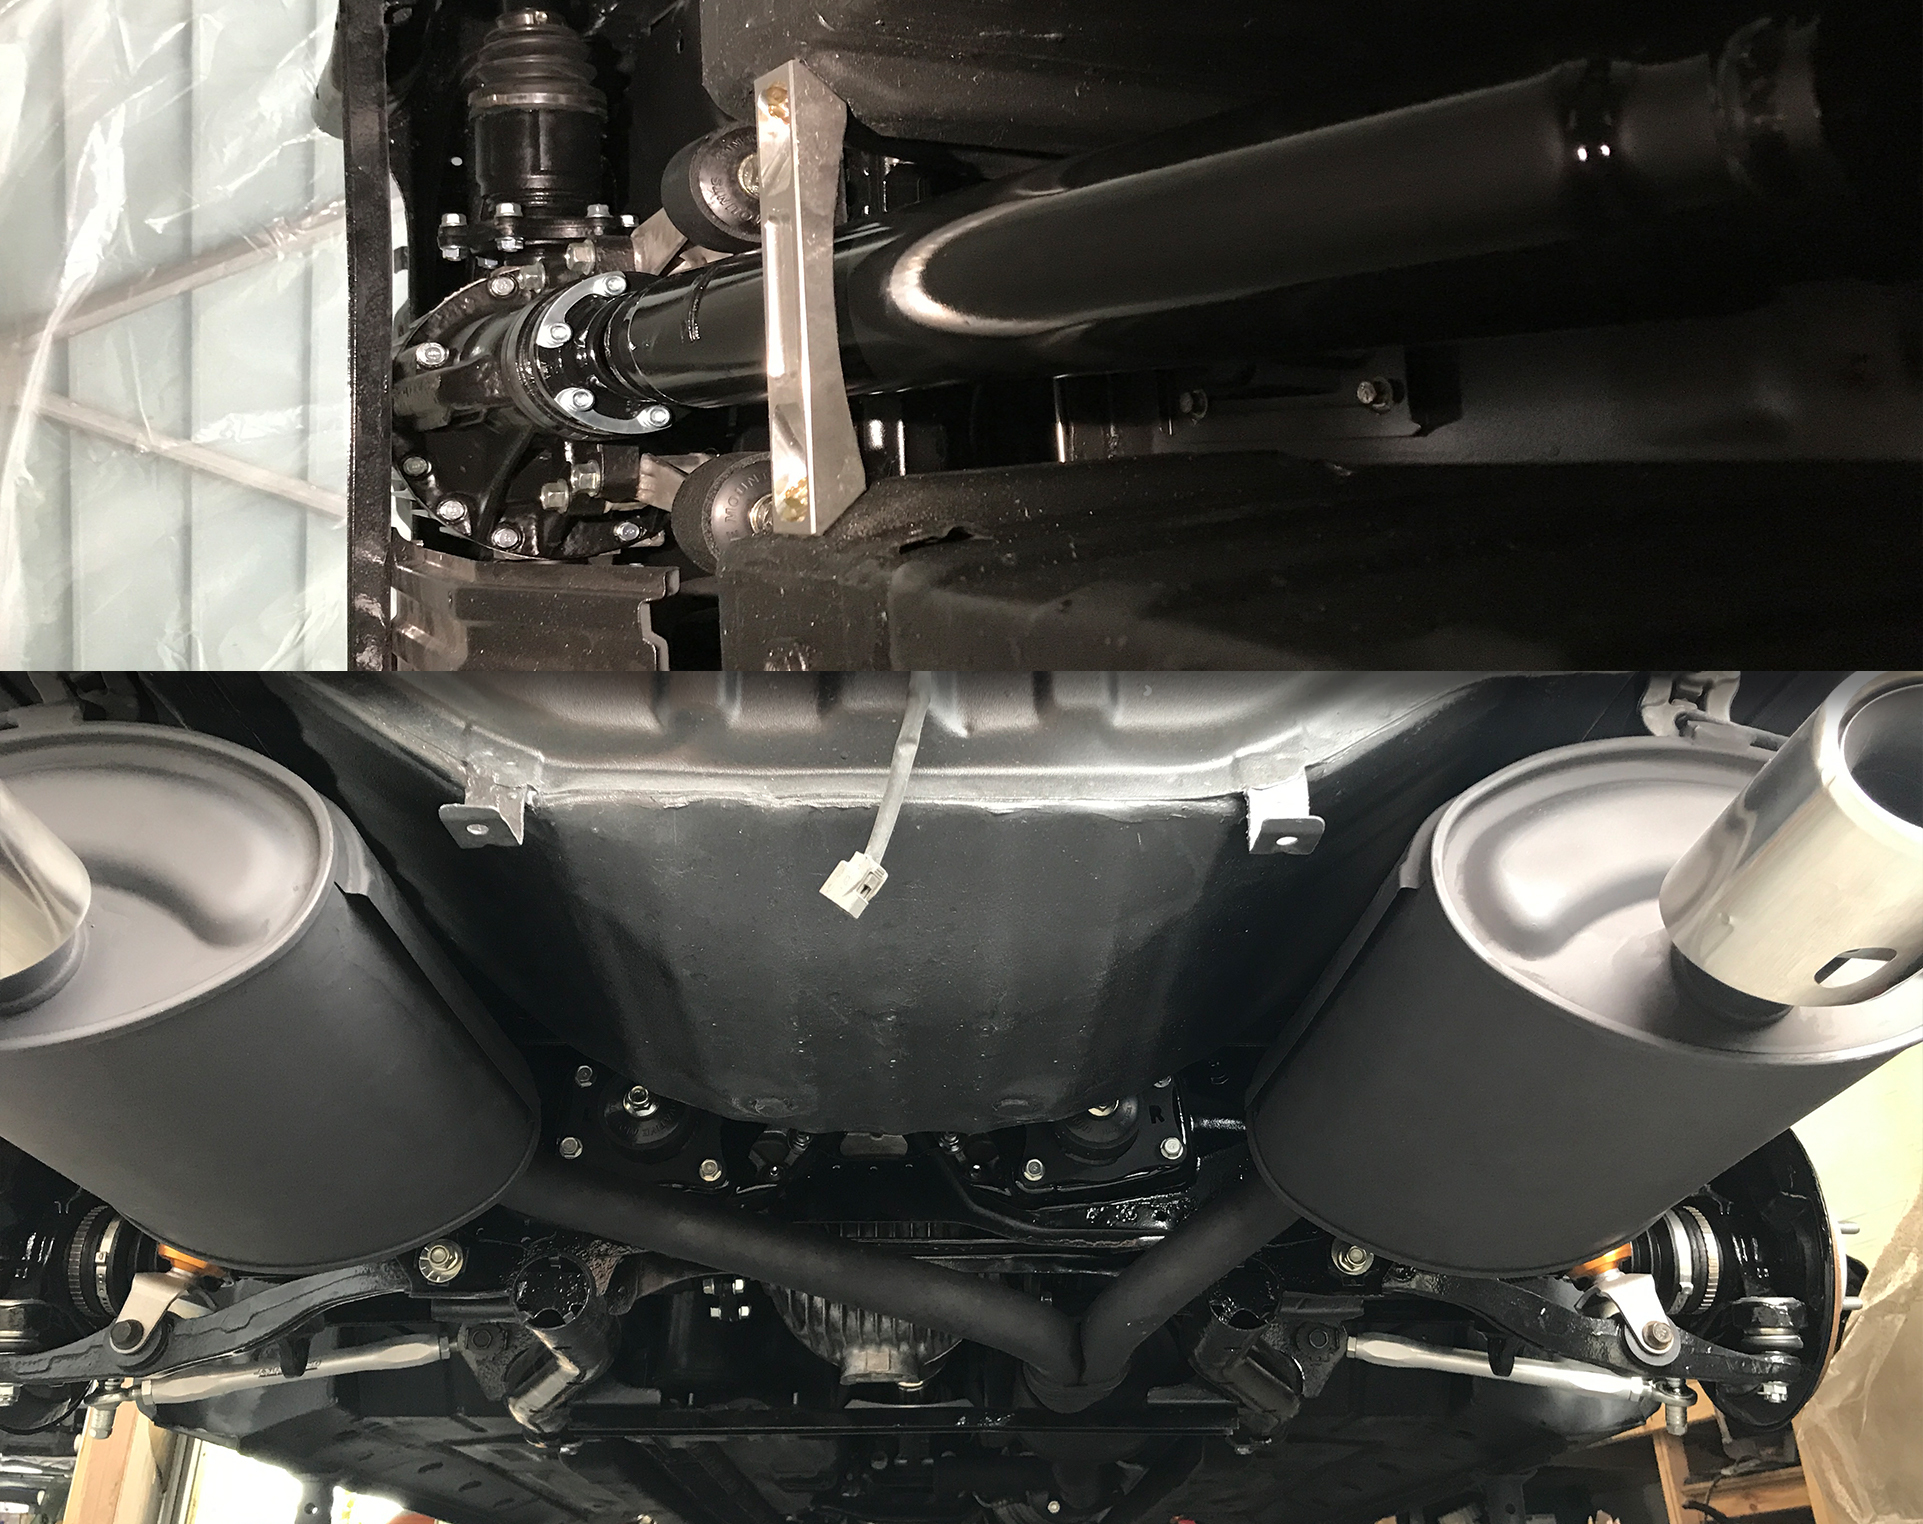
Suspension Components Summary
Here’s a breakdown of the suspension components installed:
-
Bushings: All bushes, except for the front lower rear compliant bush (which is a Mugen rubber bush), have been replaced with purple PowerFlex poly bushes. Yes, I’m aware they’ll need to be stripped down, cleaned, and re-greased every few years, but with proper maintenance, they should last a very long time.
-
Rear Toe Control Arms: JS Racing adjustable arms to help fix the bump steer issue when hitting potholes or uneven surfaces.
-
Ball Joints: New rear ball joints for the rear wheel knuckles, as well as new front wheel knuckle ball joints.
-
Chassis Reinforcement:
- JS Racing front strut bar – aiming to reduce chassis twisting momentum in corners.
- Spoon reinforcement bar on the transmission tunnel for added rigidity.
-
Hardware: New bolts, nuts, and caster components, with some refurbished parts where possible.
Next Up: Bodywork
Now comes the most stressful part of the build—the bodywork. This is where keeping eye temperature, timing, and attention to detail will be tested to the limit.

