Posted by Ondrej M on 2nd Mar 2025
Building the dream - Part 7 Body work and painting
Body work and paint: My Year-Long DIY Honda S2000 Restoration Journey
The Time Has Come: The Final Touch – The Paint Job
No matter what happens, one thing is certain—everyone's first impression of the car will be shaped by its paint job.
I have a little confession to make: this isn't my first attempt at respraying a car. Two years before starting work on the Honda, I tried a similar restoration—albeit on a smaller scale and with less expense. I might write about that build at some point, but for now, let’s just say it was a valuable learning experience.
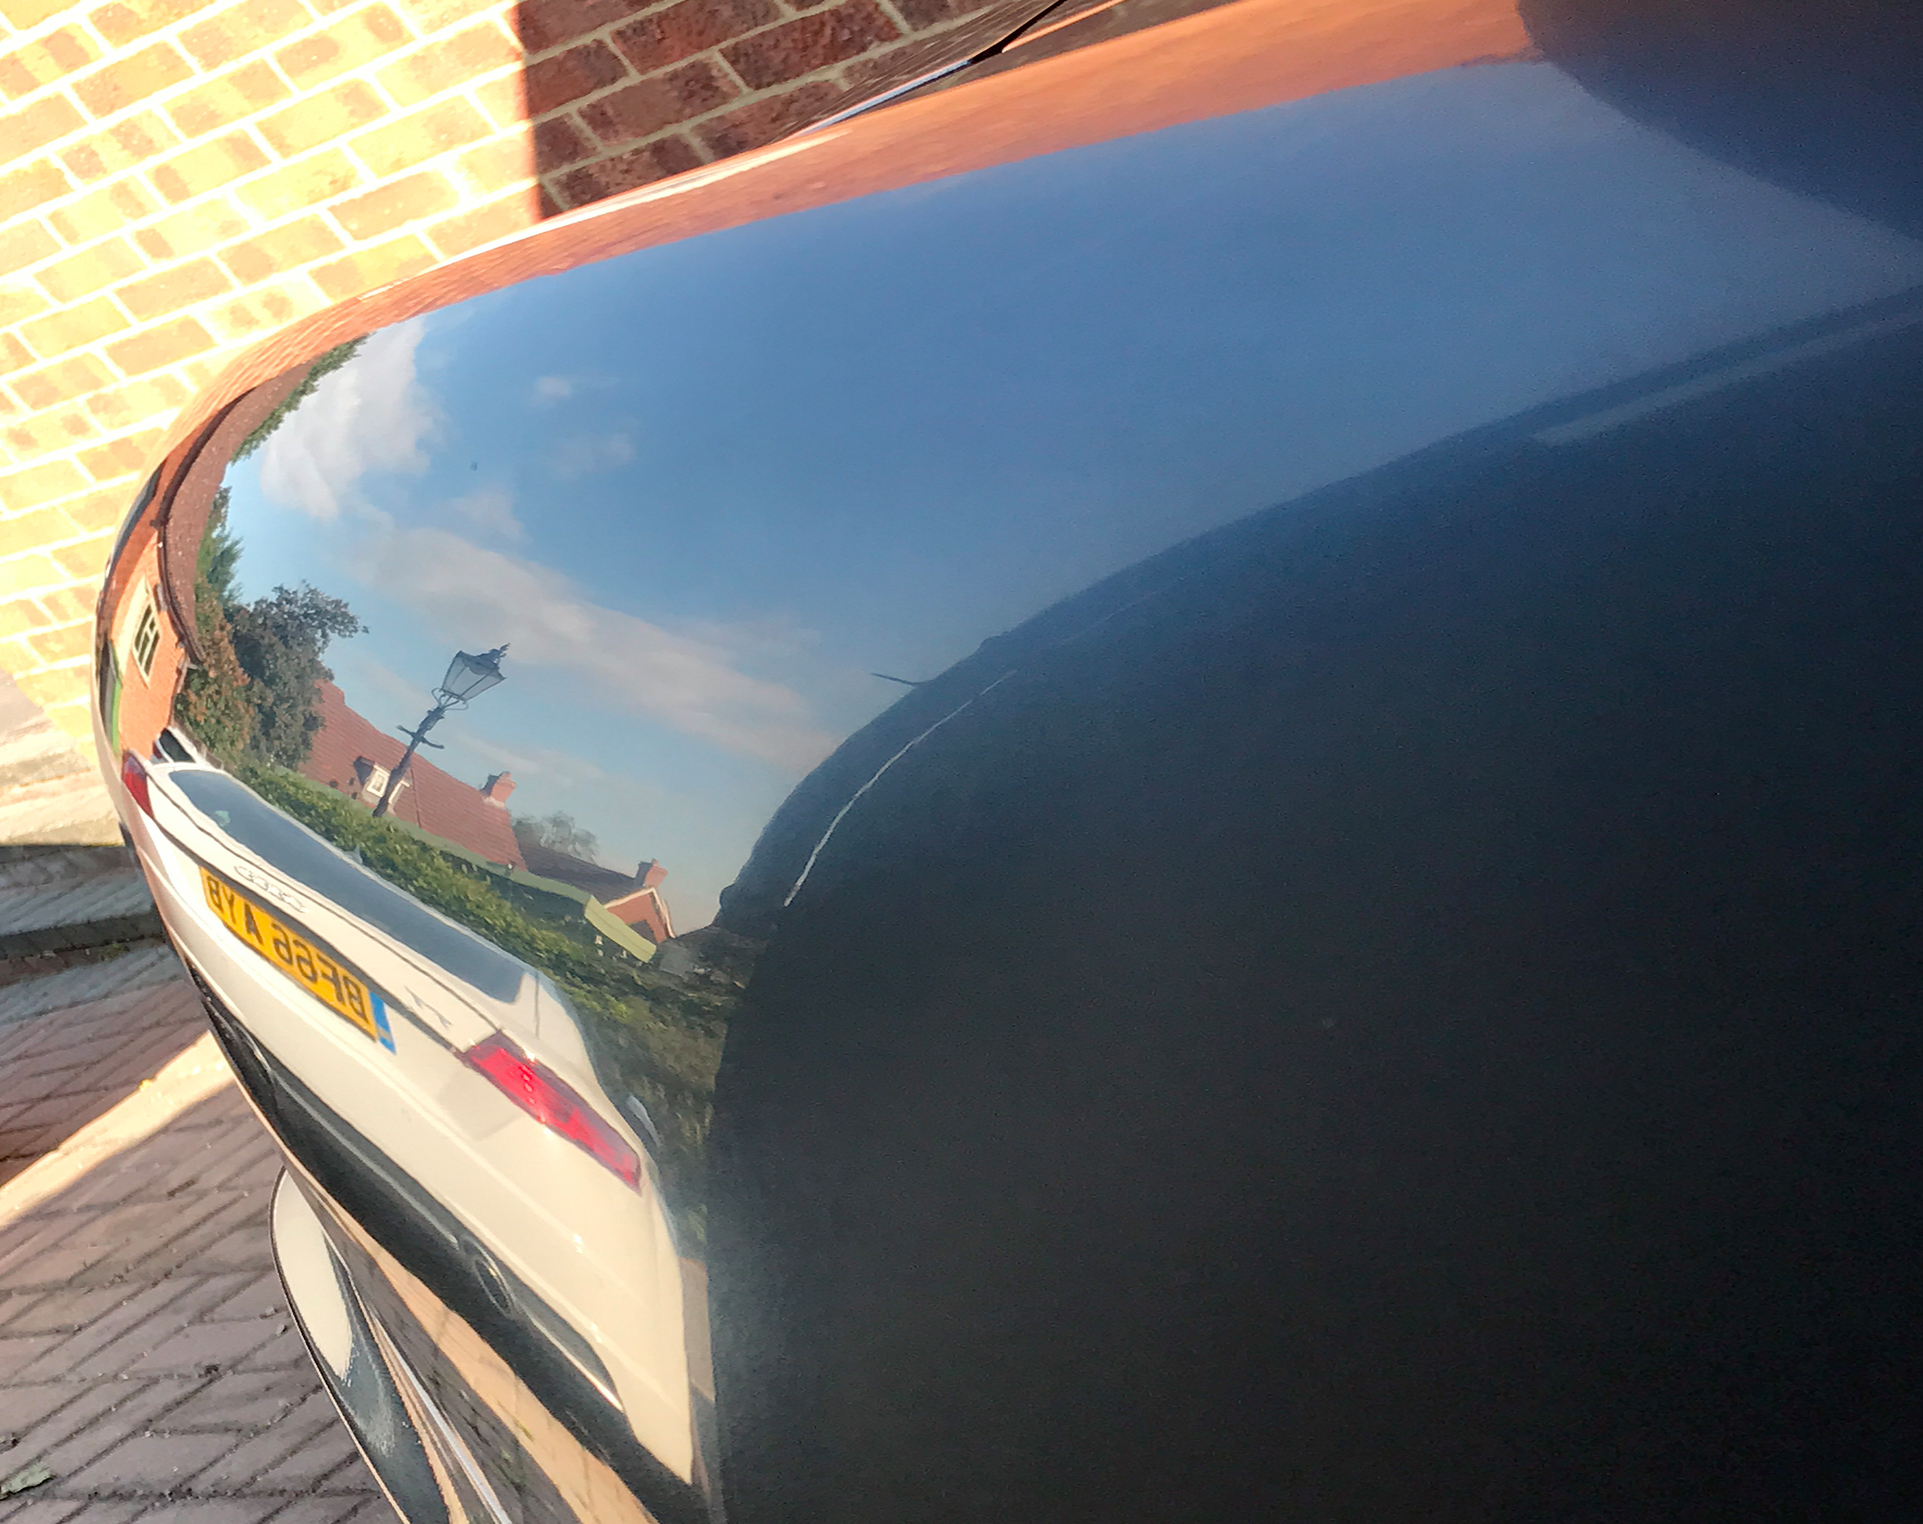
My first project was my old 2005 Audi A6, powered by a 3.2L V6 and equipped with Quattro all-wheel drive. It’s a fantastic car to drive, and being an estate, it’s incredibly practical. However, it was starting to look a bit tired, and I wasn’t a fan of its original color. Long story short, I stripped the car down, restored it, and repainted it in the same blue offered on the 2020 RS6. The result wasn’t too bad, considering I had chosen a large car to start with and tackled a metallic paint job—one of the trickier finishes to get right.
Improving My Painting Skills
Before diving into painting the Honda, I took a step back to refine my skills. From my first attempt, I learned that while I could achieve a decent finish on simpler parts like bumpers, the overall standard wasn’t quite what I would call “show car” quality.
To improve, I spent countless hours watching car painting tutorials. The three YouTube channels that helped me the most were:
- The Gunman
- Paint Society
- Tony’s Refinishing
Each channel offered valuable insights, and I’ll break down what I took away from each of them.
The Gunman – Spray Gun Selection and Techniques
The Gunman, an Australian YouTuber, provides excellent content on spray gun and material reviews, as well as demonstrations on how to use them effectively. Thanks to his videos, I chose my first proper spray gun—the Iwata W400 Bellaria with a 1.3mm nozzle for base and clear coats. To make it more versatile, I also purchased an additional 1.8mm nozzle for high-build primer, which I used to spray the entire Audi.
Based on his recommendations, I also picked up a mini spray gun—ANI R150 with a 0.5mm nozzle—perfect for smaller parts and touch-ups.
Paint Society – The Importance of Prep Work
Paint Society, an American channel, reinforced one of the most critical aspects of painting: prep work. Through Brian’s tutorials, I learned that achieving a flawless base before applying color and clear coat is just as important—if not more—than the actual painting process. Any imperfections left in the prep stage—scratches, dimples, or uneven surfaces—will show through in the final finish.
Tony’s Refinishing – Hands-On Training
Tony’s Refinishing, a UK-based YouTube channel, became the most valuable resource for me. He covers the entire painting process, from prep work and painting to the finishing touches like polishing for a glass-like finish.
Beyond his videos, what set Tony apart was his in-person training sessions. He was incredibly accommodating, tailoring the workshop specifically to my needs. I won’t disclose the exact price, but it was very reasonable, especially considering he dedicated an entire weekend day to teaching me.
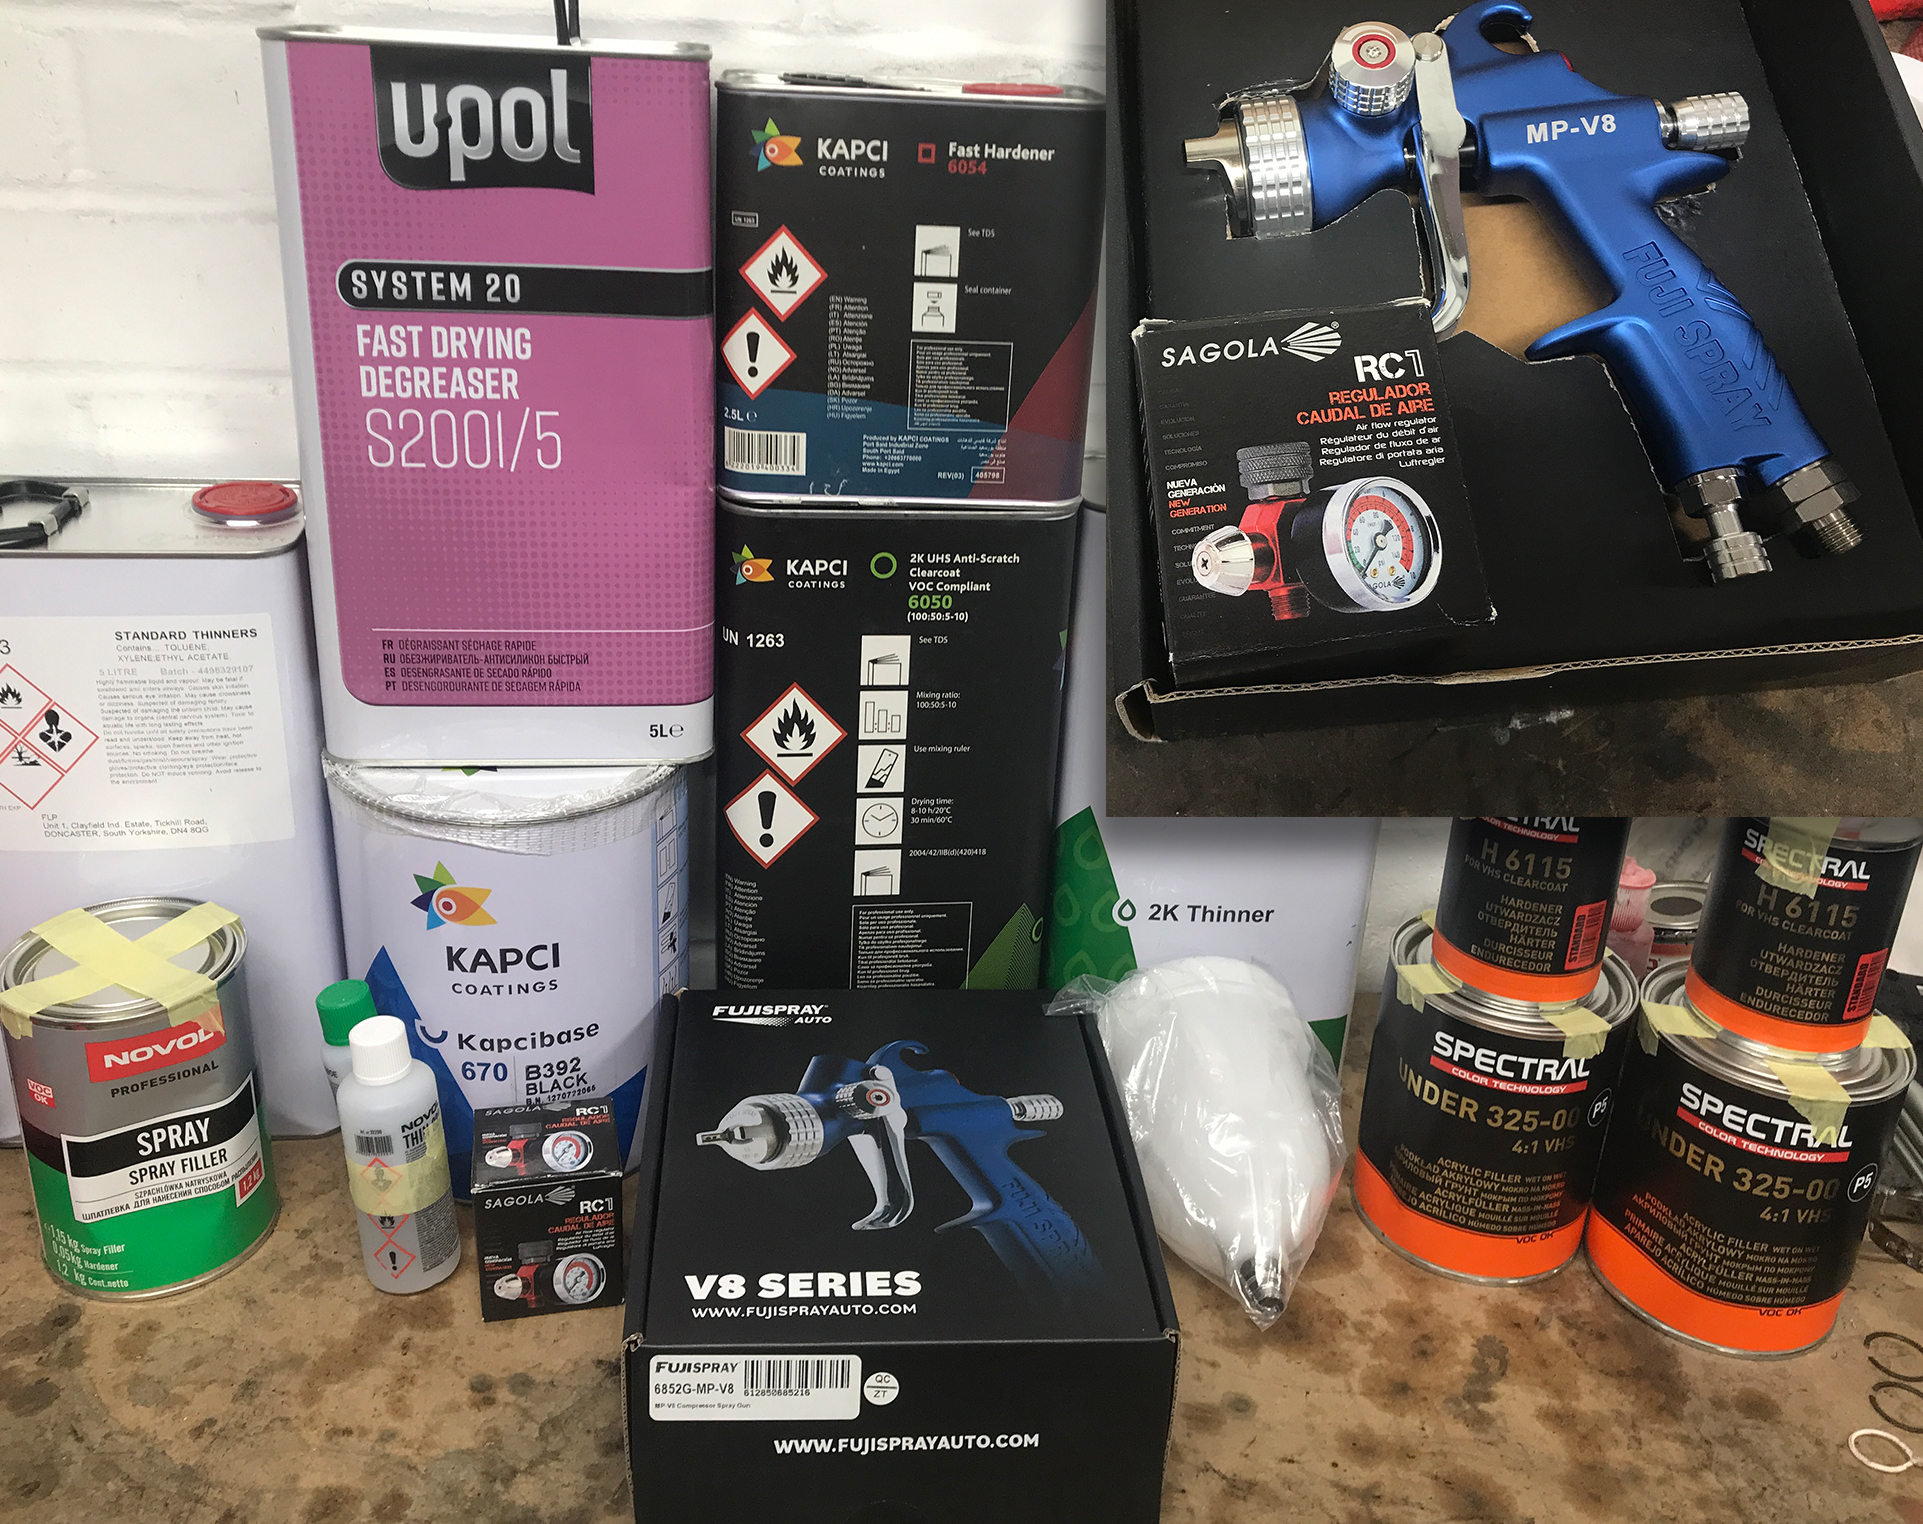
The training was hands-on: I practiced with my own Iwata W400 Bellaria and even had the opportunity to use a Fuji MP-V8, a superior spray gun. Tony also guided me on selecting the right materials to achieve the best finish under my specific conditions. By the end of the day, I was so impressed with the Fuji spray gun that I ended up buying one! I hope Tony received some kickback from my purchase—he certainly deserved it.
Beyond the guns I mentioned, I also use Sealy spray guns (1.4mm and 2.0mm nozzles) for polyurethane paints, bed liners, and upholstery dye. These jobs don’t require a fine finish, and I prefer not to run such materials through my higher-end guns.
Preparing for the Paintwork
Before any painting could begin, I had to finalize the preparation by addressing the bodywork, fixing all imperfections, and setting up a proper painting environment.
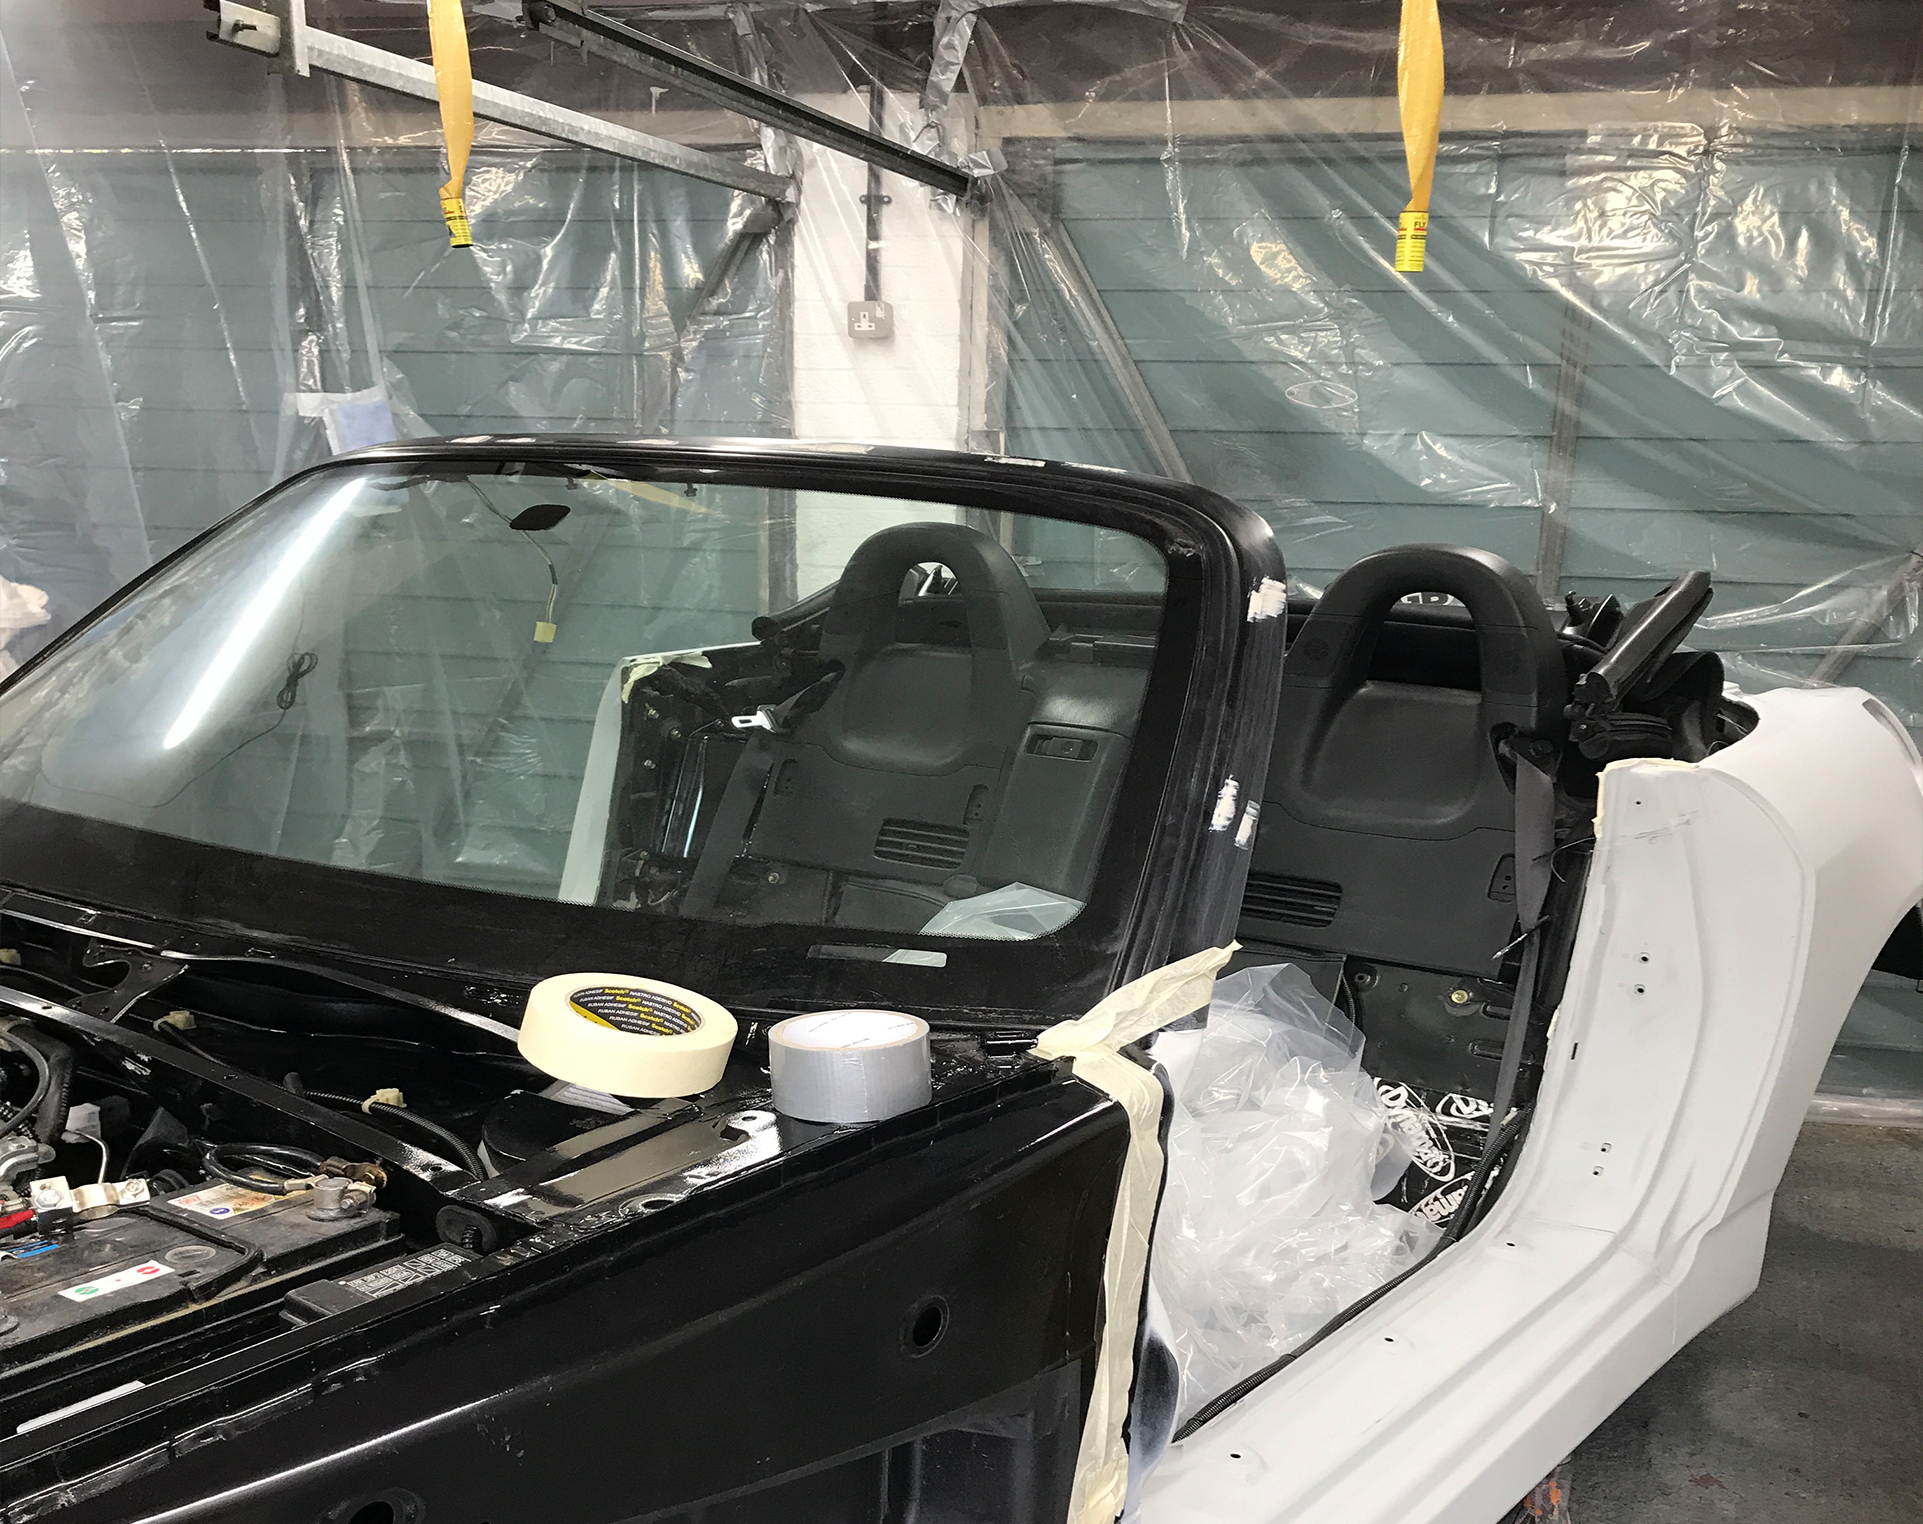
I divided the garage into two distinct areas:
- Preparation and paint mixing area
- Spray painting area
Since it's springtime and temperatures are relatively stable around 20°C, I took additional precautions based on past experience—placing four fly traps to minimize the risk of contaminants in the paintwork.
Separating the workspace wasn't just about preventing overspray from covering everything in the garage. More importantly, it helped ensure that the painting area remained as clean and dust-free as possible.
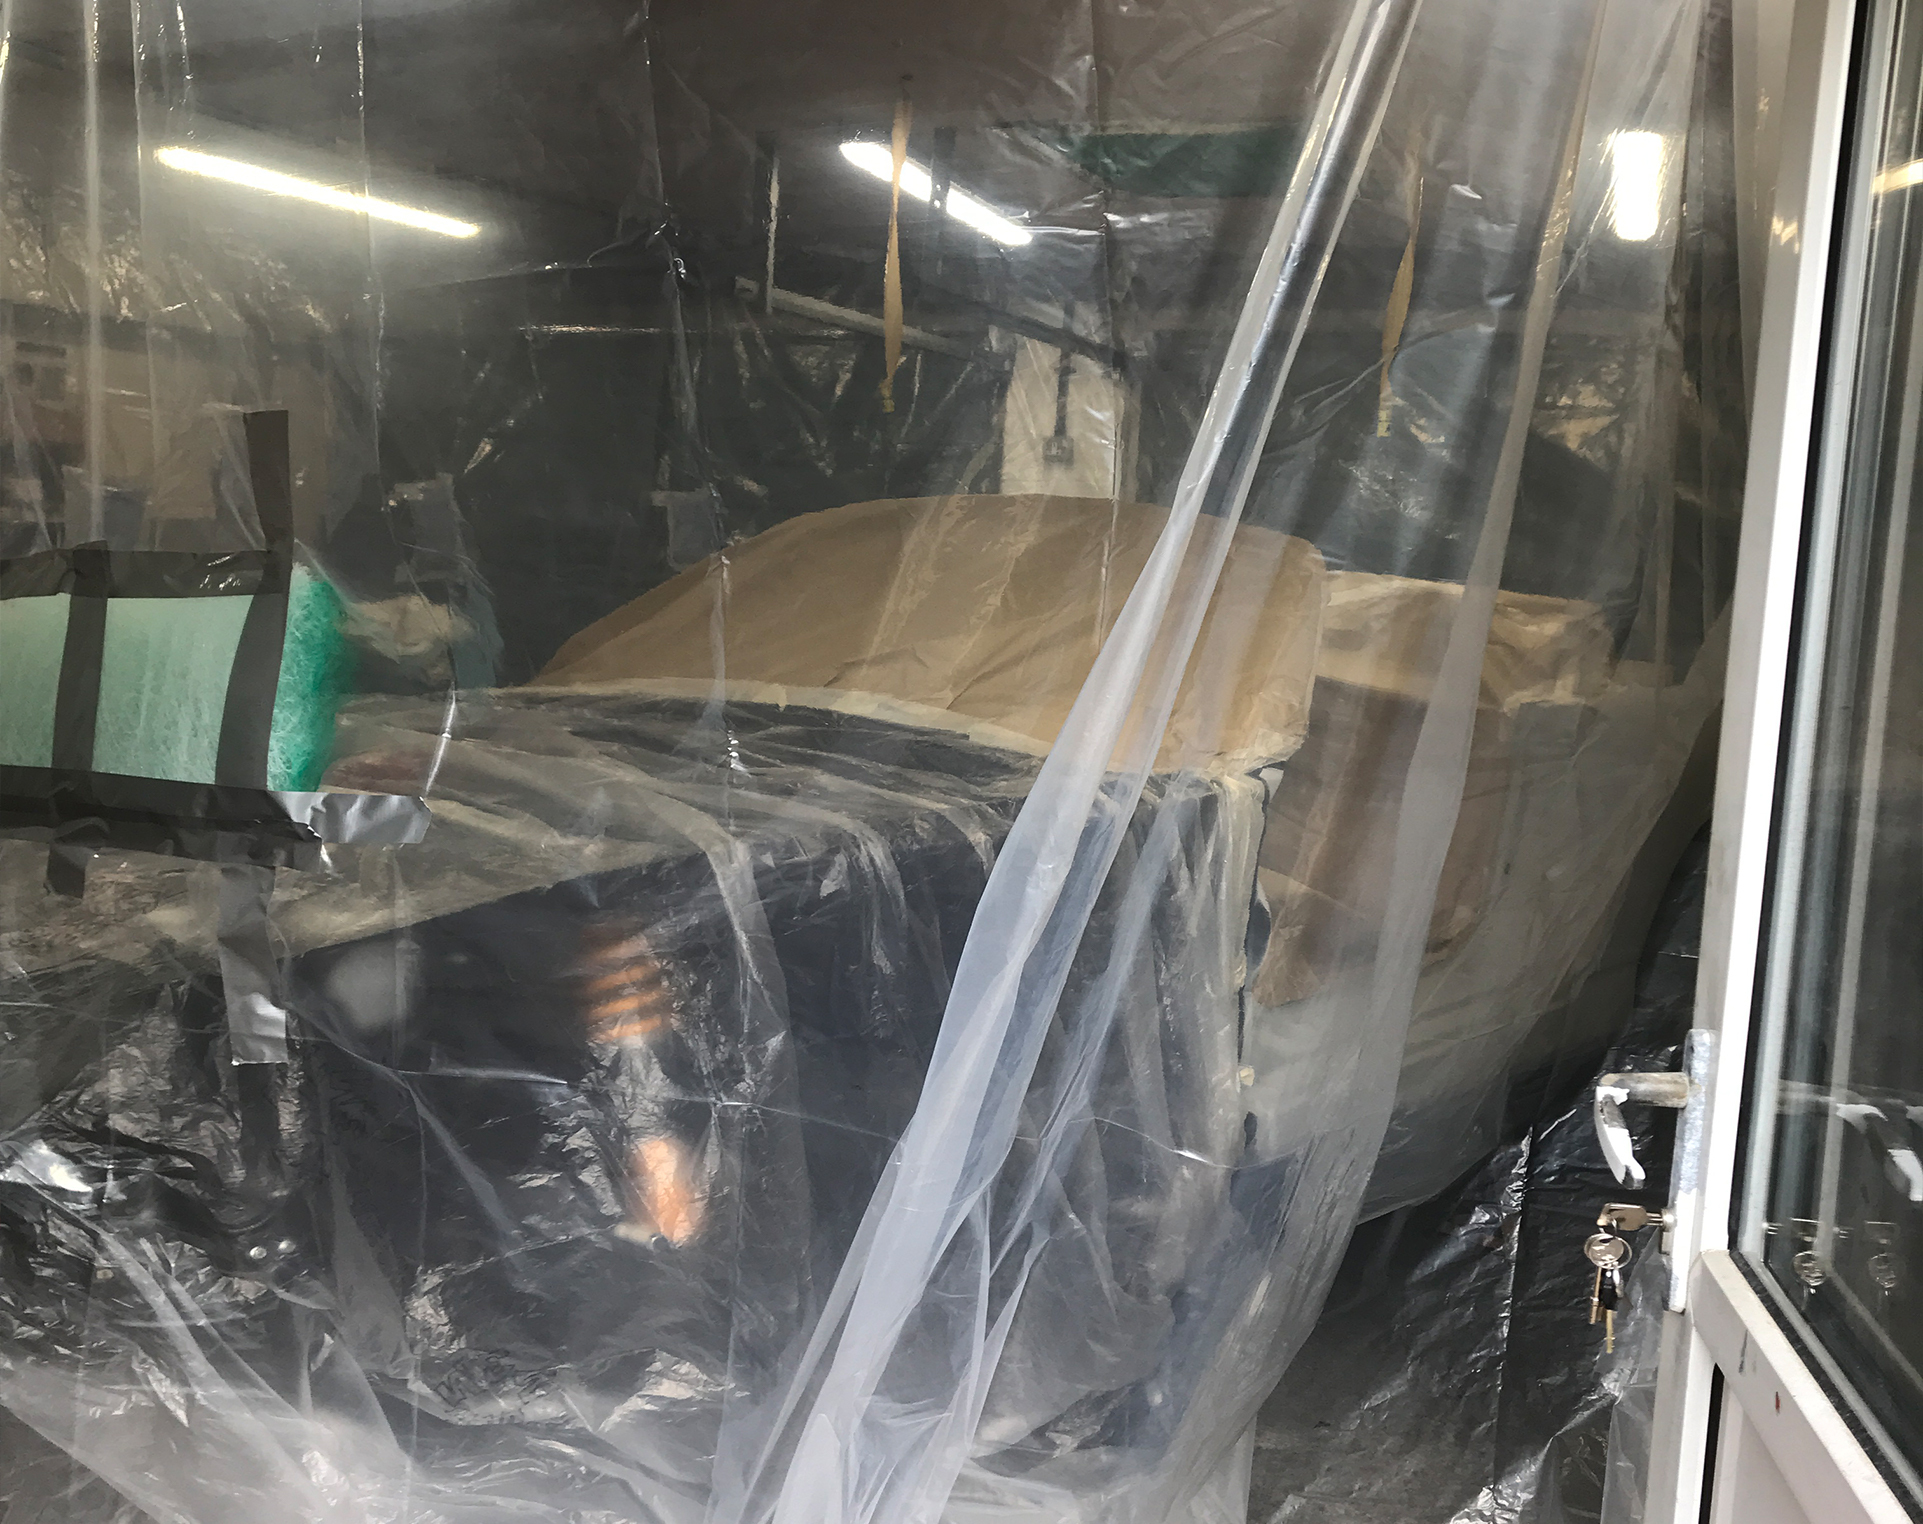
To further reduce airborne dust, I kept the floor wet, preventing any particles from becoming airborne and settling on the fresh paint. However, maintaining a wet floor also meant I had to carefully monitor both humidity and temperature throughout the process to avoid any unintended effects on the paint application.
The shell is masked up
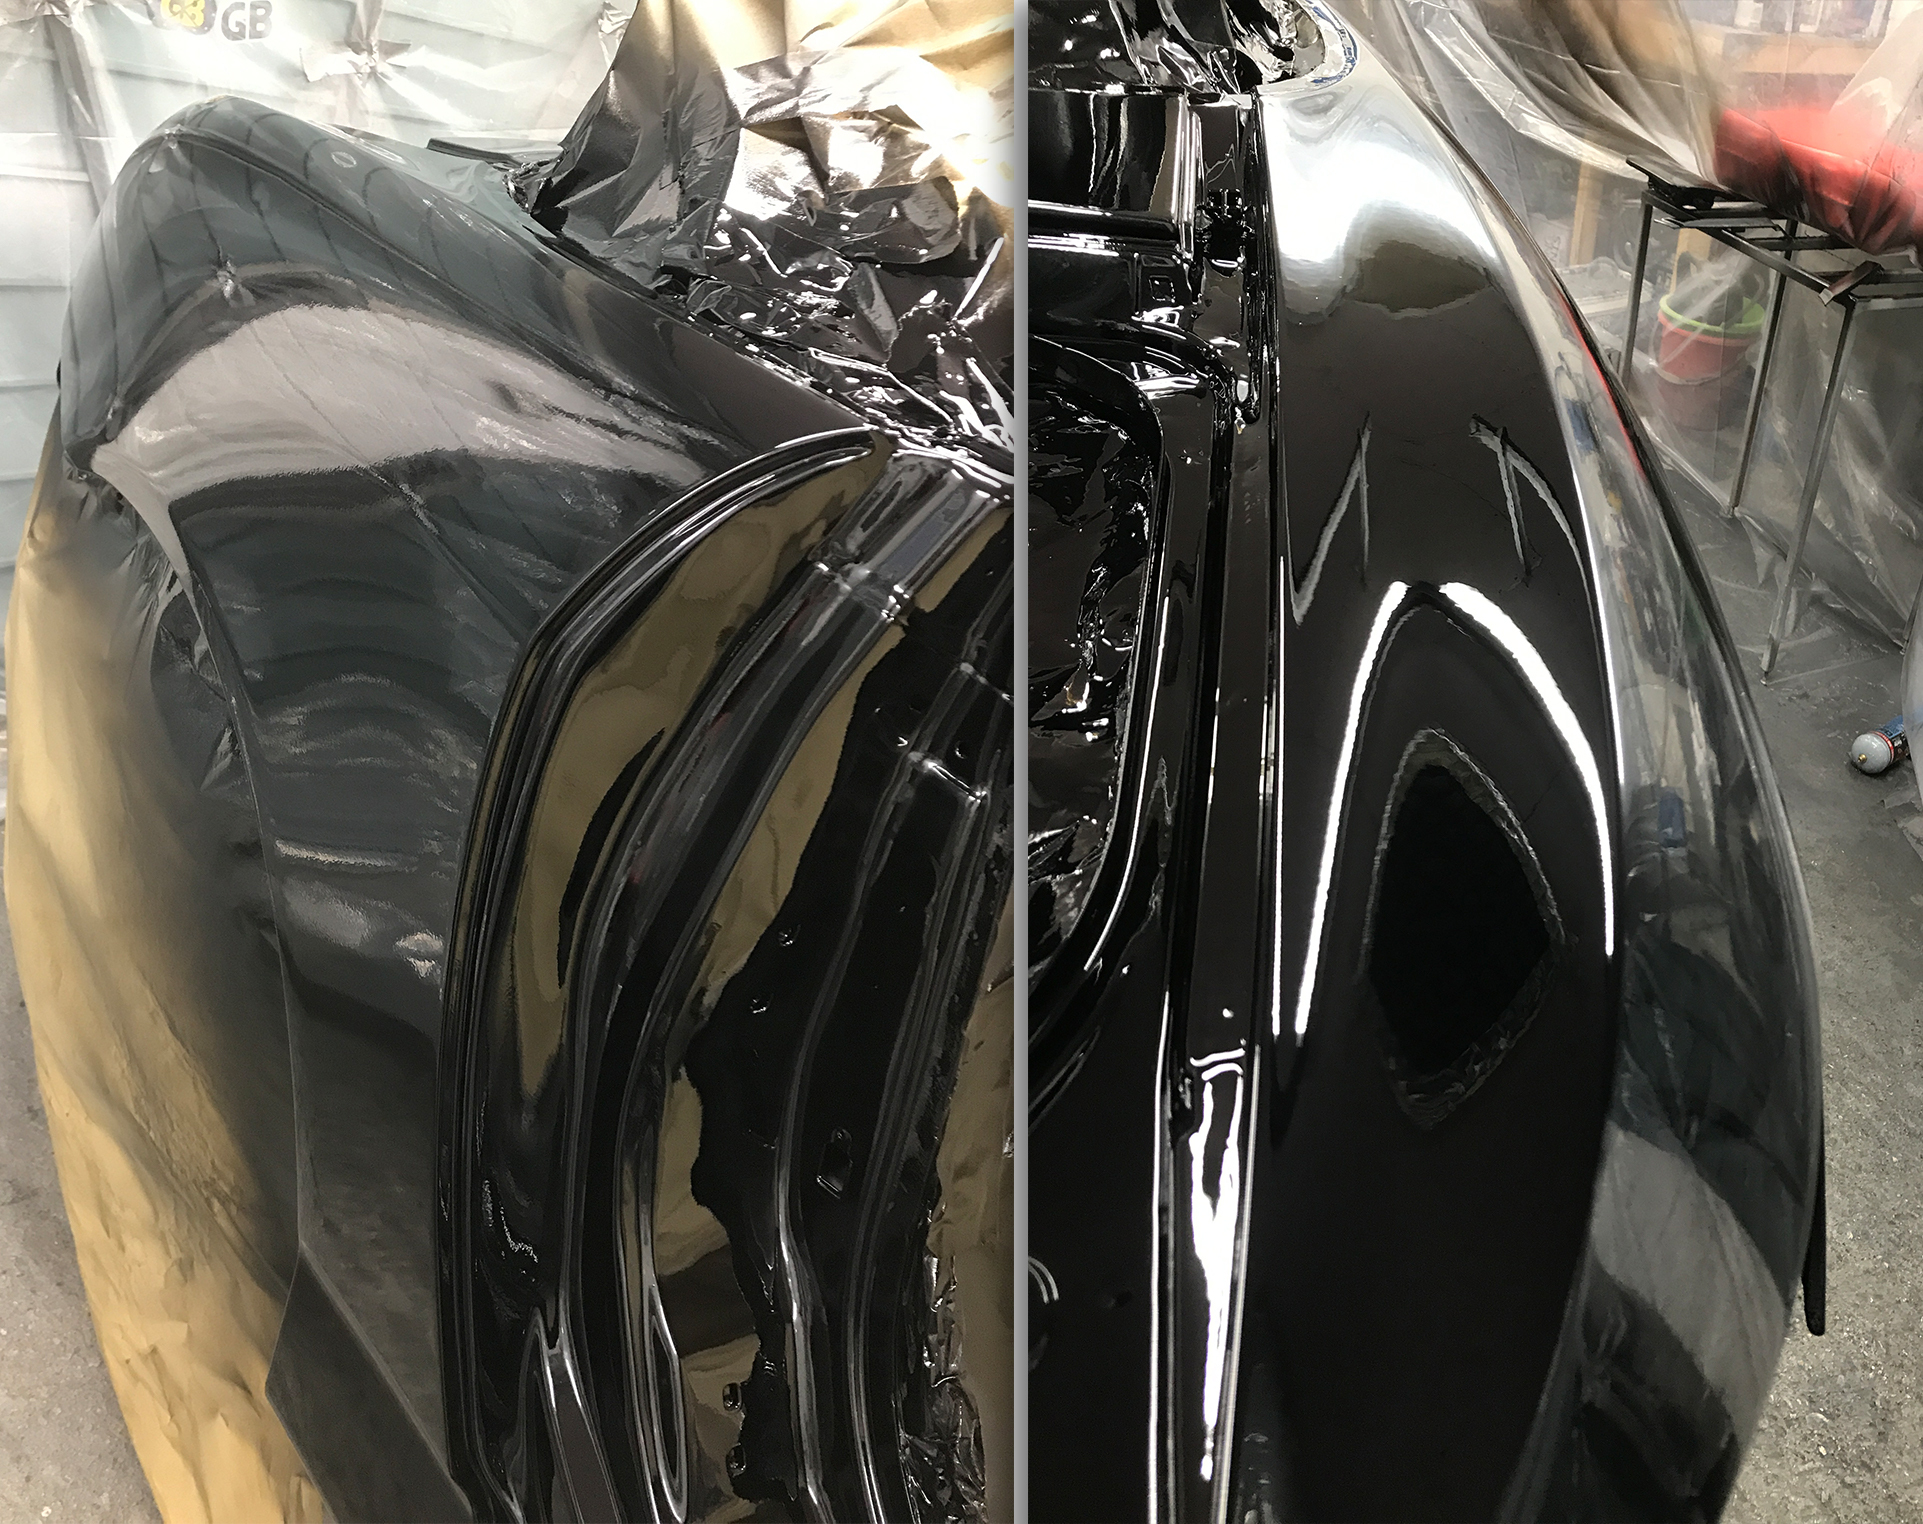
I was really pleased with the final coat—it looked just like glass, with no runs, just perfect. That was, of course, until it fully cured. Then, I started to notice some orange peel.
However, this wasn’t a major issue. I had intentionally applied the second pass of clear coat relatively thick, allowing enough material for wet sanding and polishing to achieve the desired glass-like finish.
This was also a significant moment—the point where I could finally fit the wheels. With everything in place, the car was ready to be rolled out of the garage under its own power for the first time since the build began.
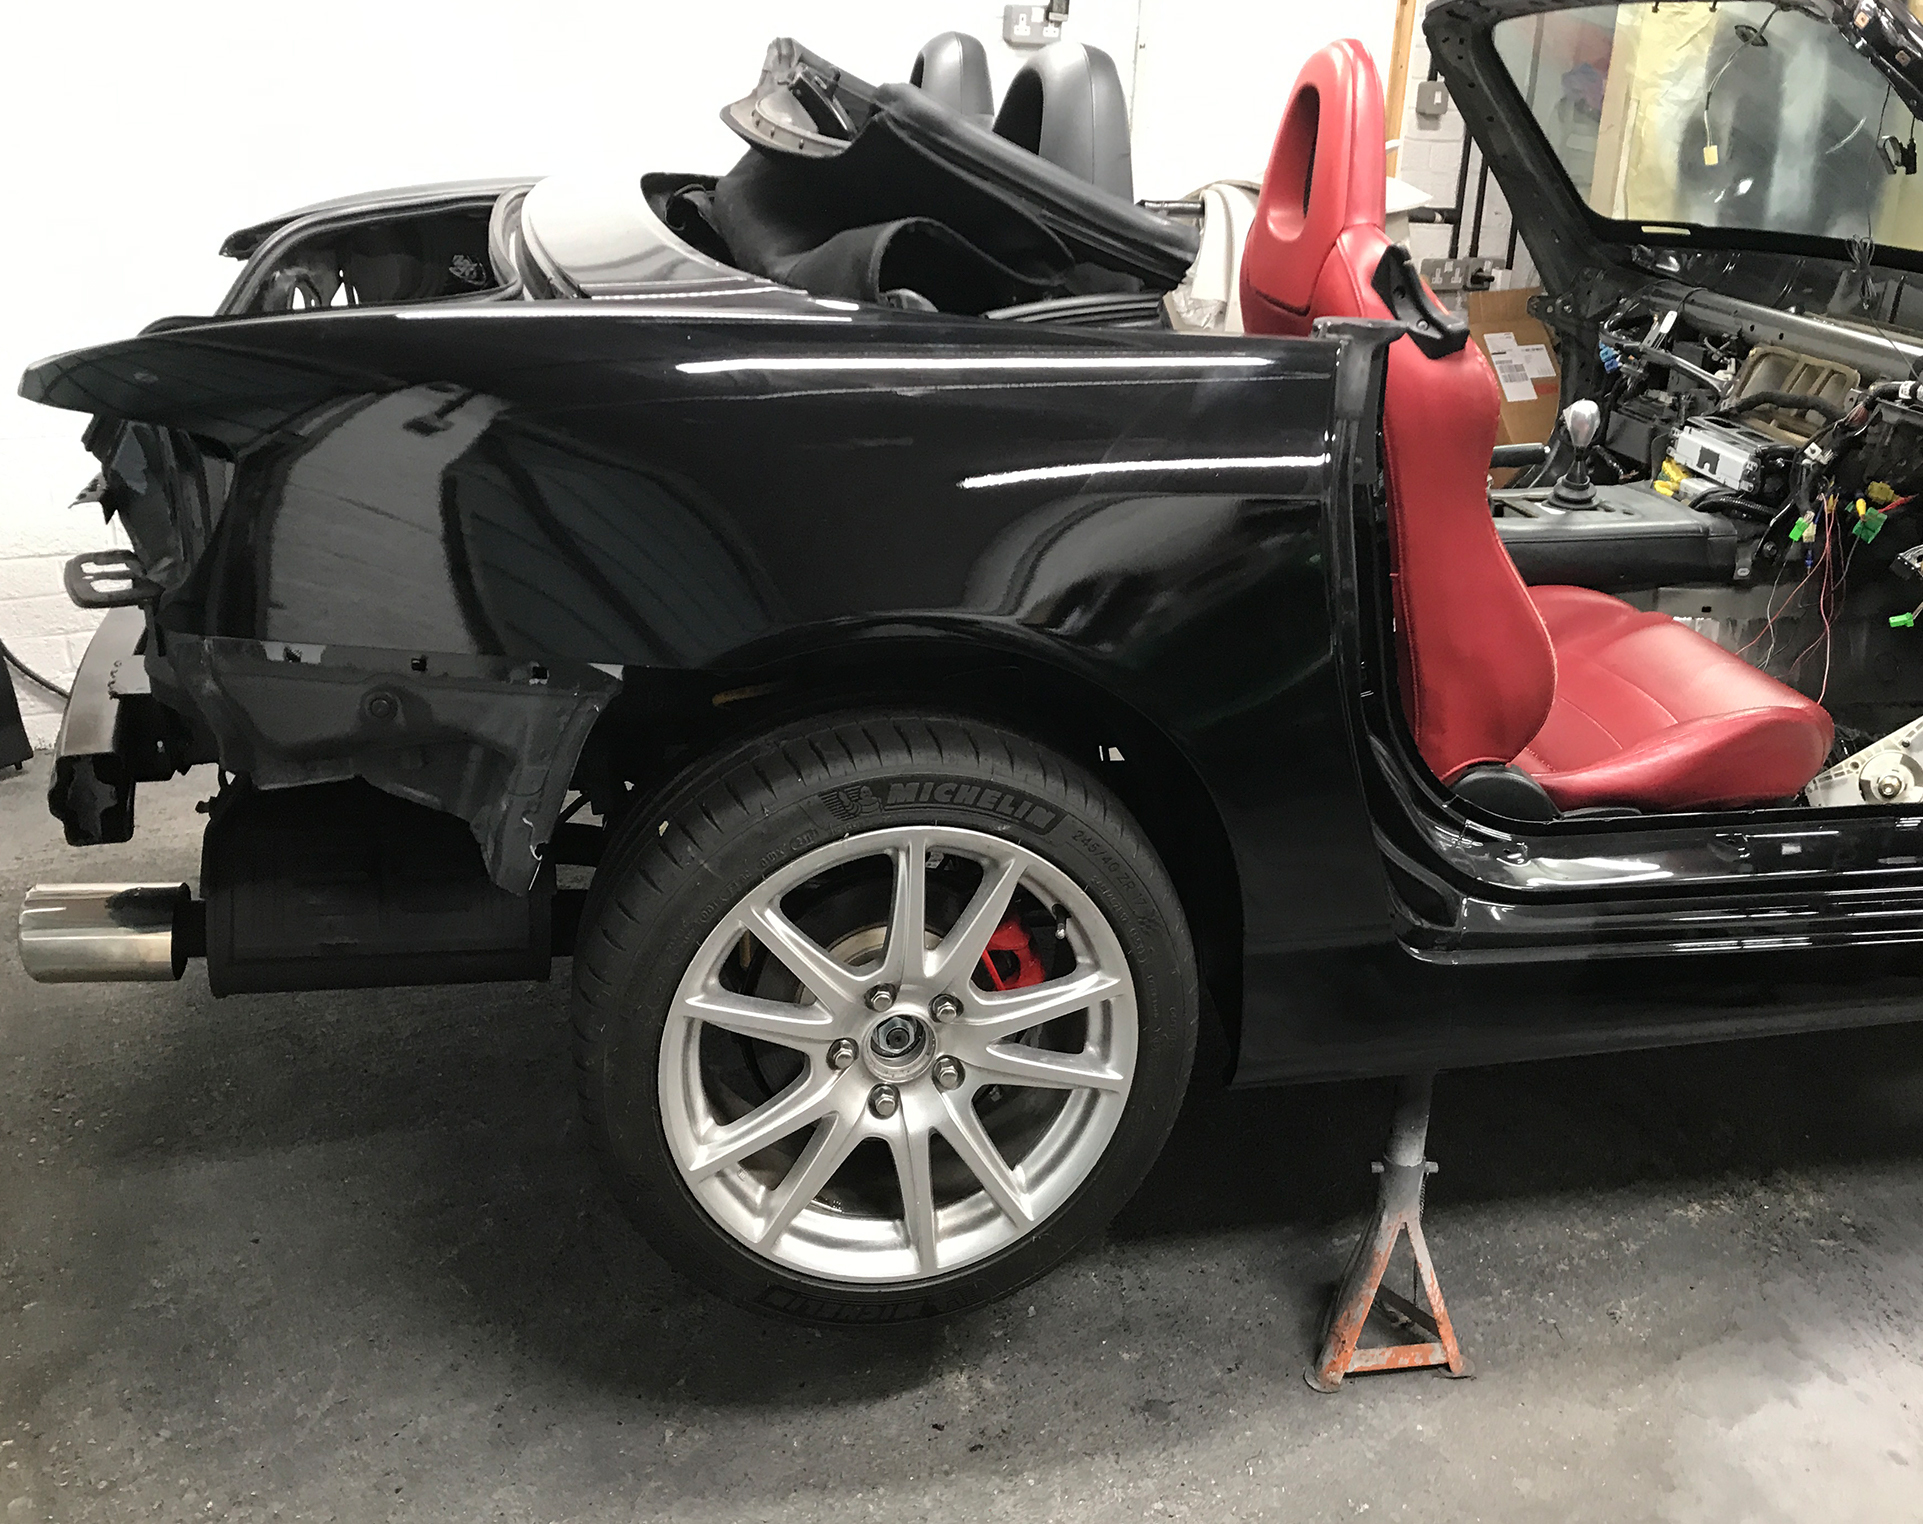
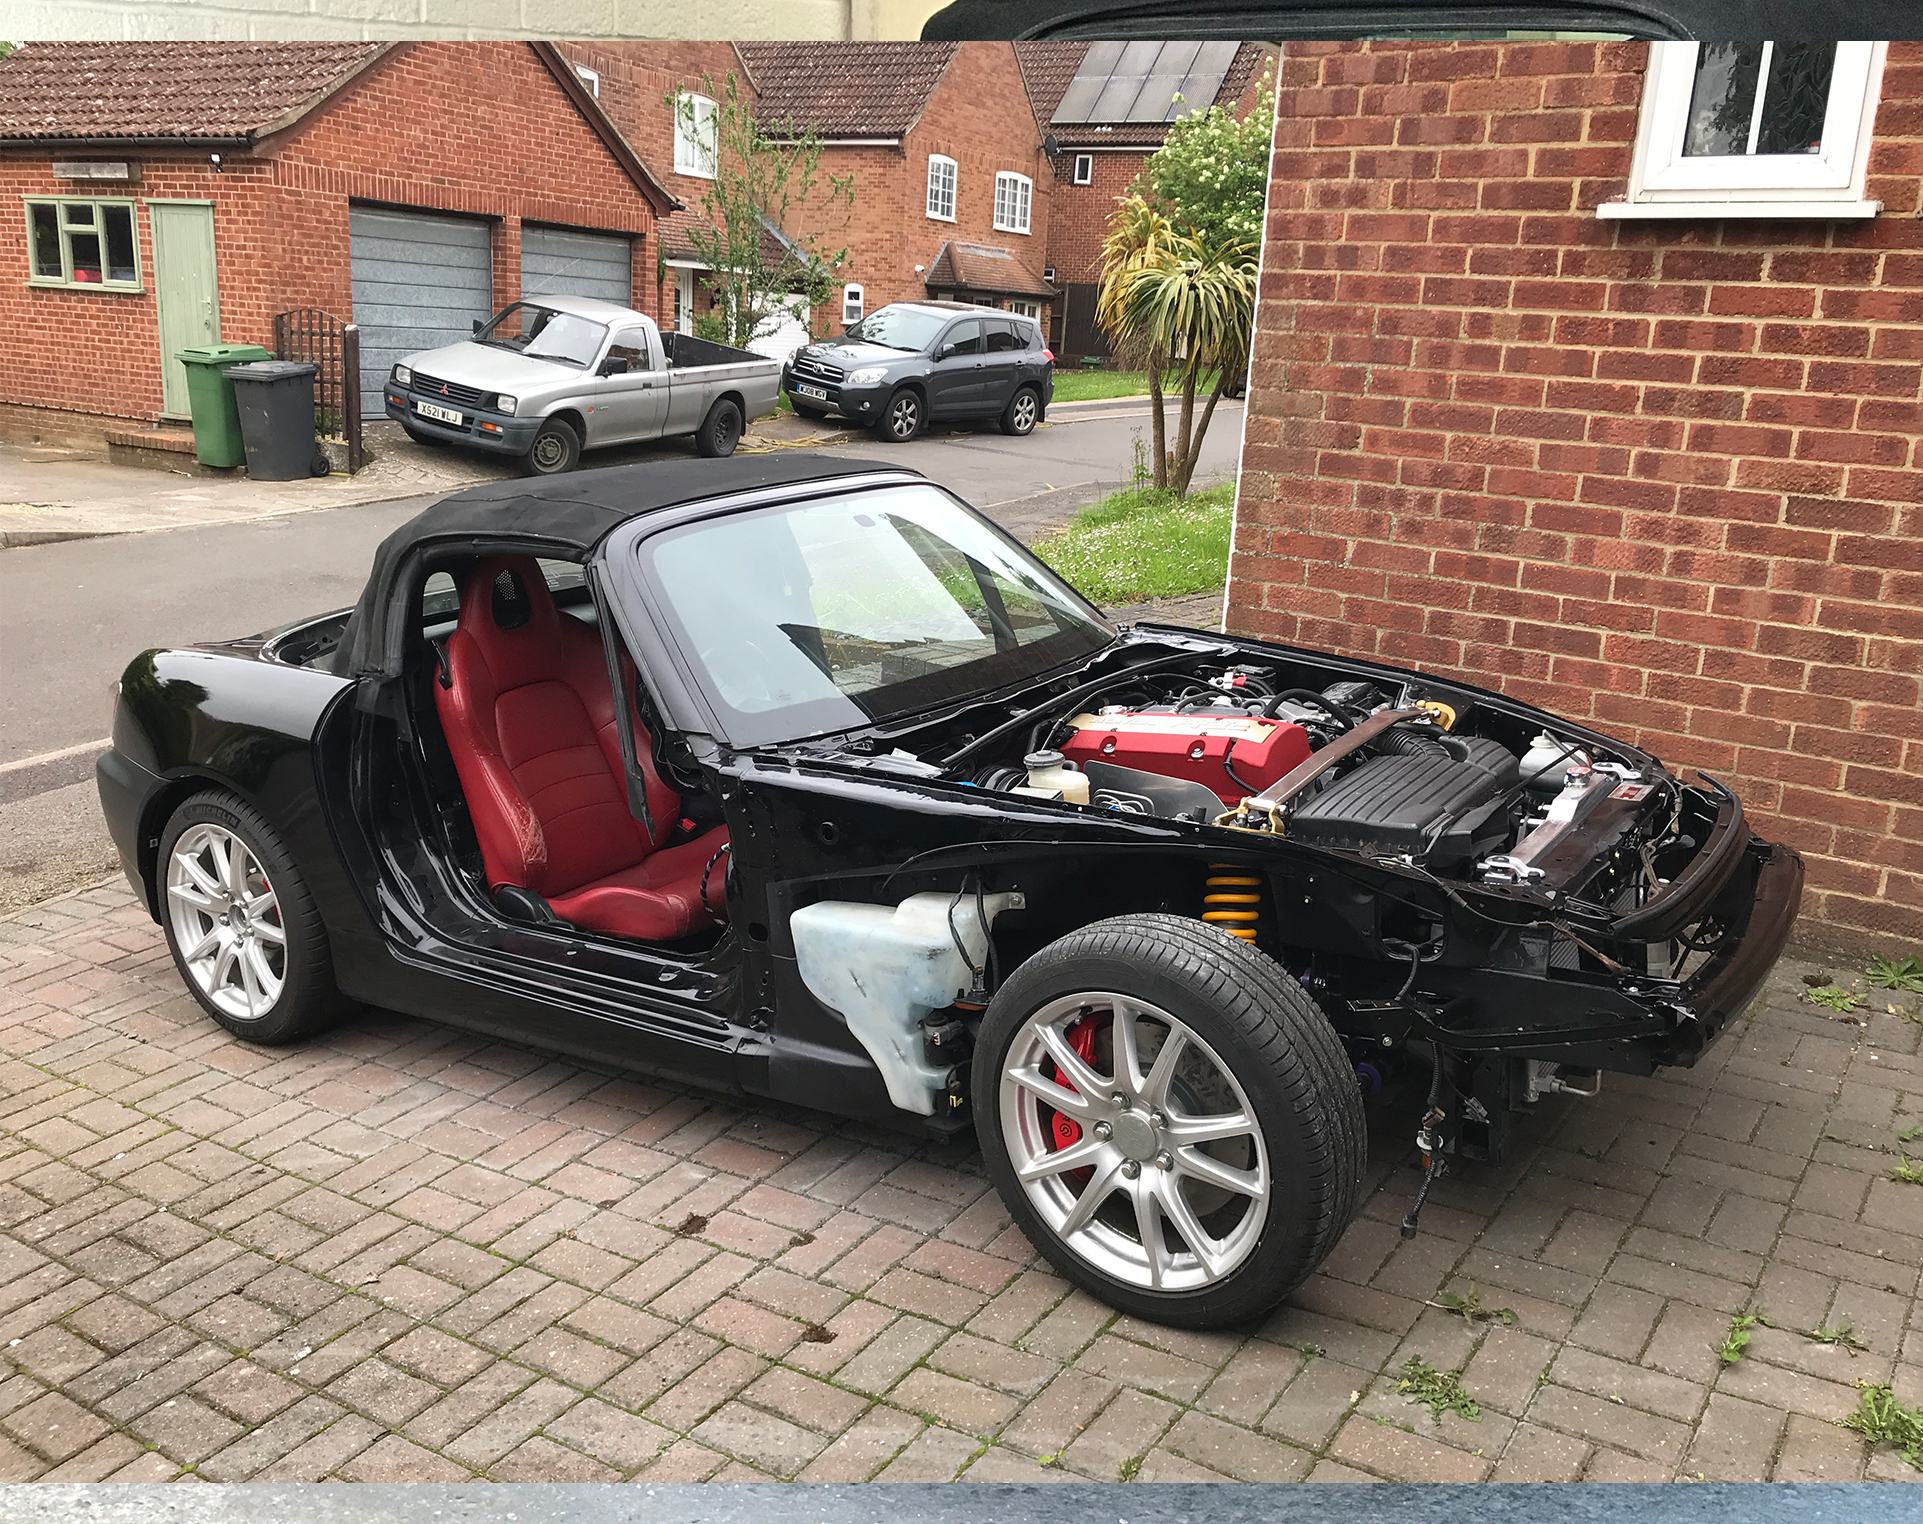
Once the car cleared the garage, I was finally able to start working on the remaining panels. Given my limited space, I decided to spray a maximum of two panels at a time. While I knew this approach wasn’t the most economical, as it required repeatedly setting up the spray booth and cleaning the spray gun multiple times, it did have a significant advantage—it minimized potential issues to just one or two panels at a time, making corrections much easier.
Preparing the Panels
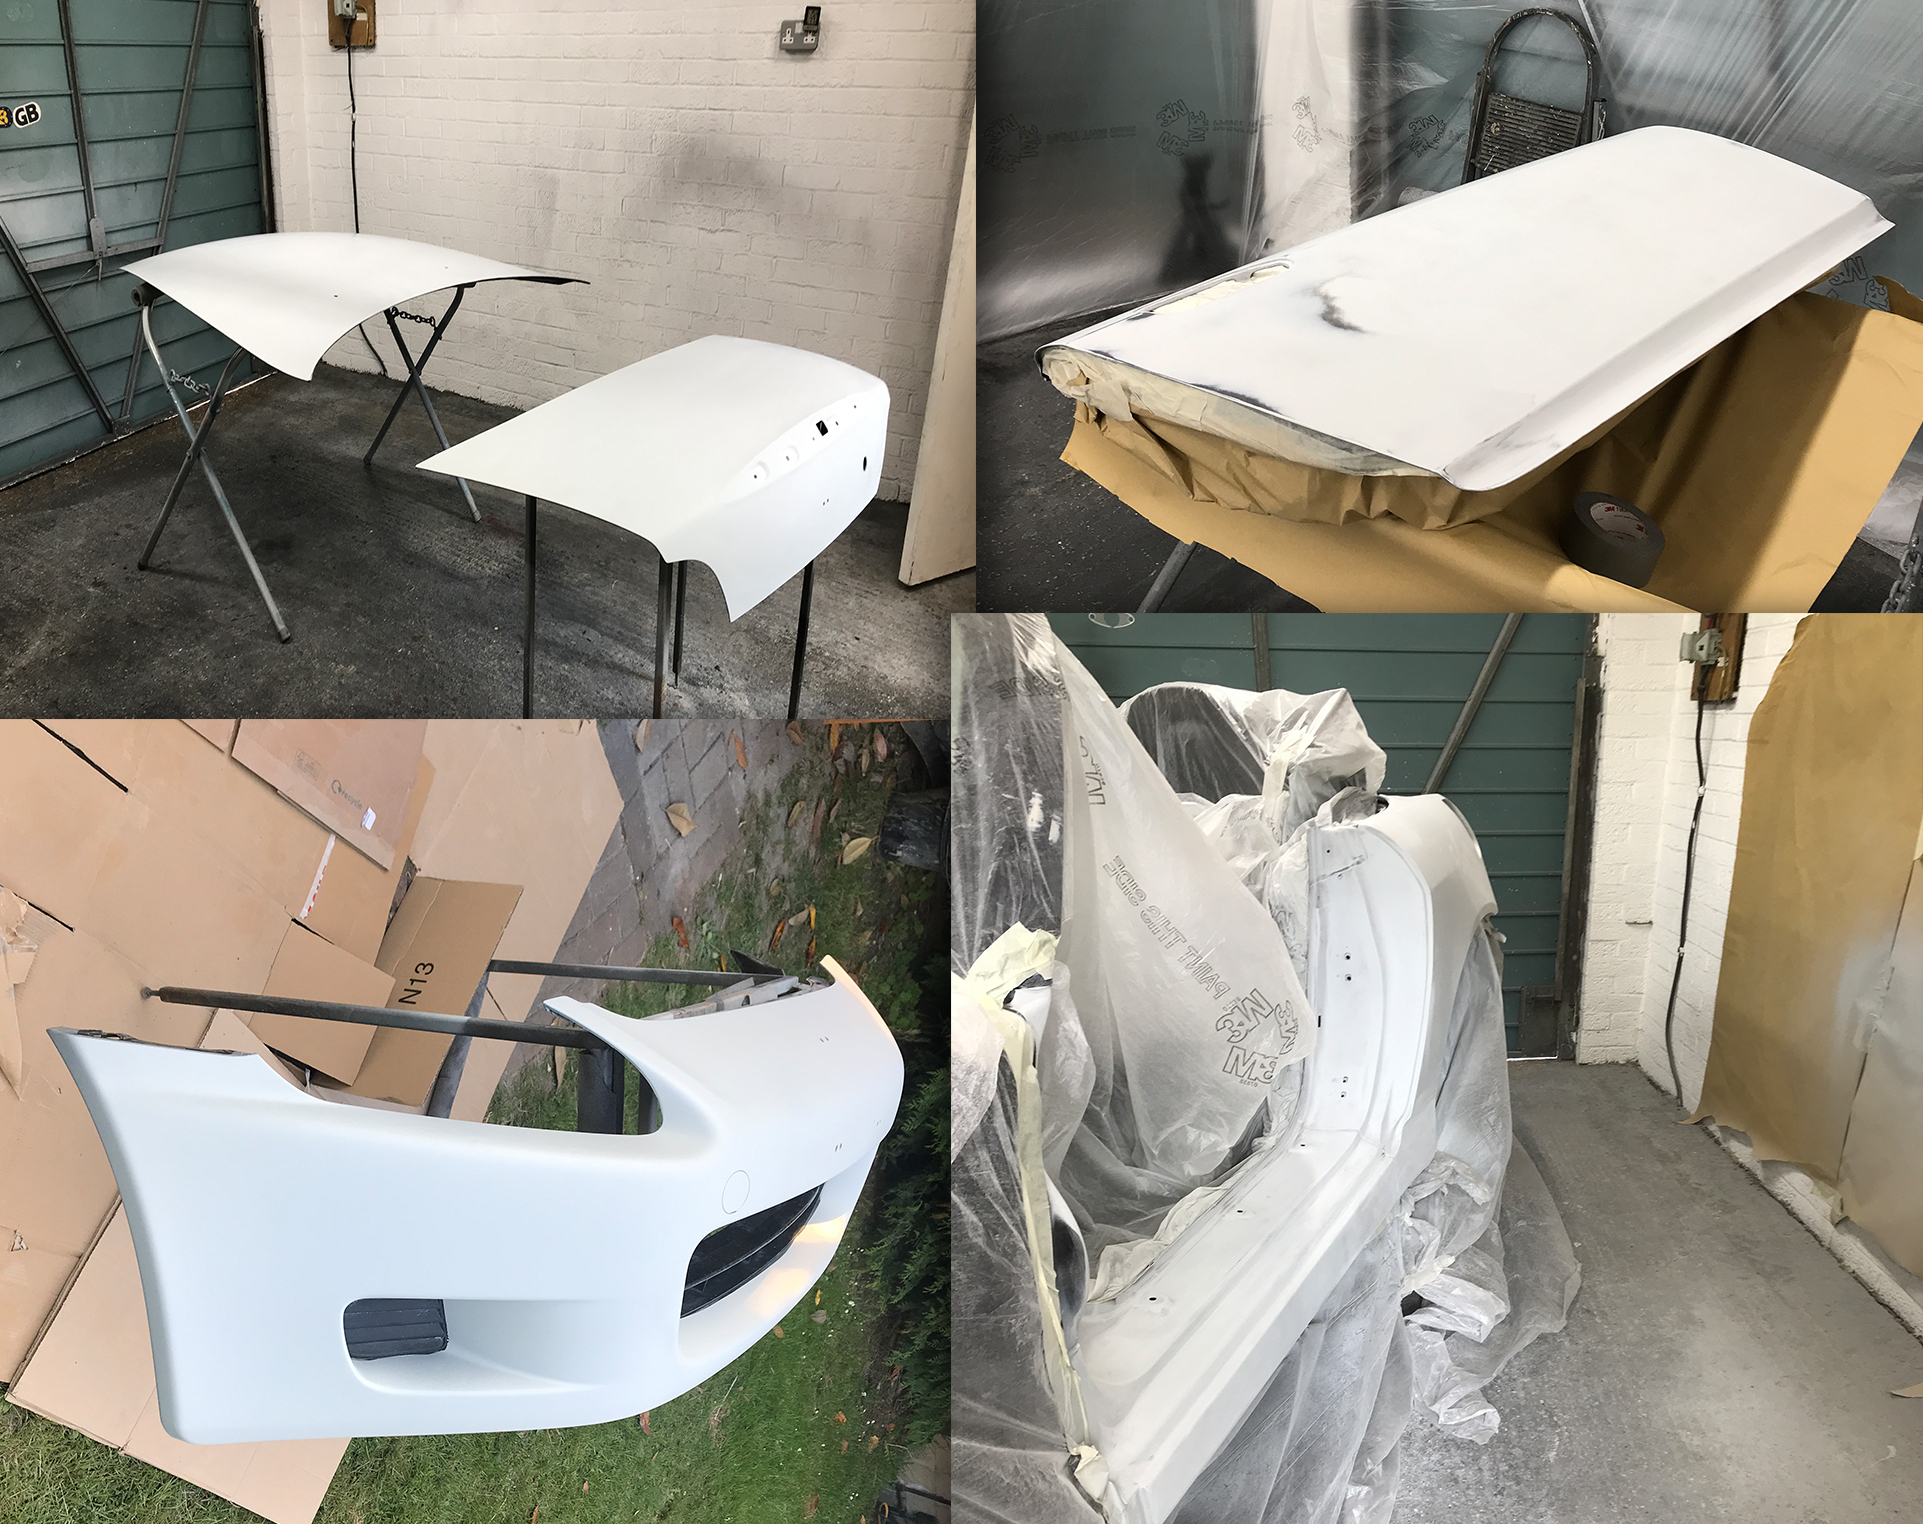
The first step was fixing dents and stone chips using the minimum amount of filler necessary to ensure a smooth finish. One of the biggest modifications was the front bumper. Originally, it had holes for the headlight washers, but since they are not a legal requirement for vehicles manufactured before 2009 (as confirmed by MOT technicians), I decided to smooth out the bumper for a cleaner JDM-inspired look.
To achieve a perfectly smooth surface, I used a dual-action (DA) orbital sander along with sanding blocks for more precision.
At this stage, I sanded the panels with 180-grit sandpaper. This not only smoothed out imperfections but also provided a good adhesion surface (or "key") for the high-build primer.
For plastic parts such as the bumper, I used a flexible filler, which has slightly more elasticity than standard body filler used on metal panels. This helps prevent cracking or separation over time due to the natural flexing of plastic components.
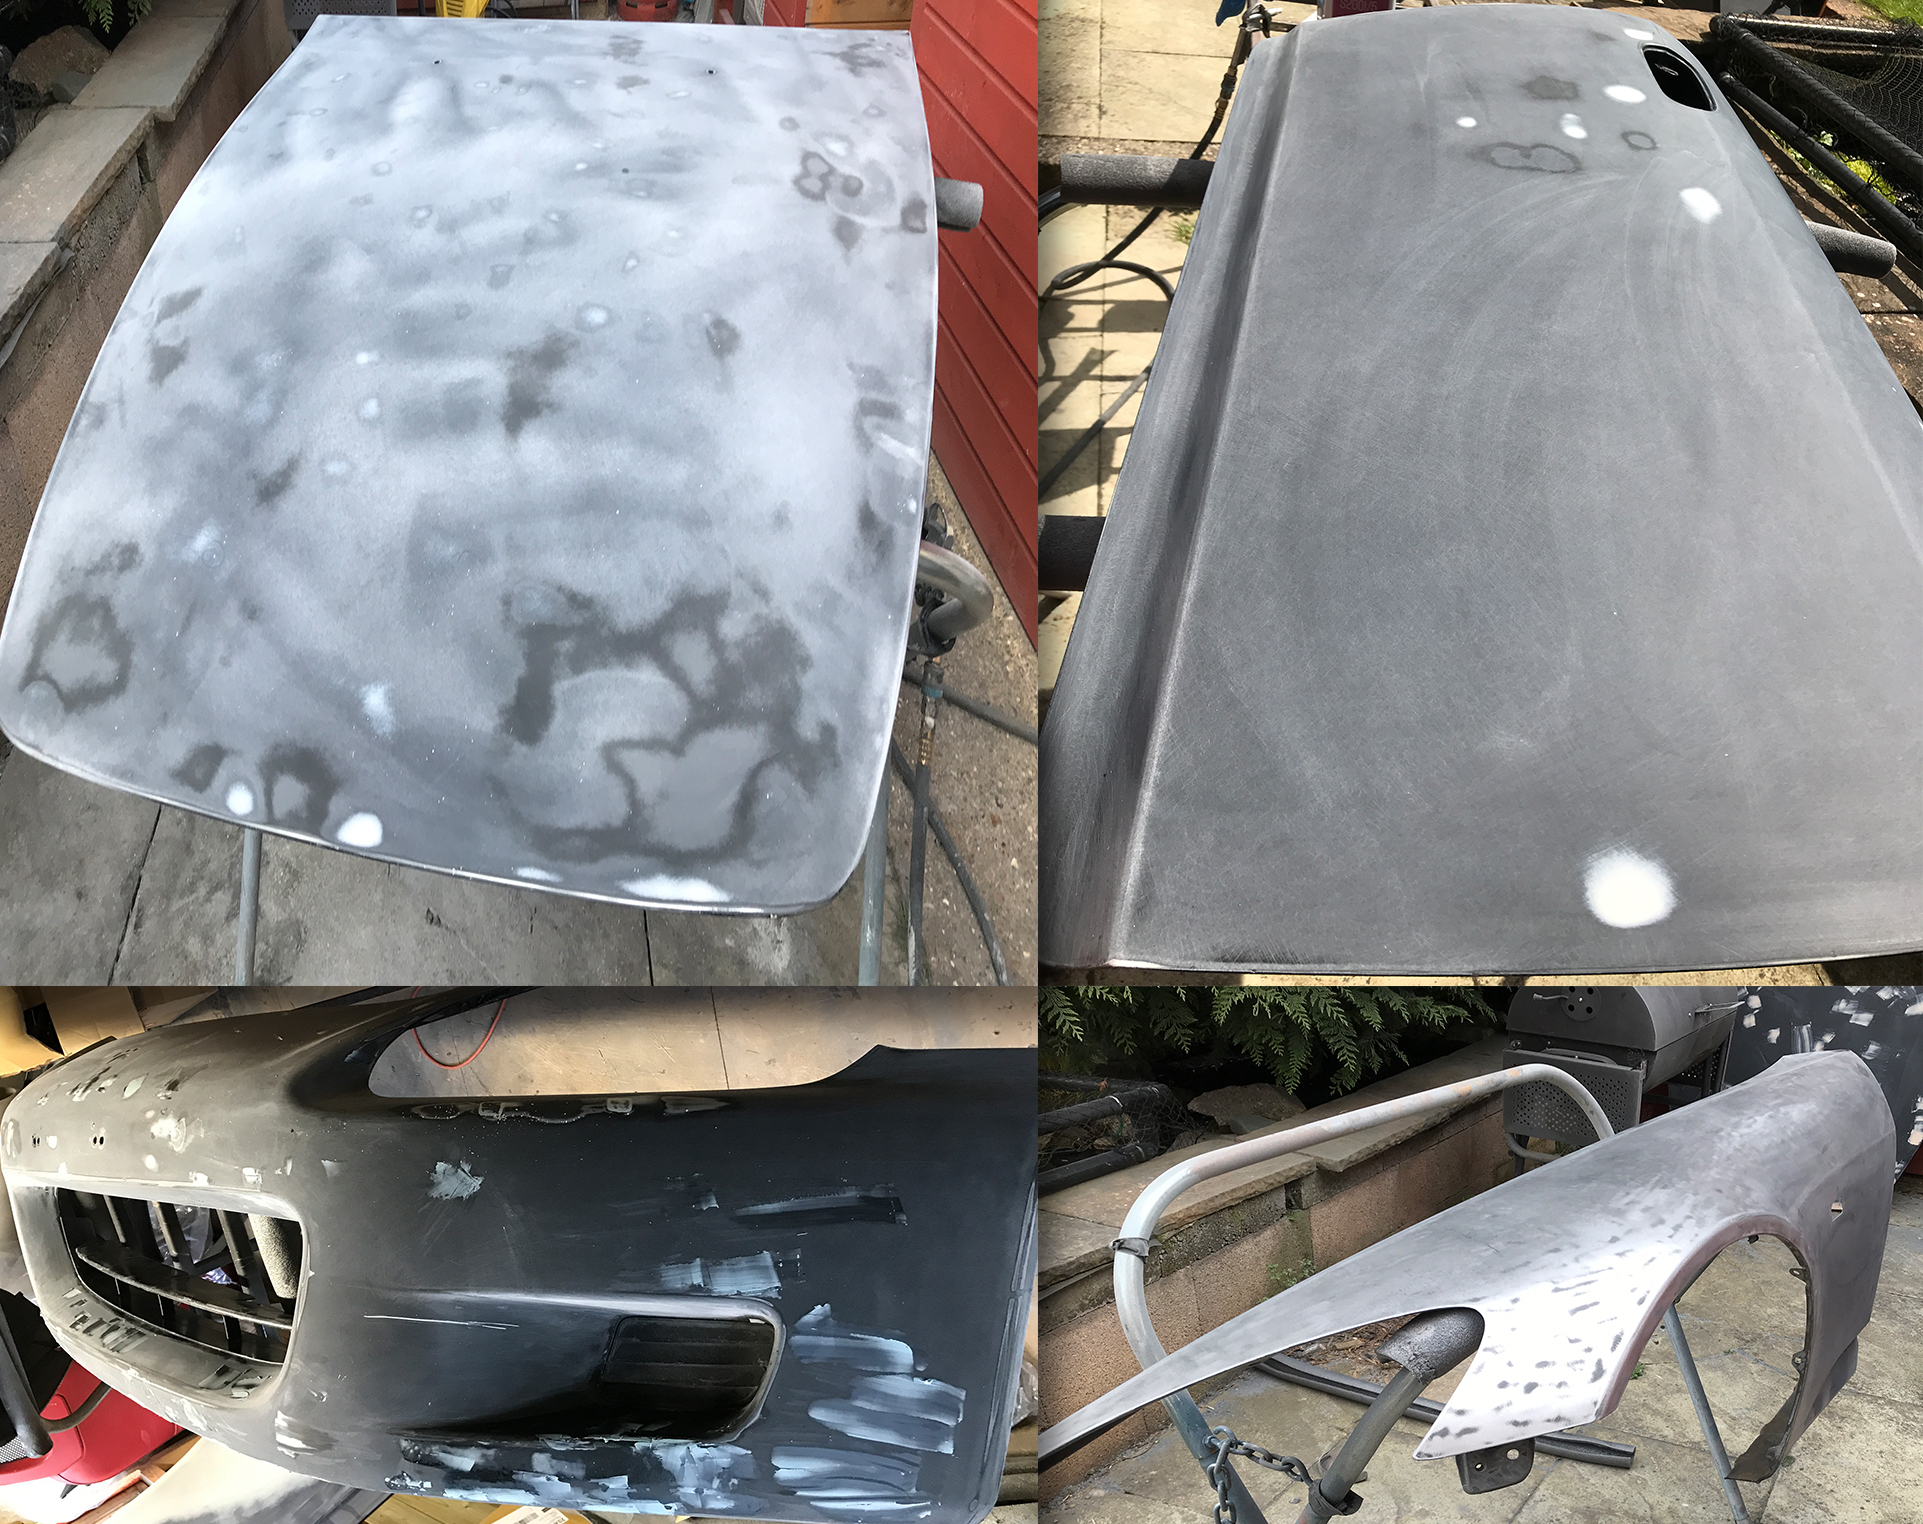
To ensure corrosion protection, I applied epoxy primer as a direct-to-metal primer on all metal panels. According to the datasheet, I had a window of about a day to cover the epoxy primer with high-build primer to maintain proper adhesion.
Once the high-build primer dried, I applied a guide coat and used a variety of sanding blocks to carefully identify and correct any remaining imperfections. This stage involved progressive sanding, finishing with 500-grit sandpaper. While the next seal coat would typically hide imperfections up to 400-grit or even 320-grit, I chose to go the extra step to ensure an ultra-smooth surface while still maintaining enough roughness for proper adhesion of the next coat.
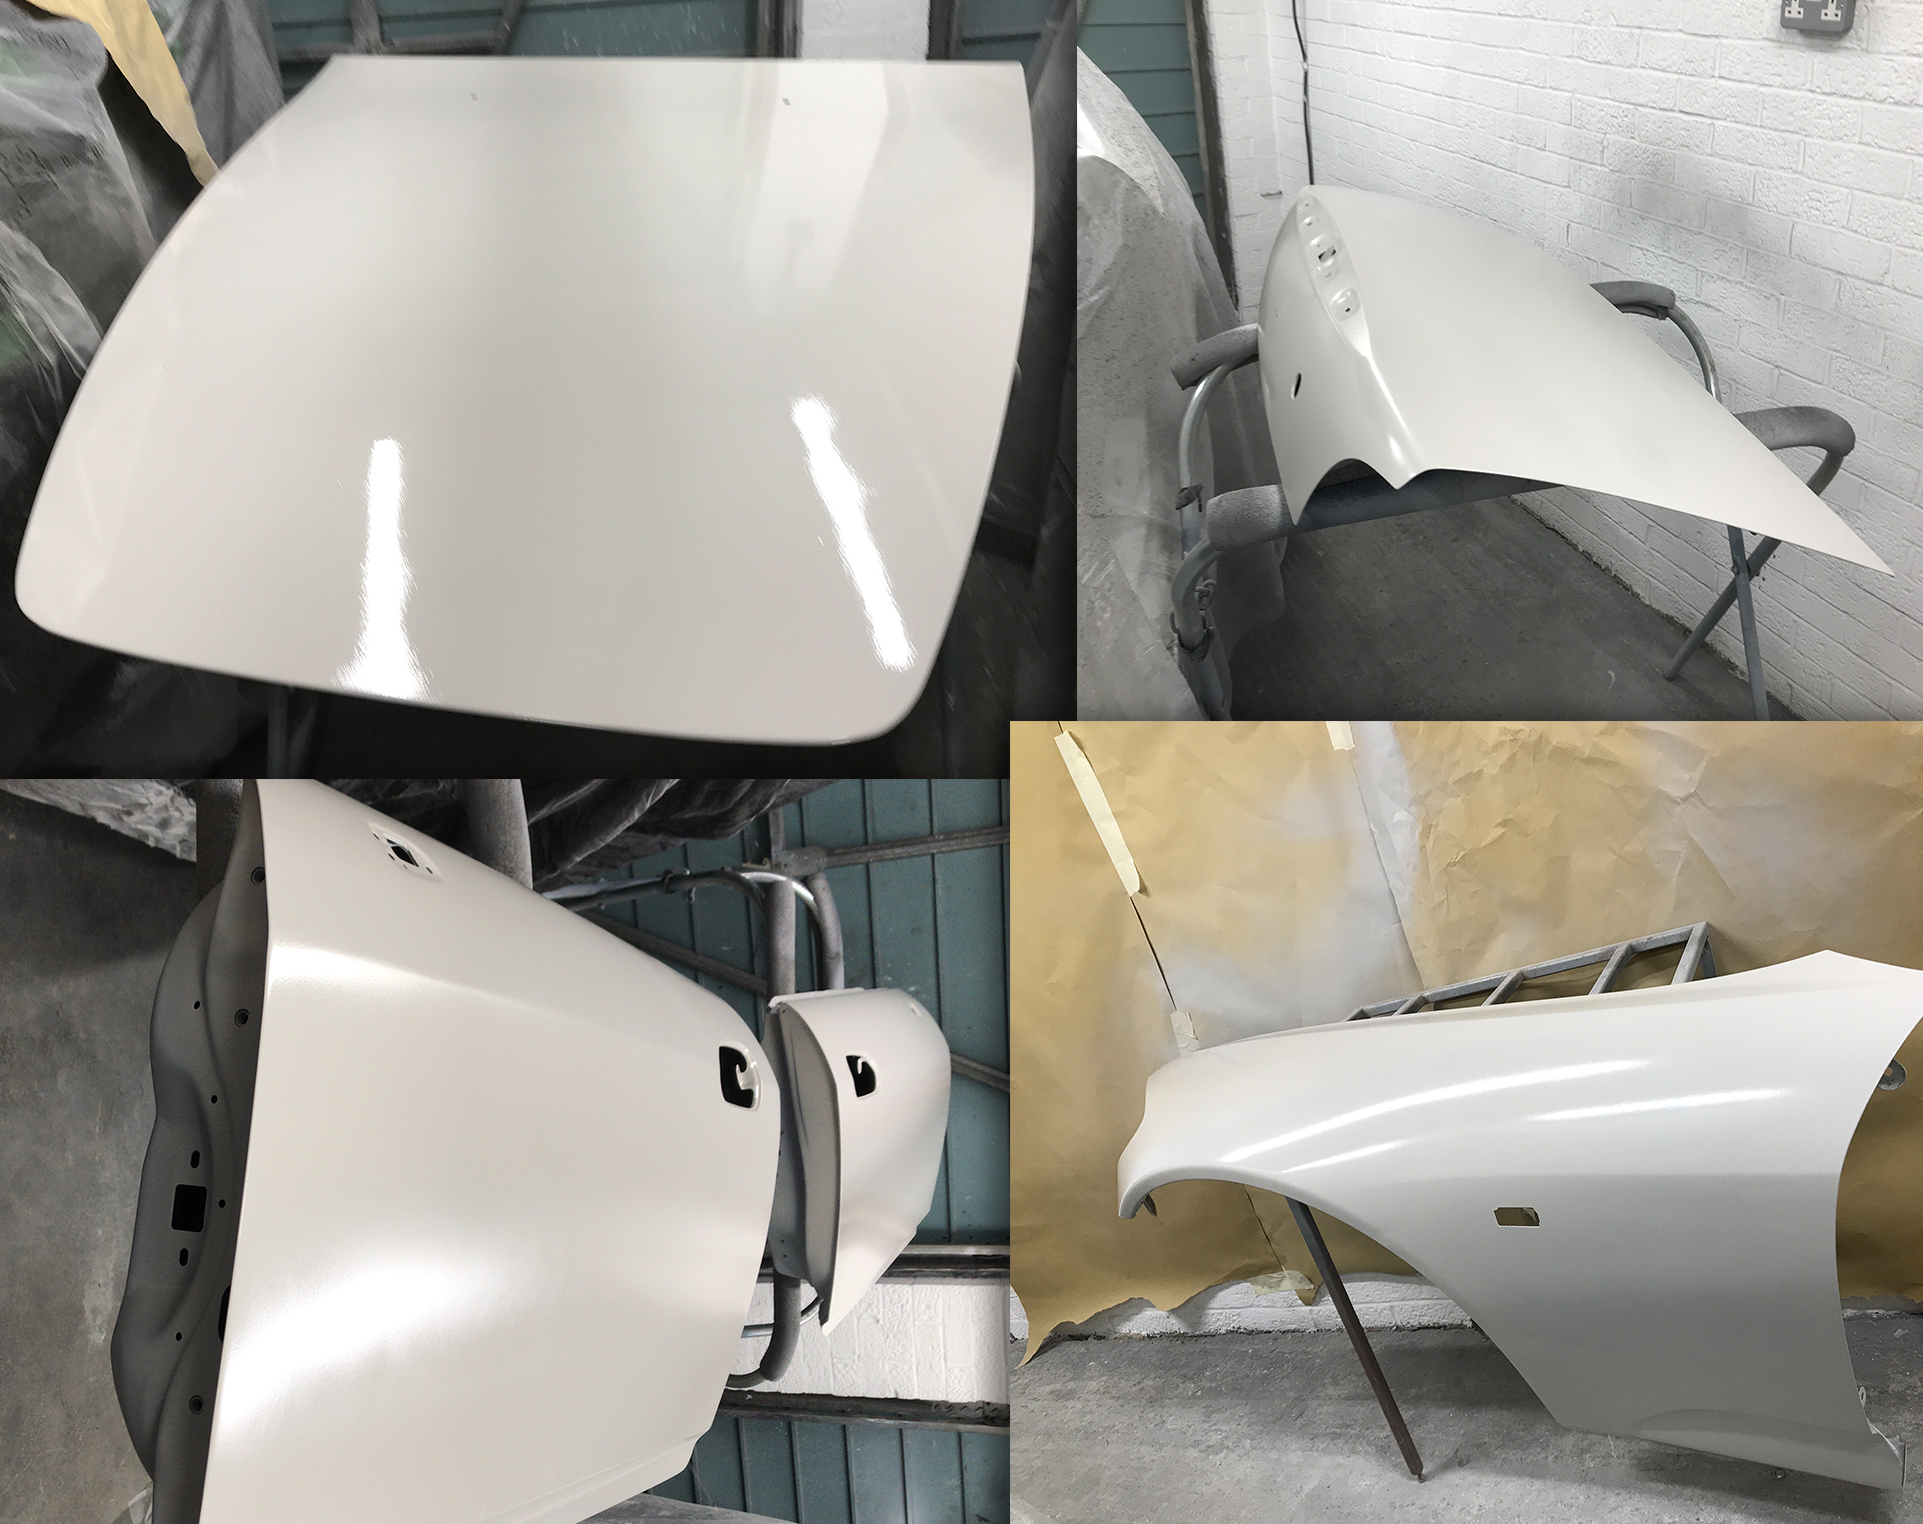
Once all the panels were ready, it was time for the black fine primer—also known as a sealer in the U.S. Since the high-build primer was white, jumping straight to black paint could risk uneven coverage, with areas where the base coat might not fully conceal the underlying primer.
By applying this black fine primer, I ensured uniform coverage and a consistent base for the final color. Additionally, using a sealer helps with paint adhesion, reduces the number of base coat layers needed, and improves the overall durability and finish of the paint job.
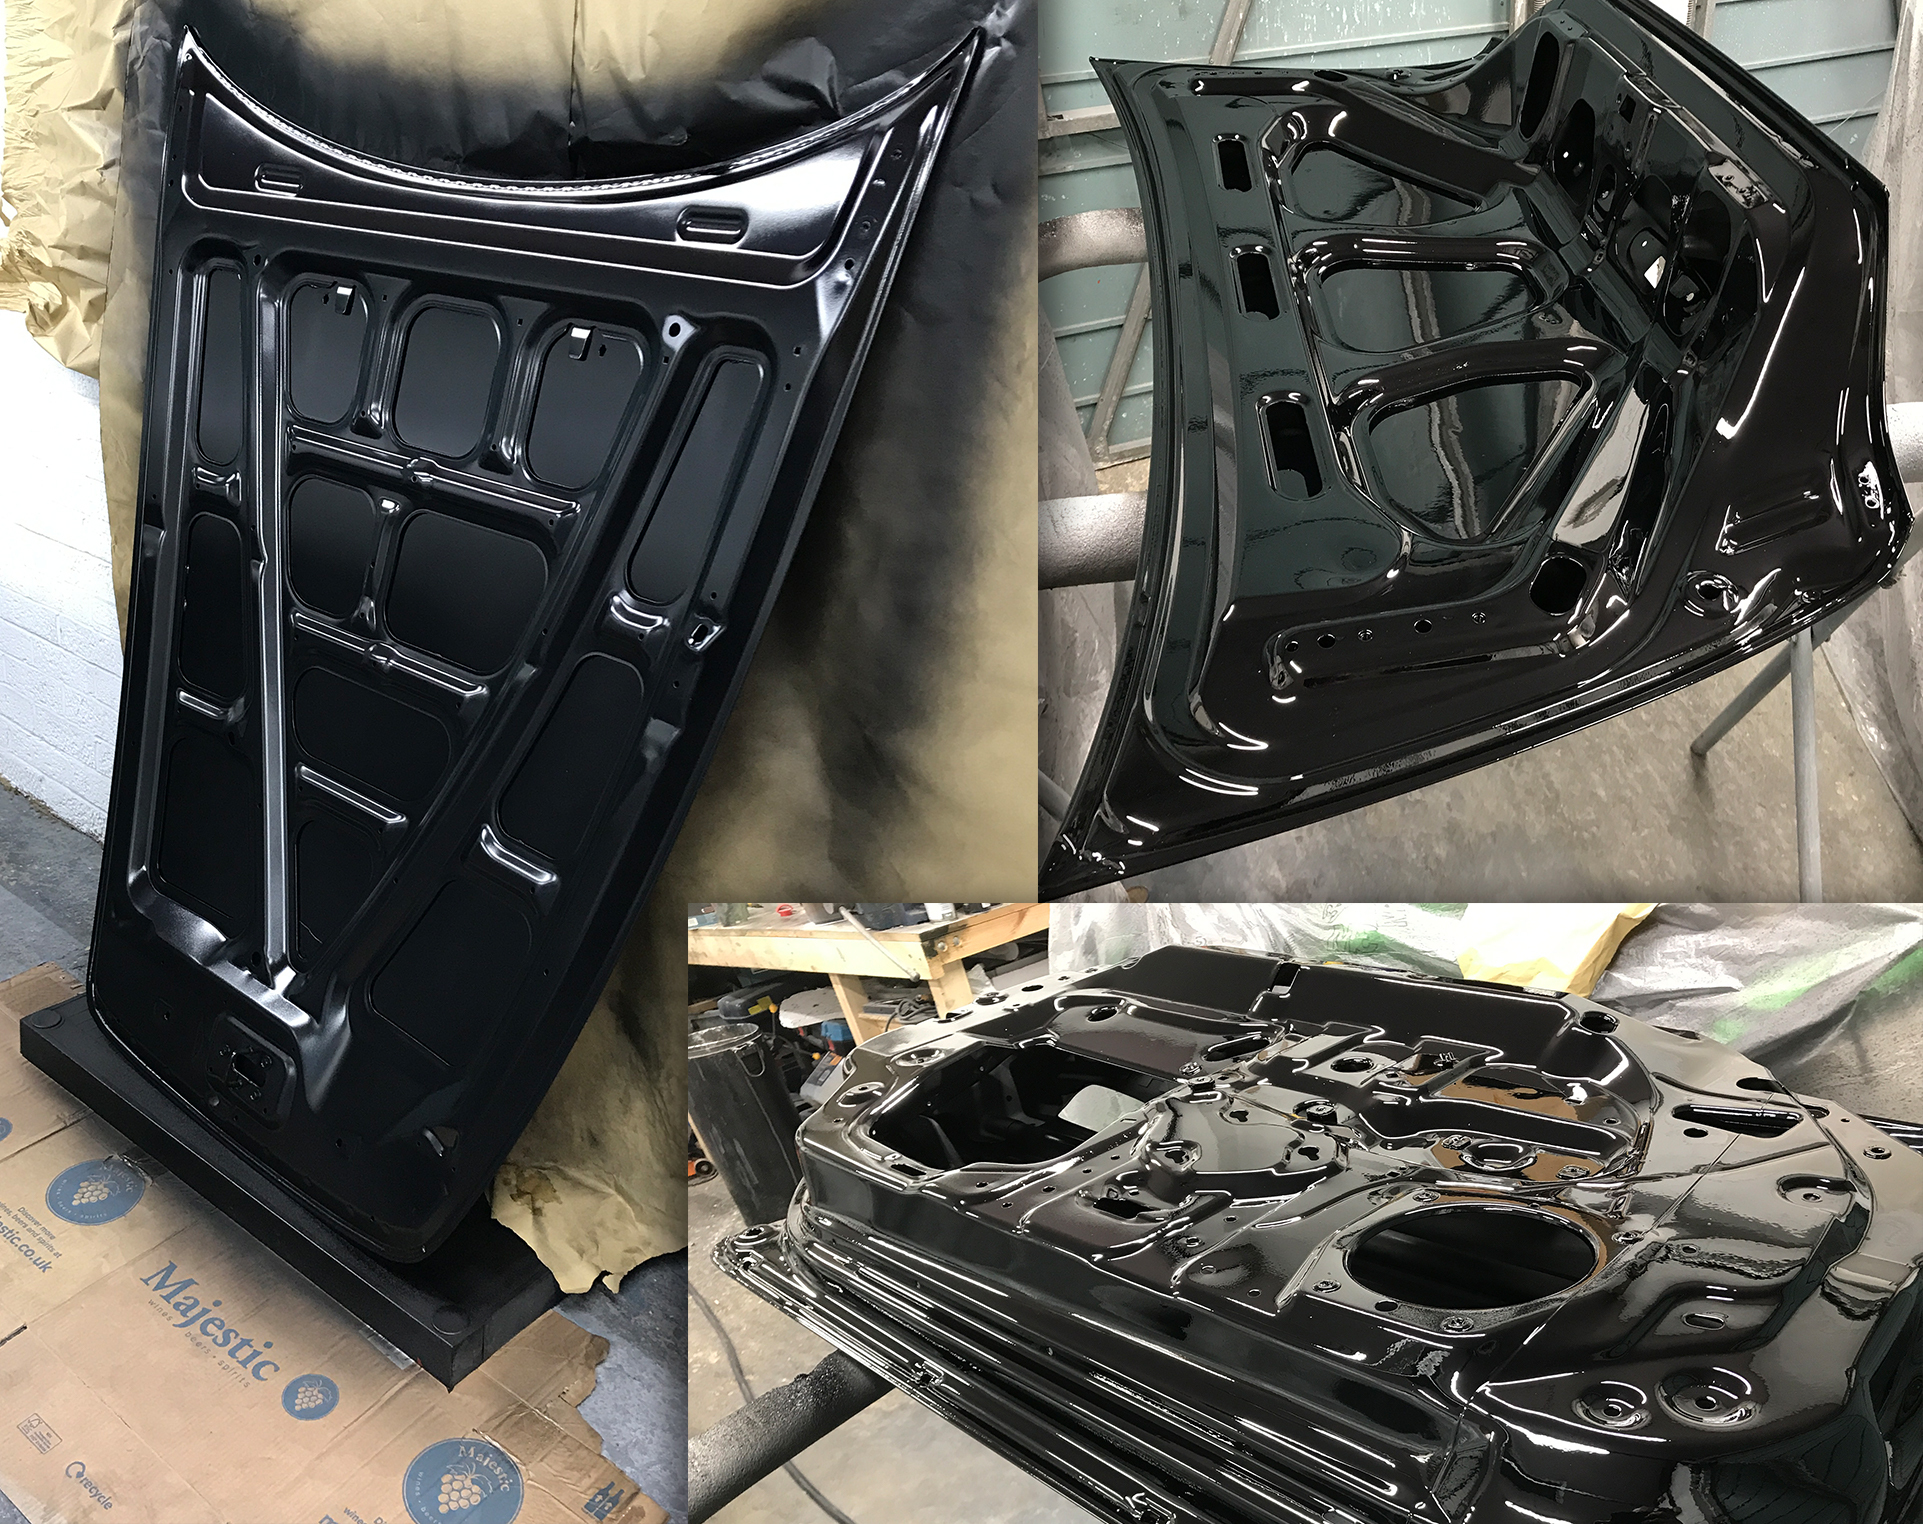
Before doing the outside of all panels I did the insides first.
At this stage, the results don’t look particularly great yet.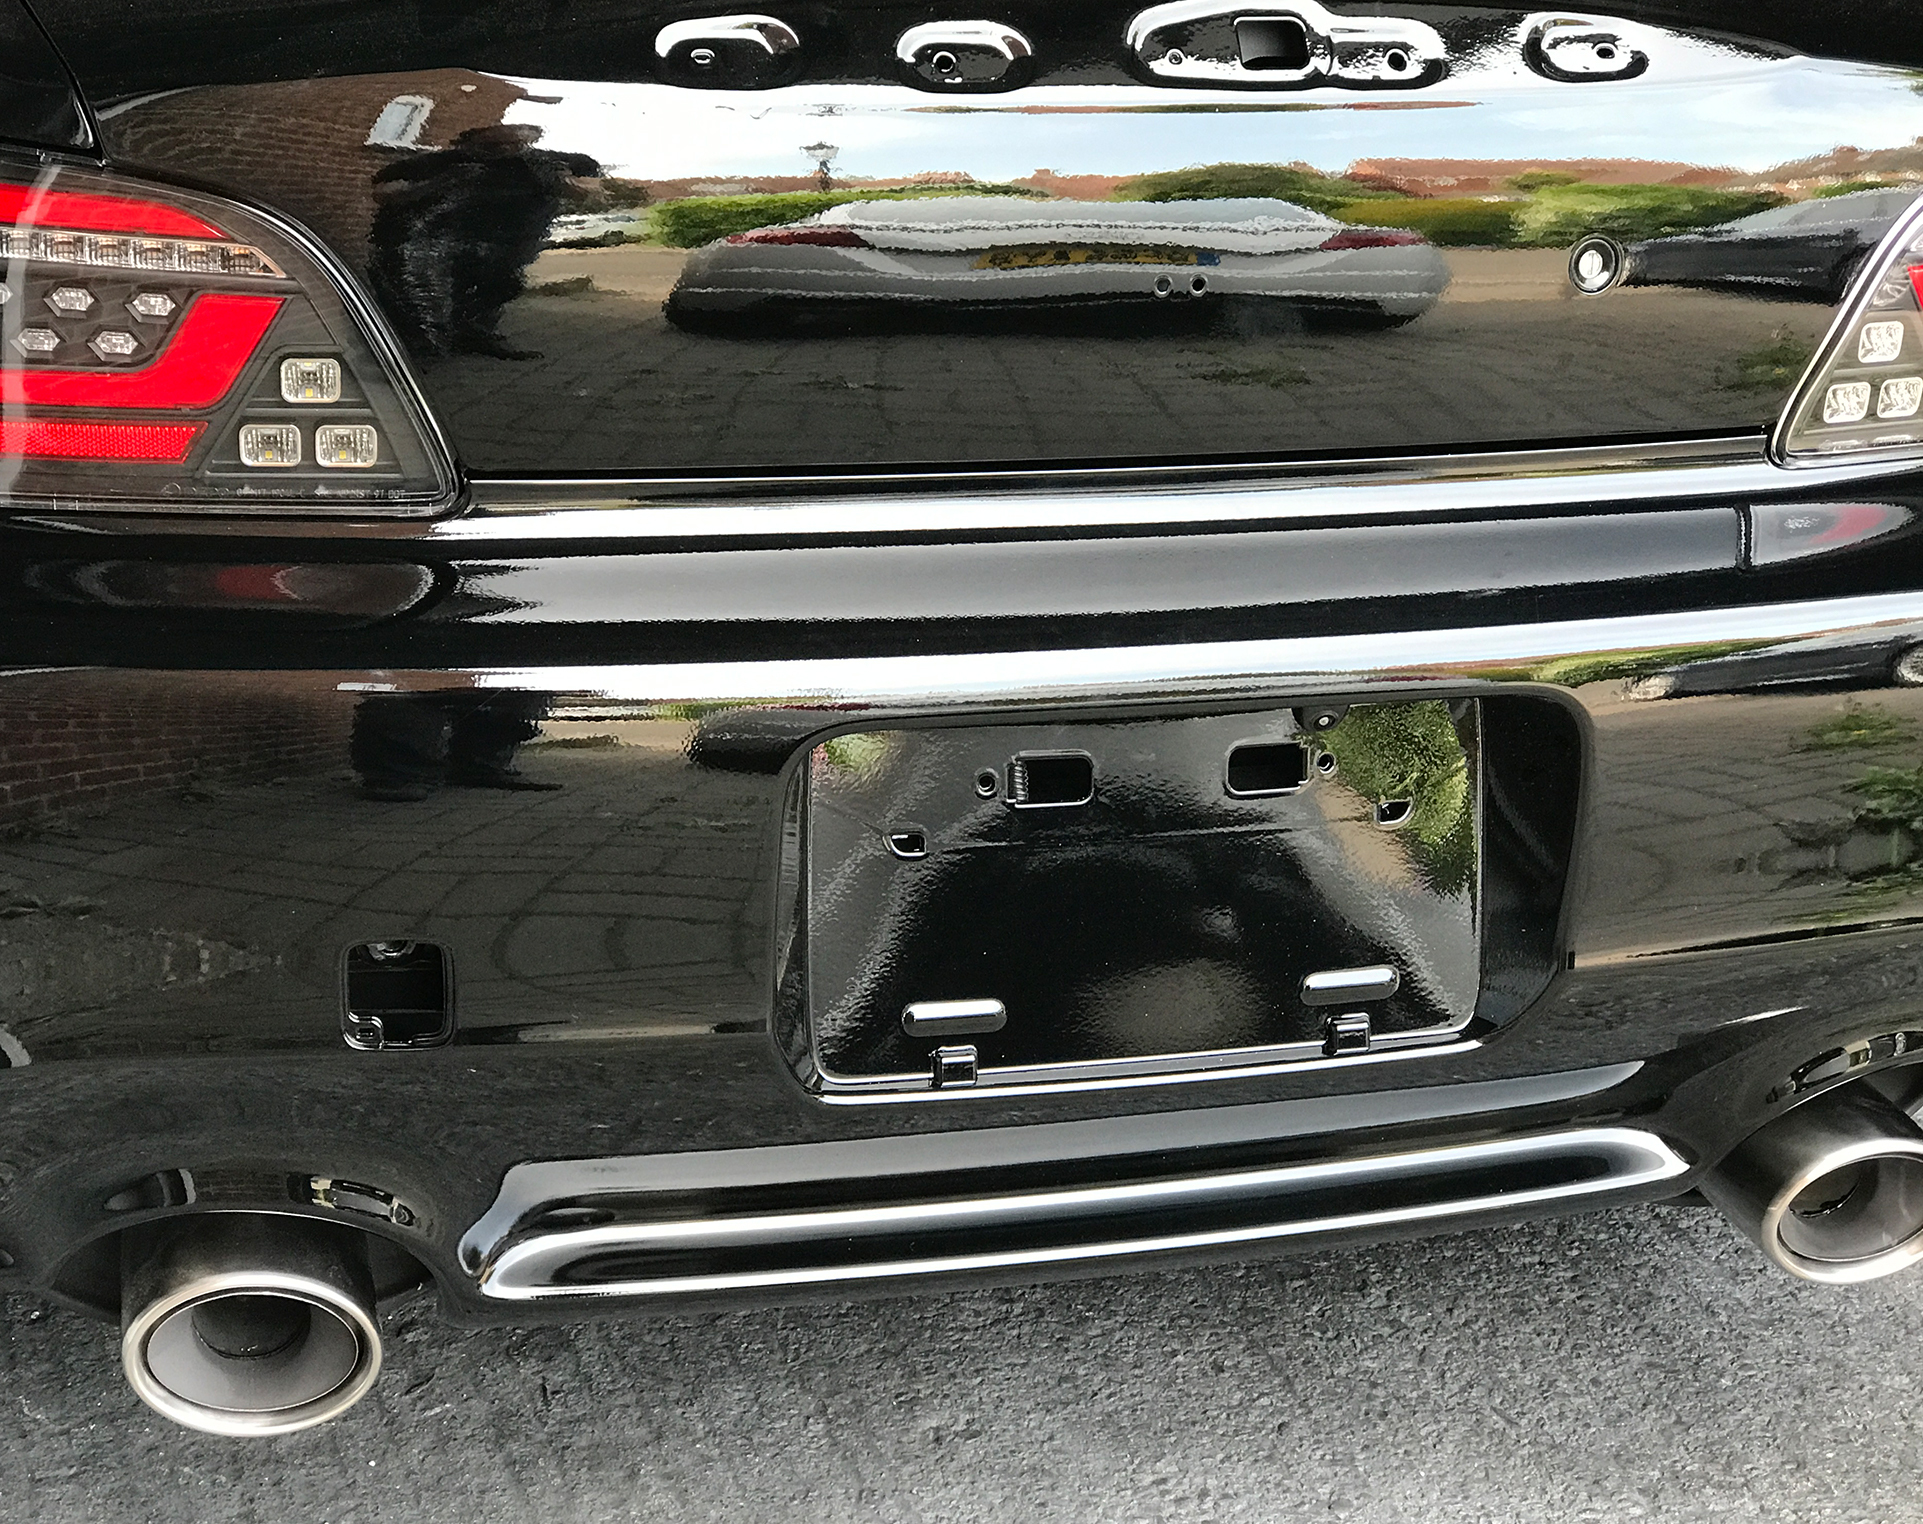
With all panels done and in place, the car is now ready for the clear coat cutting and polishing stage. Fortunately, the white spots and impurities visible in the picture are just dust particles sitting on the dry clear coat, not actual defects within the clear coat itself.
This means the surface remains smooth and free of embedded contaminants, making the cutting and polishing process much more straightforward. Now, it's all about refining the finish to achieve that deep, mirror-like gloss.
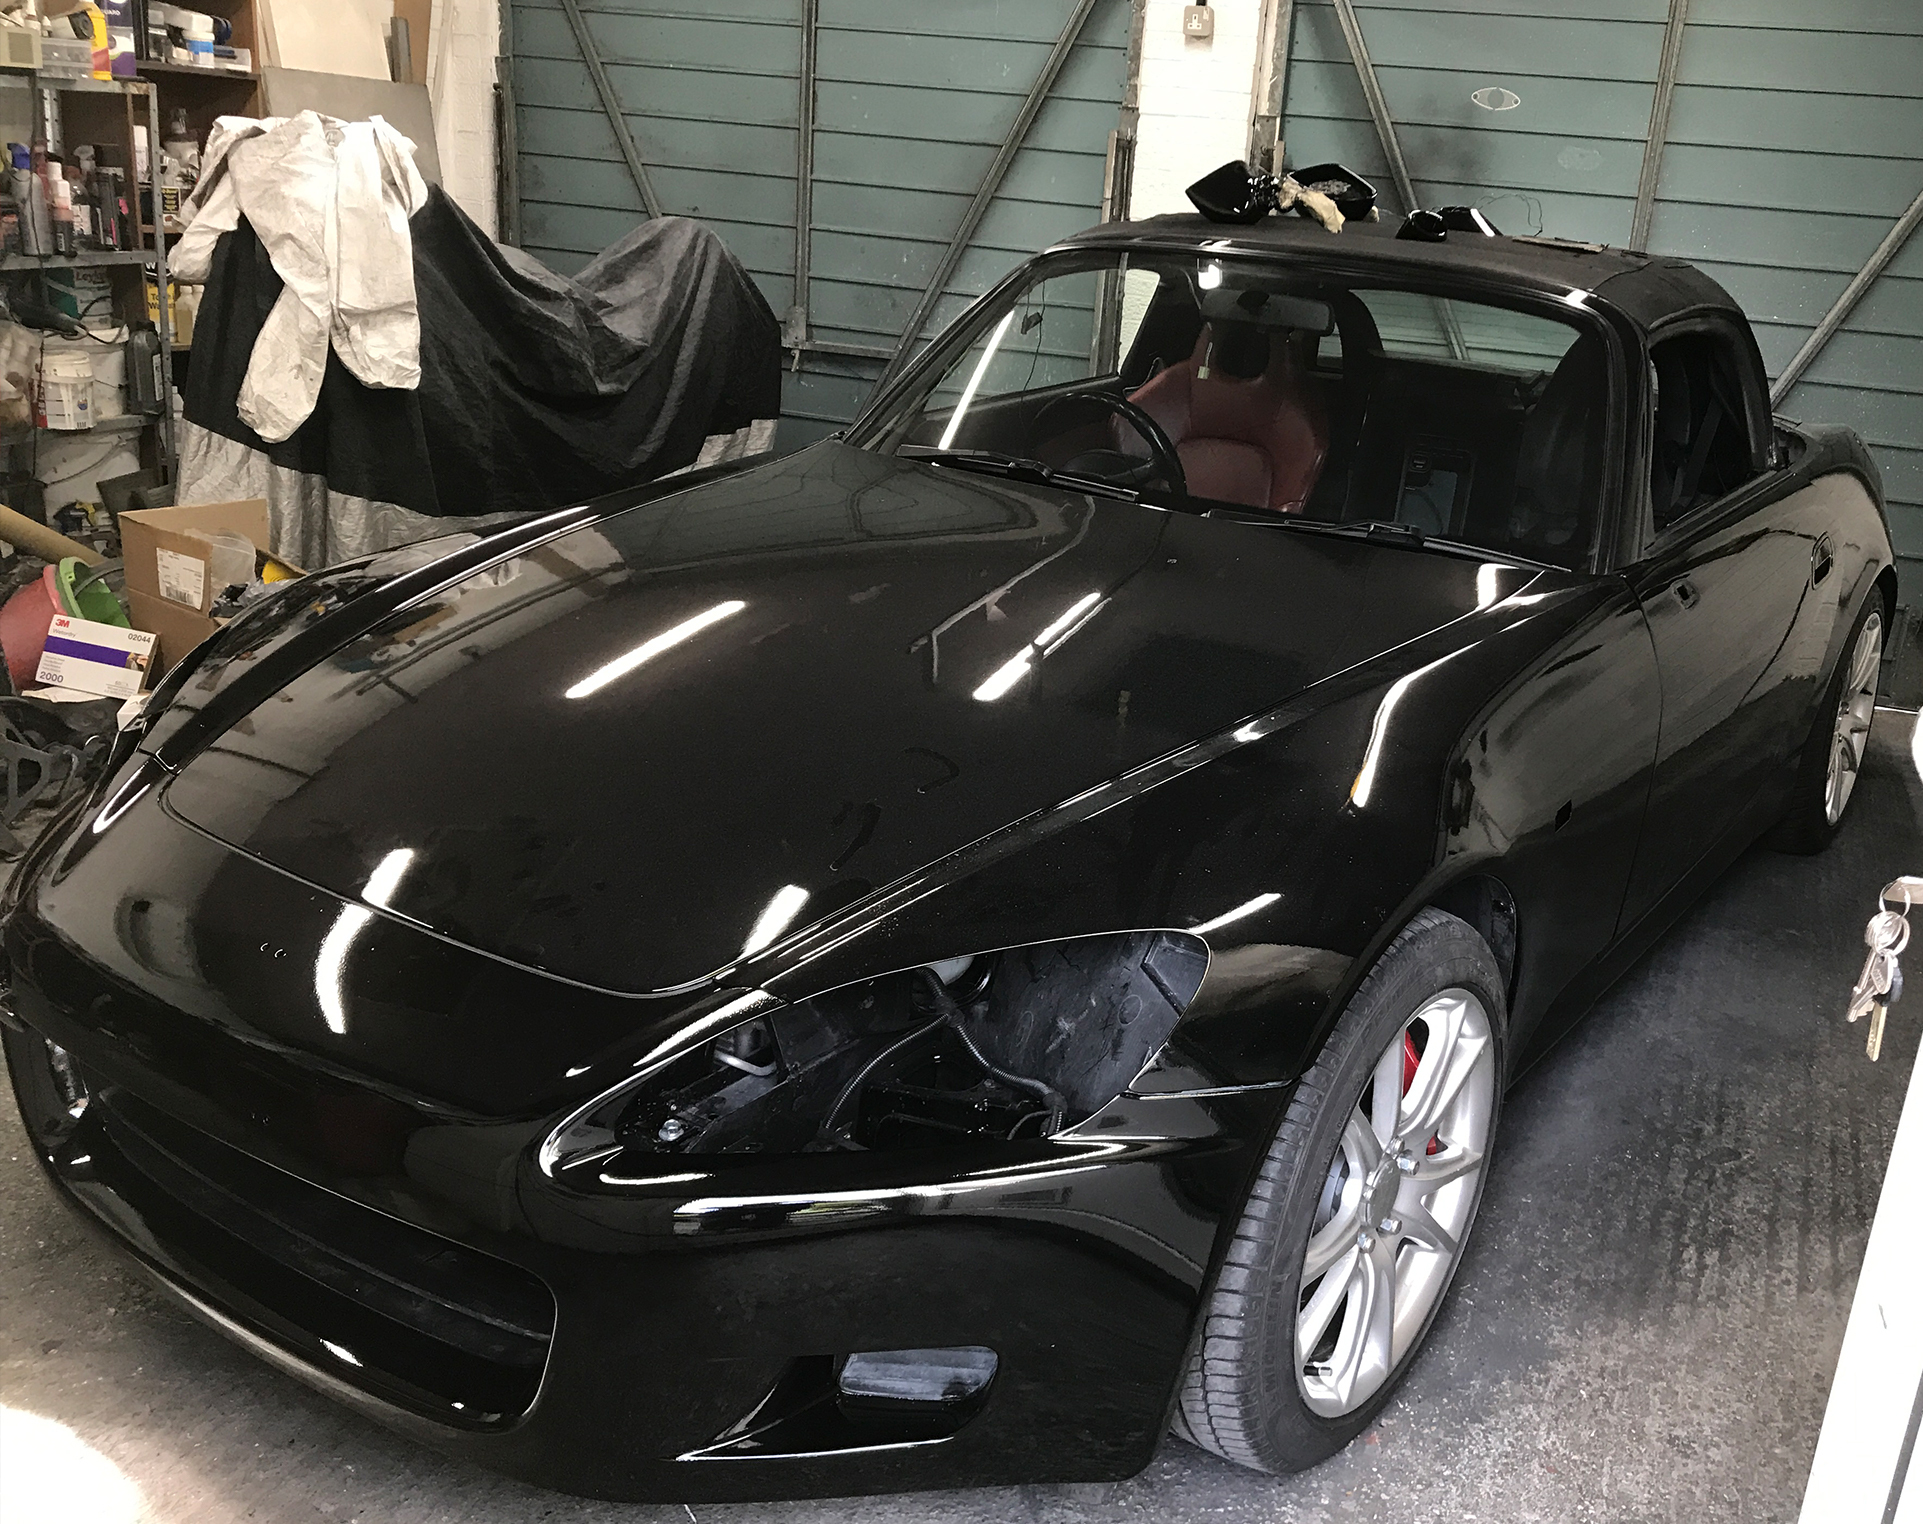
The thick clear coat is providing plenty of room to level the finish, allowing me to carefully sand and polish without worrying about burning through the layers. This extra thickness ensures I can eliminate any orange peel or minor imperfections, ultimately achieving a smooth, glass-like surface with a deep, reflective shine.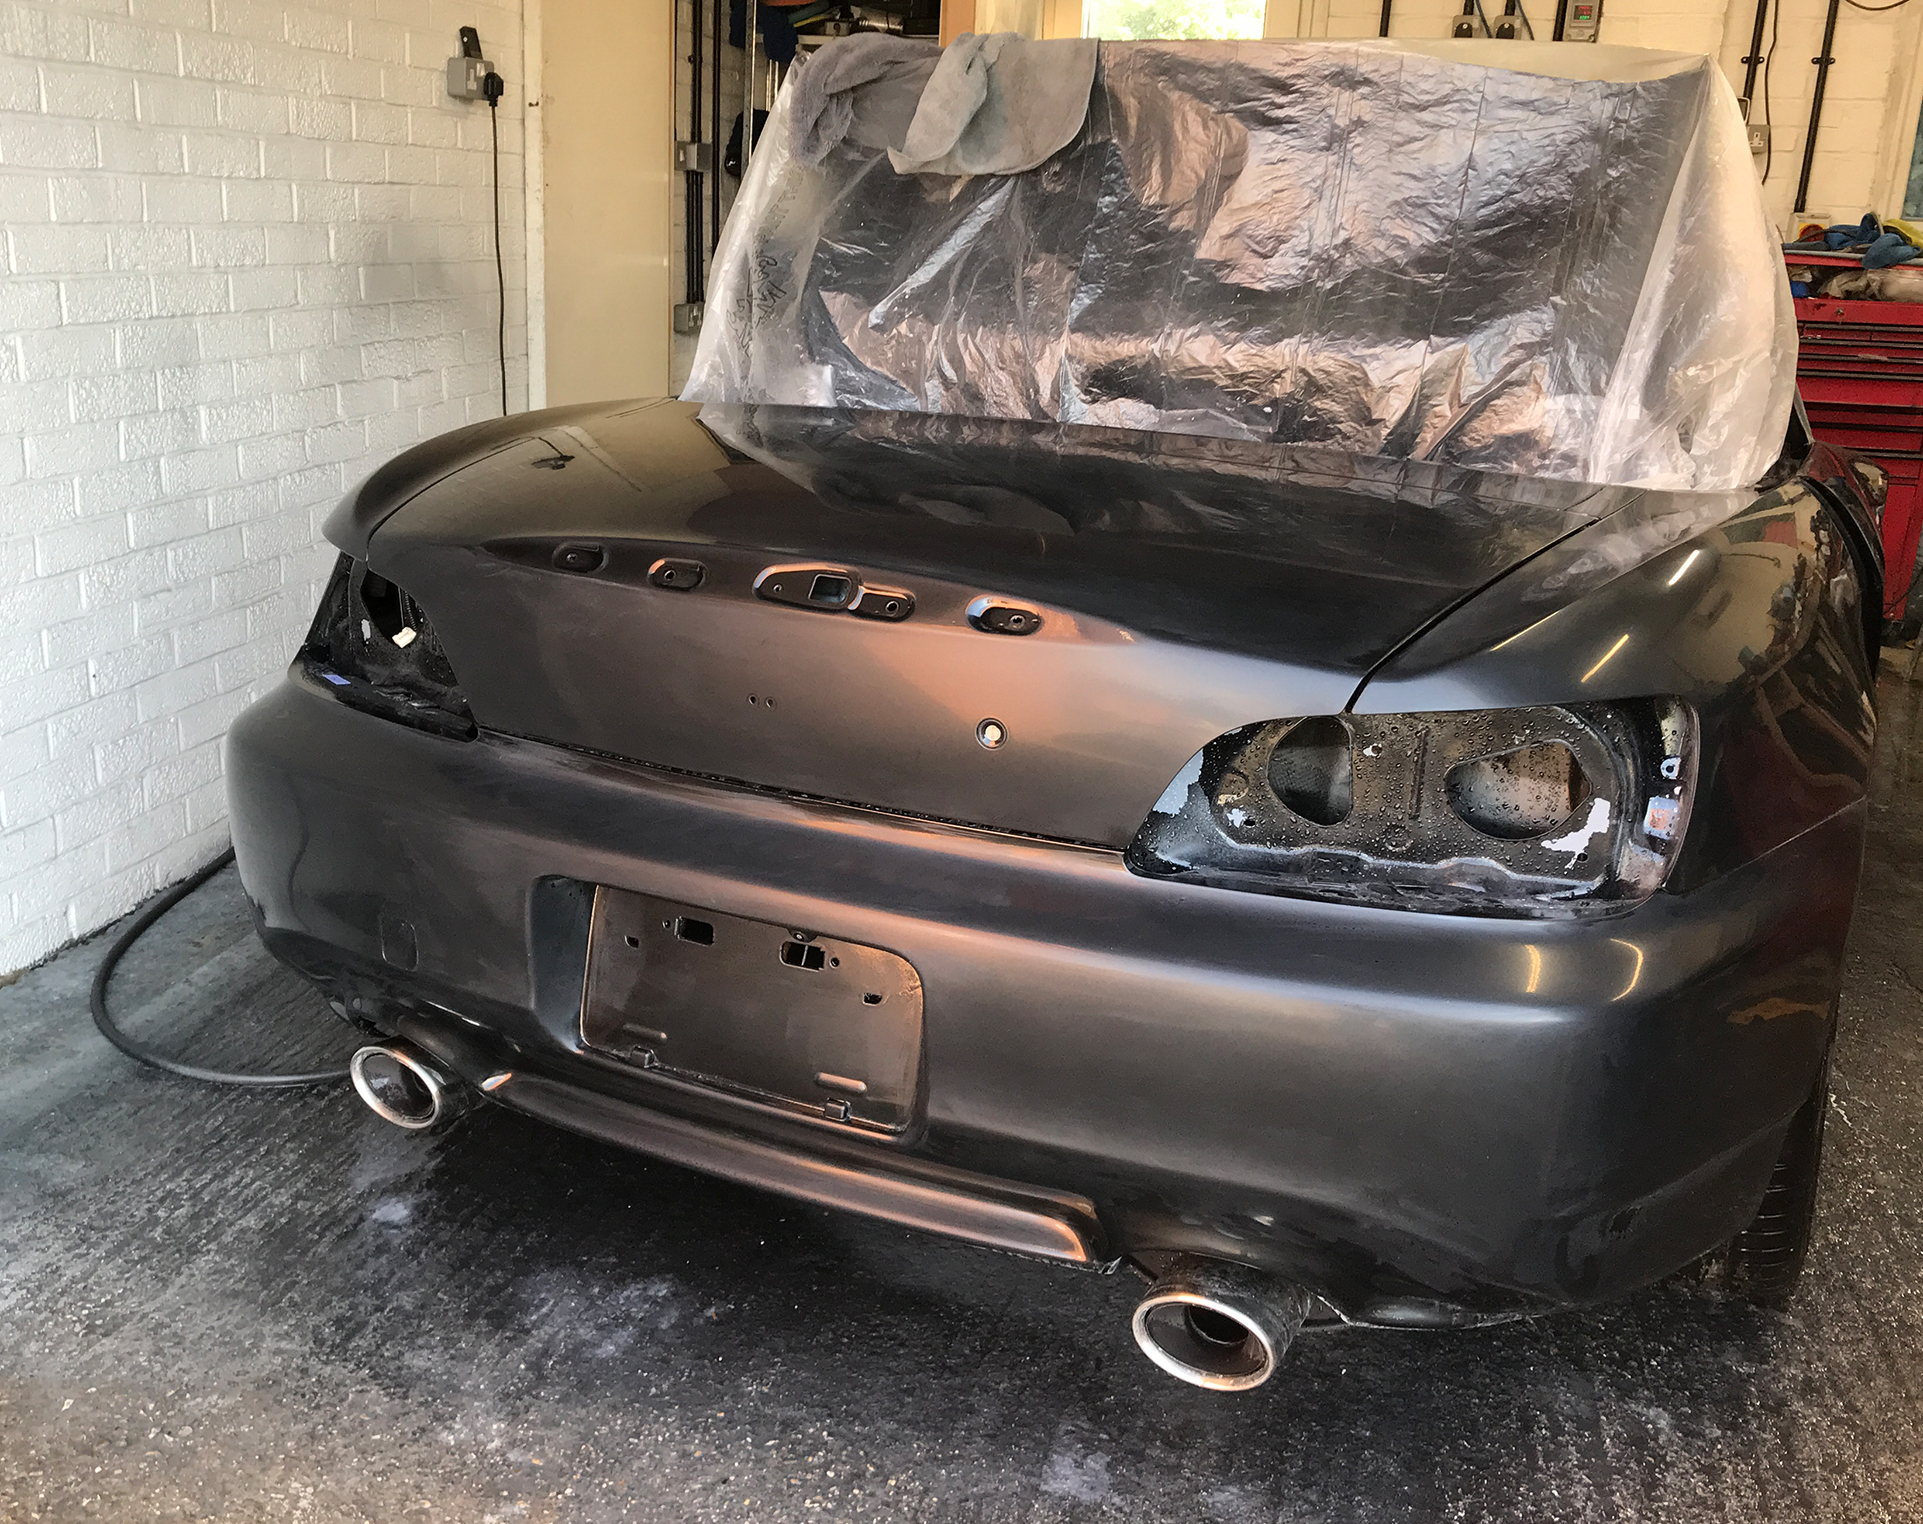
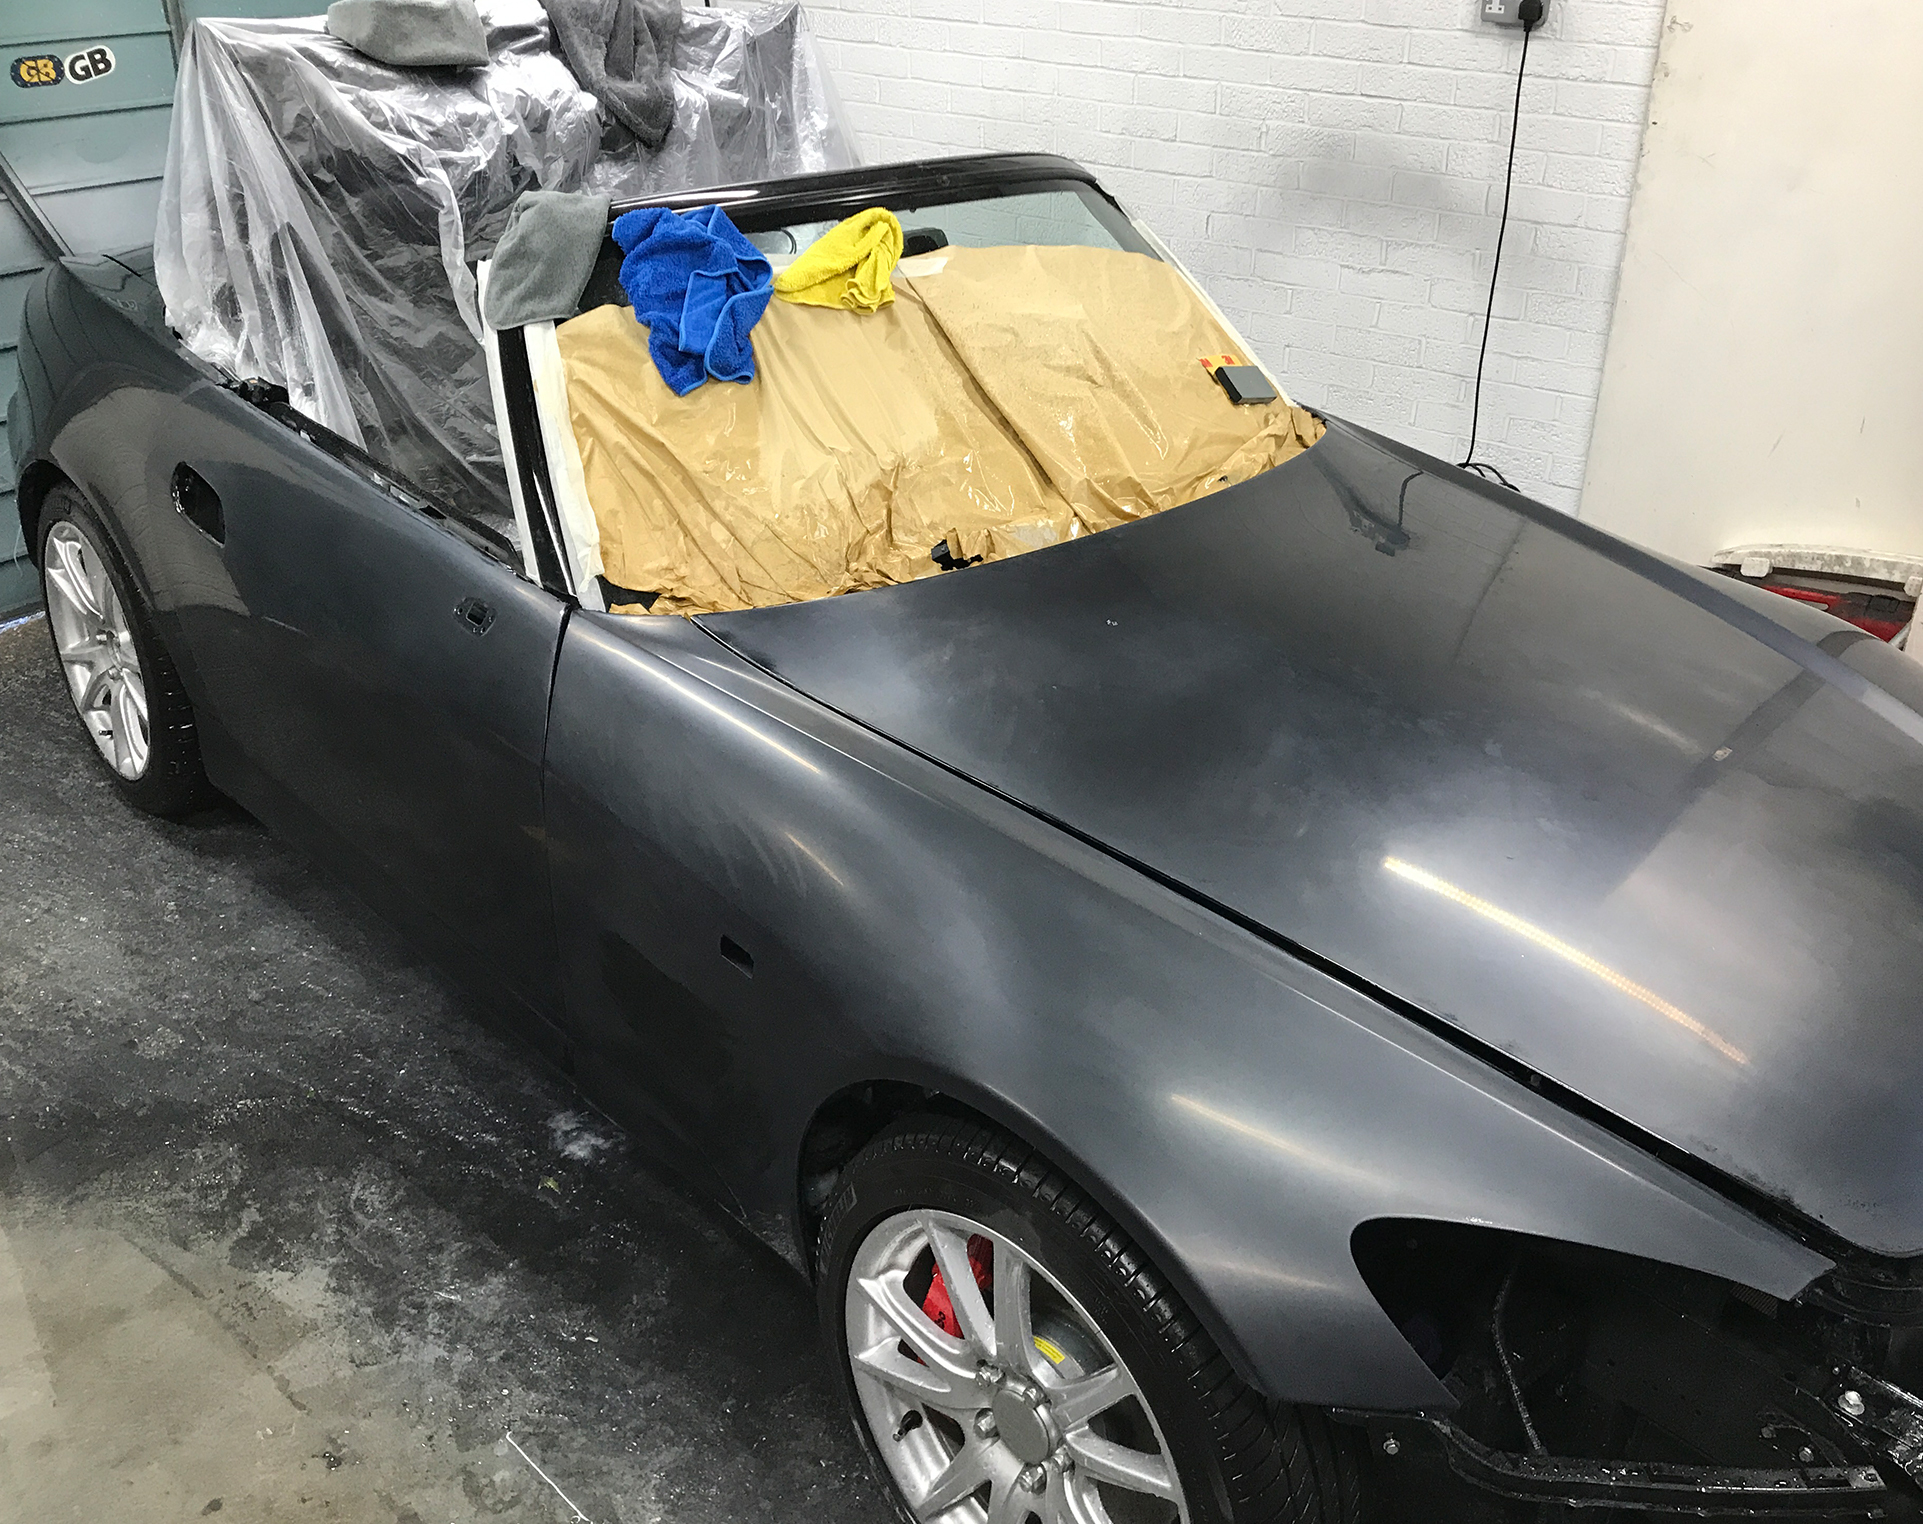
The cutting and polishing process is going well, and I’m finally starting to see the perfectly flat, mirror-like finish I was aiming for. All the effort in prep work, clear coat application, and careful sanding is now paying off.
Once the bodywork was complete, I shifted my focus to the headlights.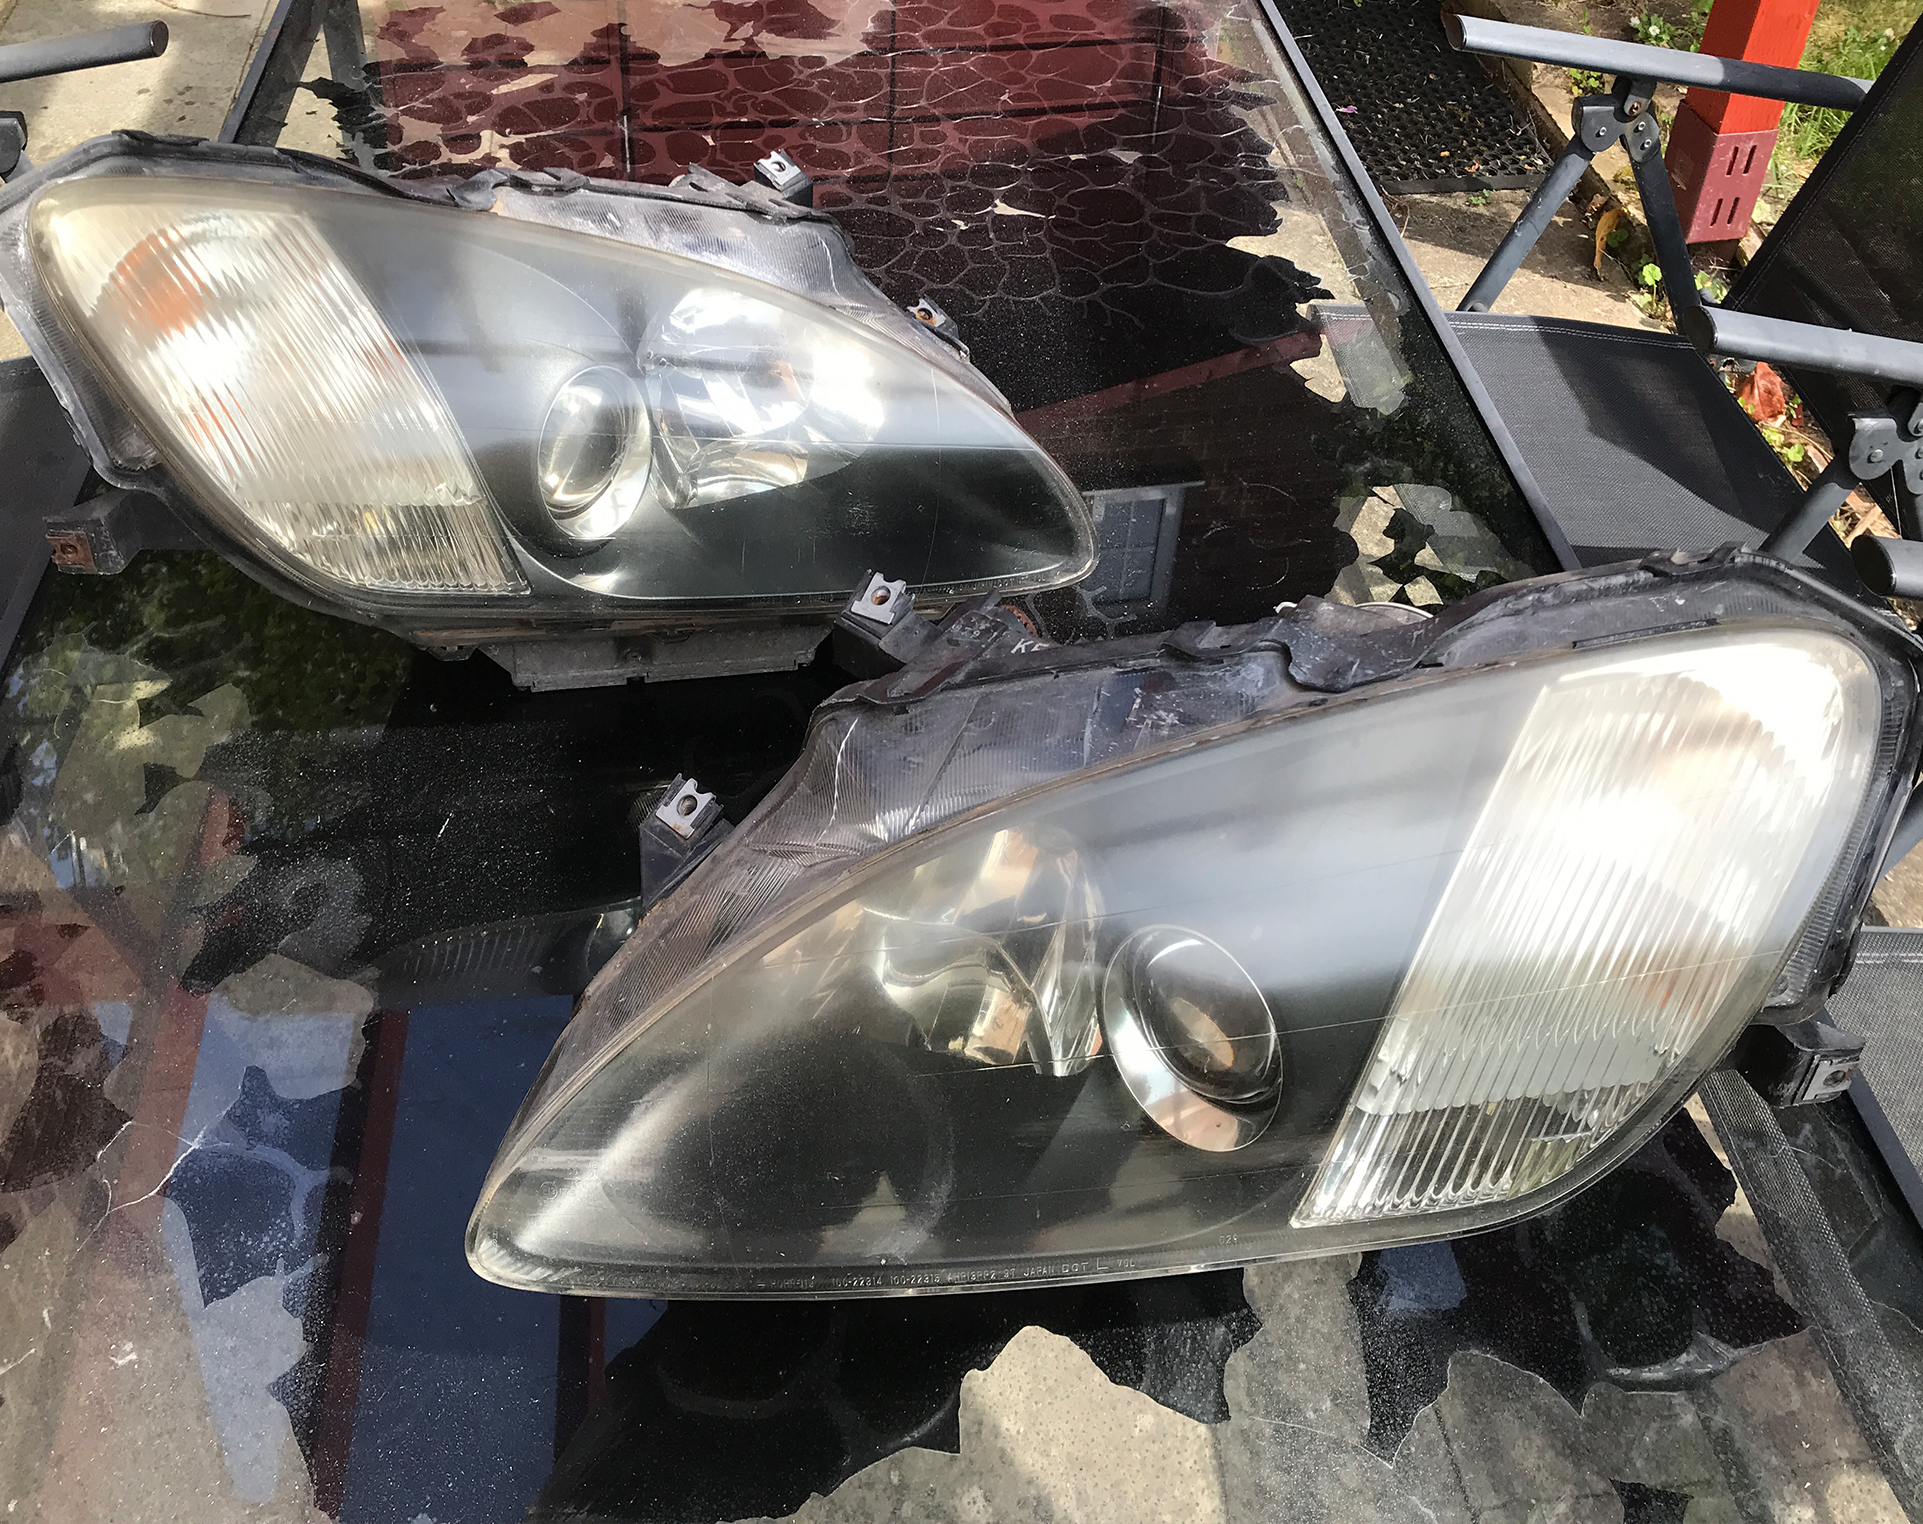
There are plenty of tutorials available on headlight restoration, but this method is one of the only truly long-lasting solutions.
The process begins by sanding the headlights down, starting with 240-grit sandpaper and gradually working up to 1000-grit—but no finer than that. Going beyond 1000-grit can make the surface too smooth for the clear coat to properly adhere, leading to premature peeling within a year or two.
I learned this the hard way years ago when I sanded up to 3000-grit, only to watch the clear coat start peeling not long after. By keeping the final sanding at 1000-grit, the surface retains just enough texture for the clear coat to bond effectively, ensuring long-term durability and a factory-quality finish.
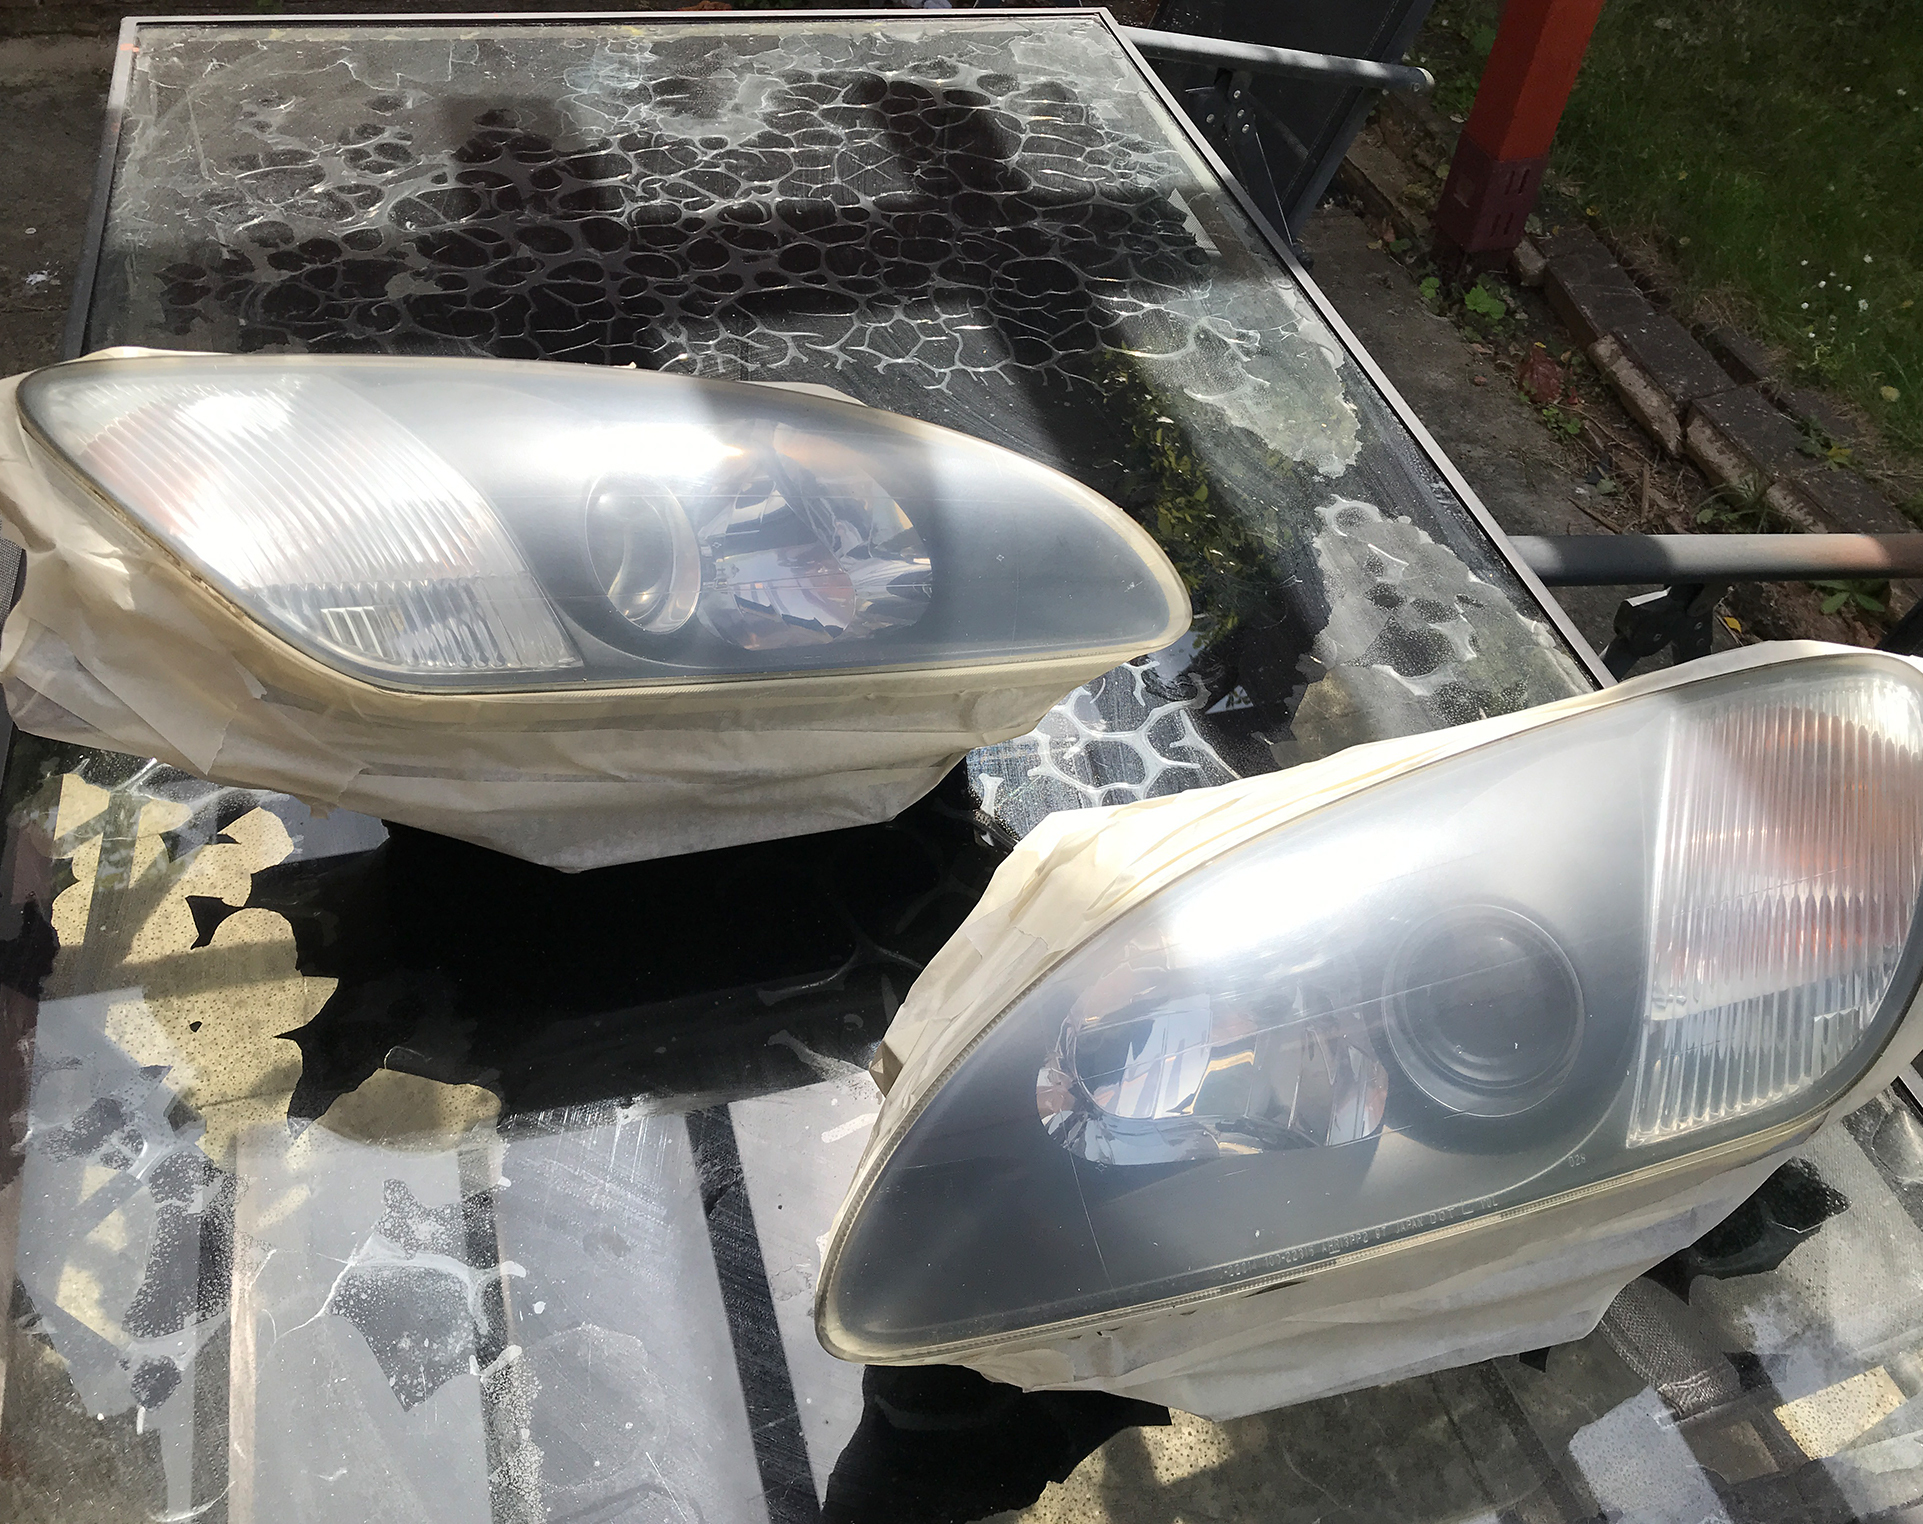
After applying the clear coat, the headlights now look just like new—if not better. A bit of cutting and polishing further refines the finish, bringing out even more clarity and shine. The result is better than new, with a deep, crystal-clear look that perfectly complements the freshly painted bodywork.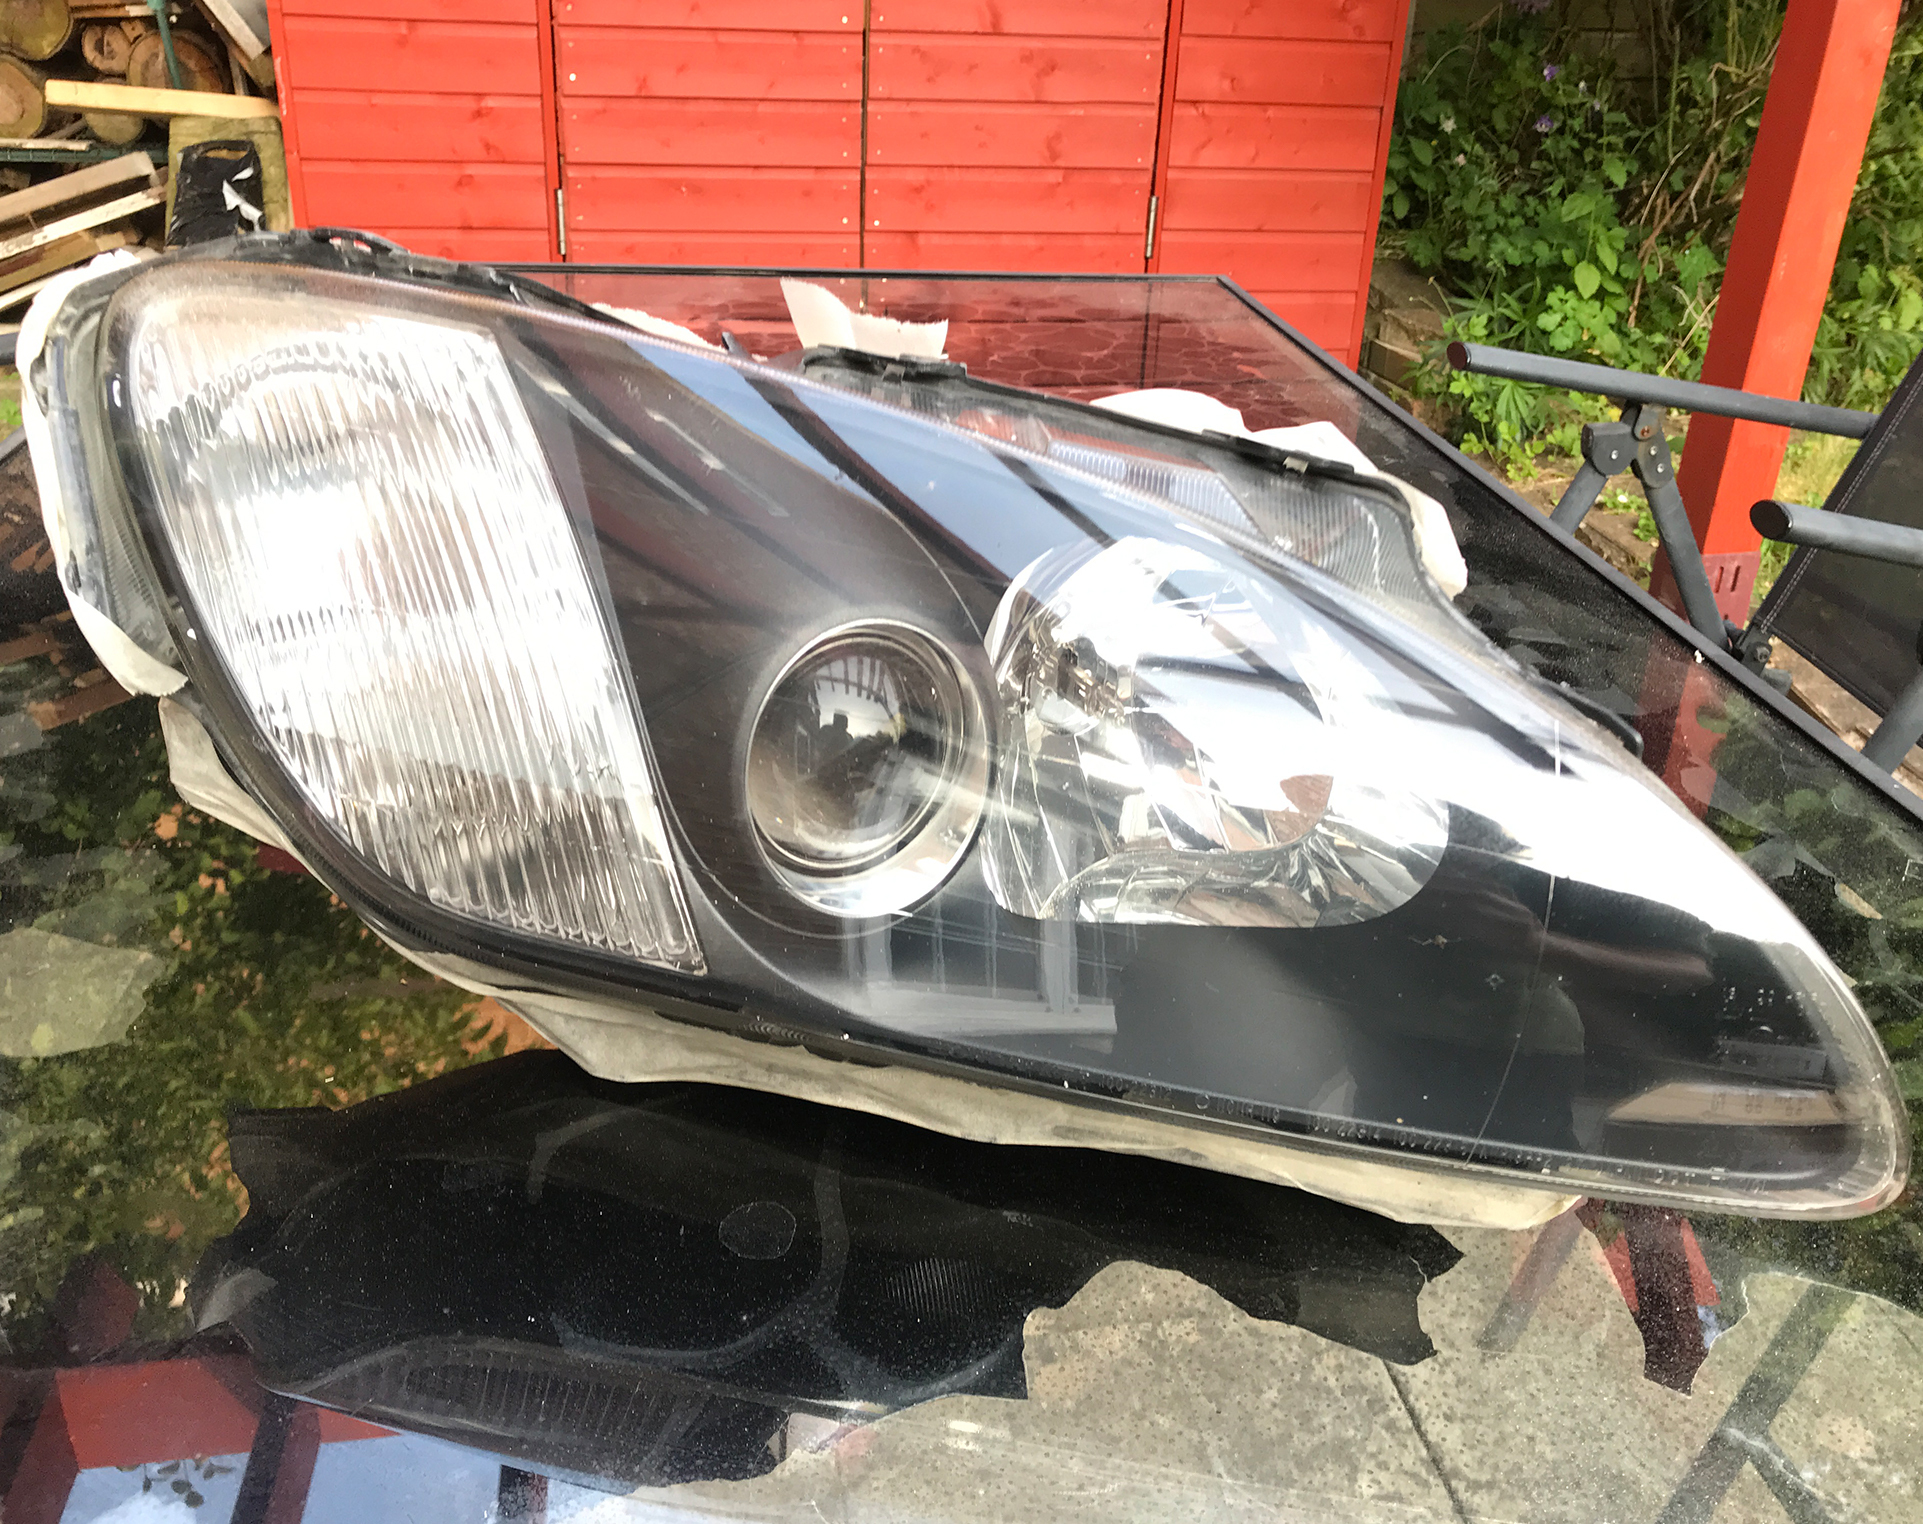
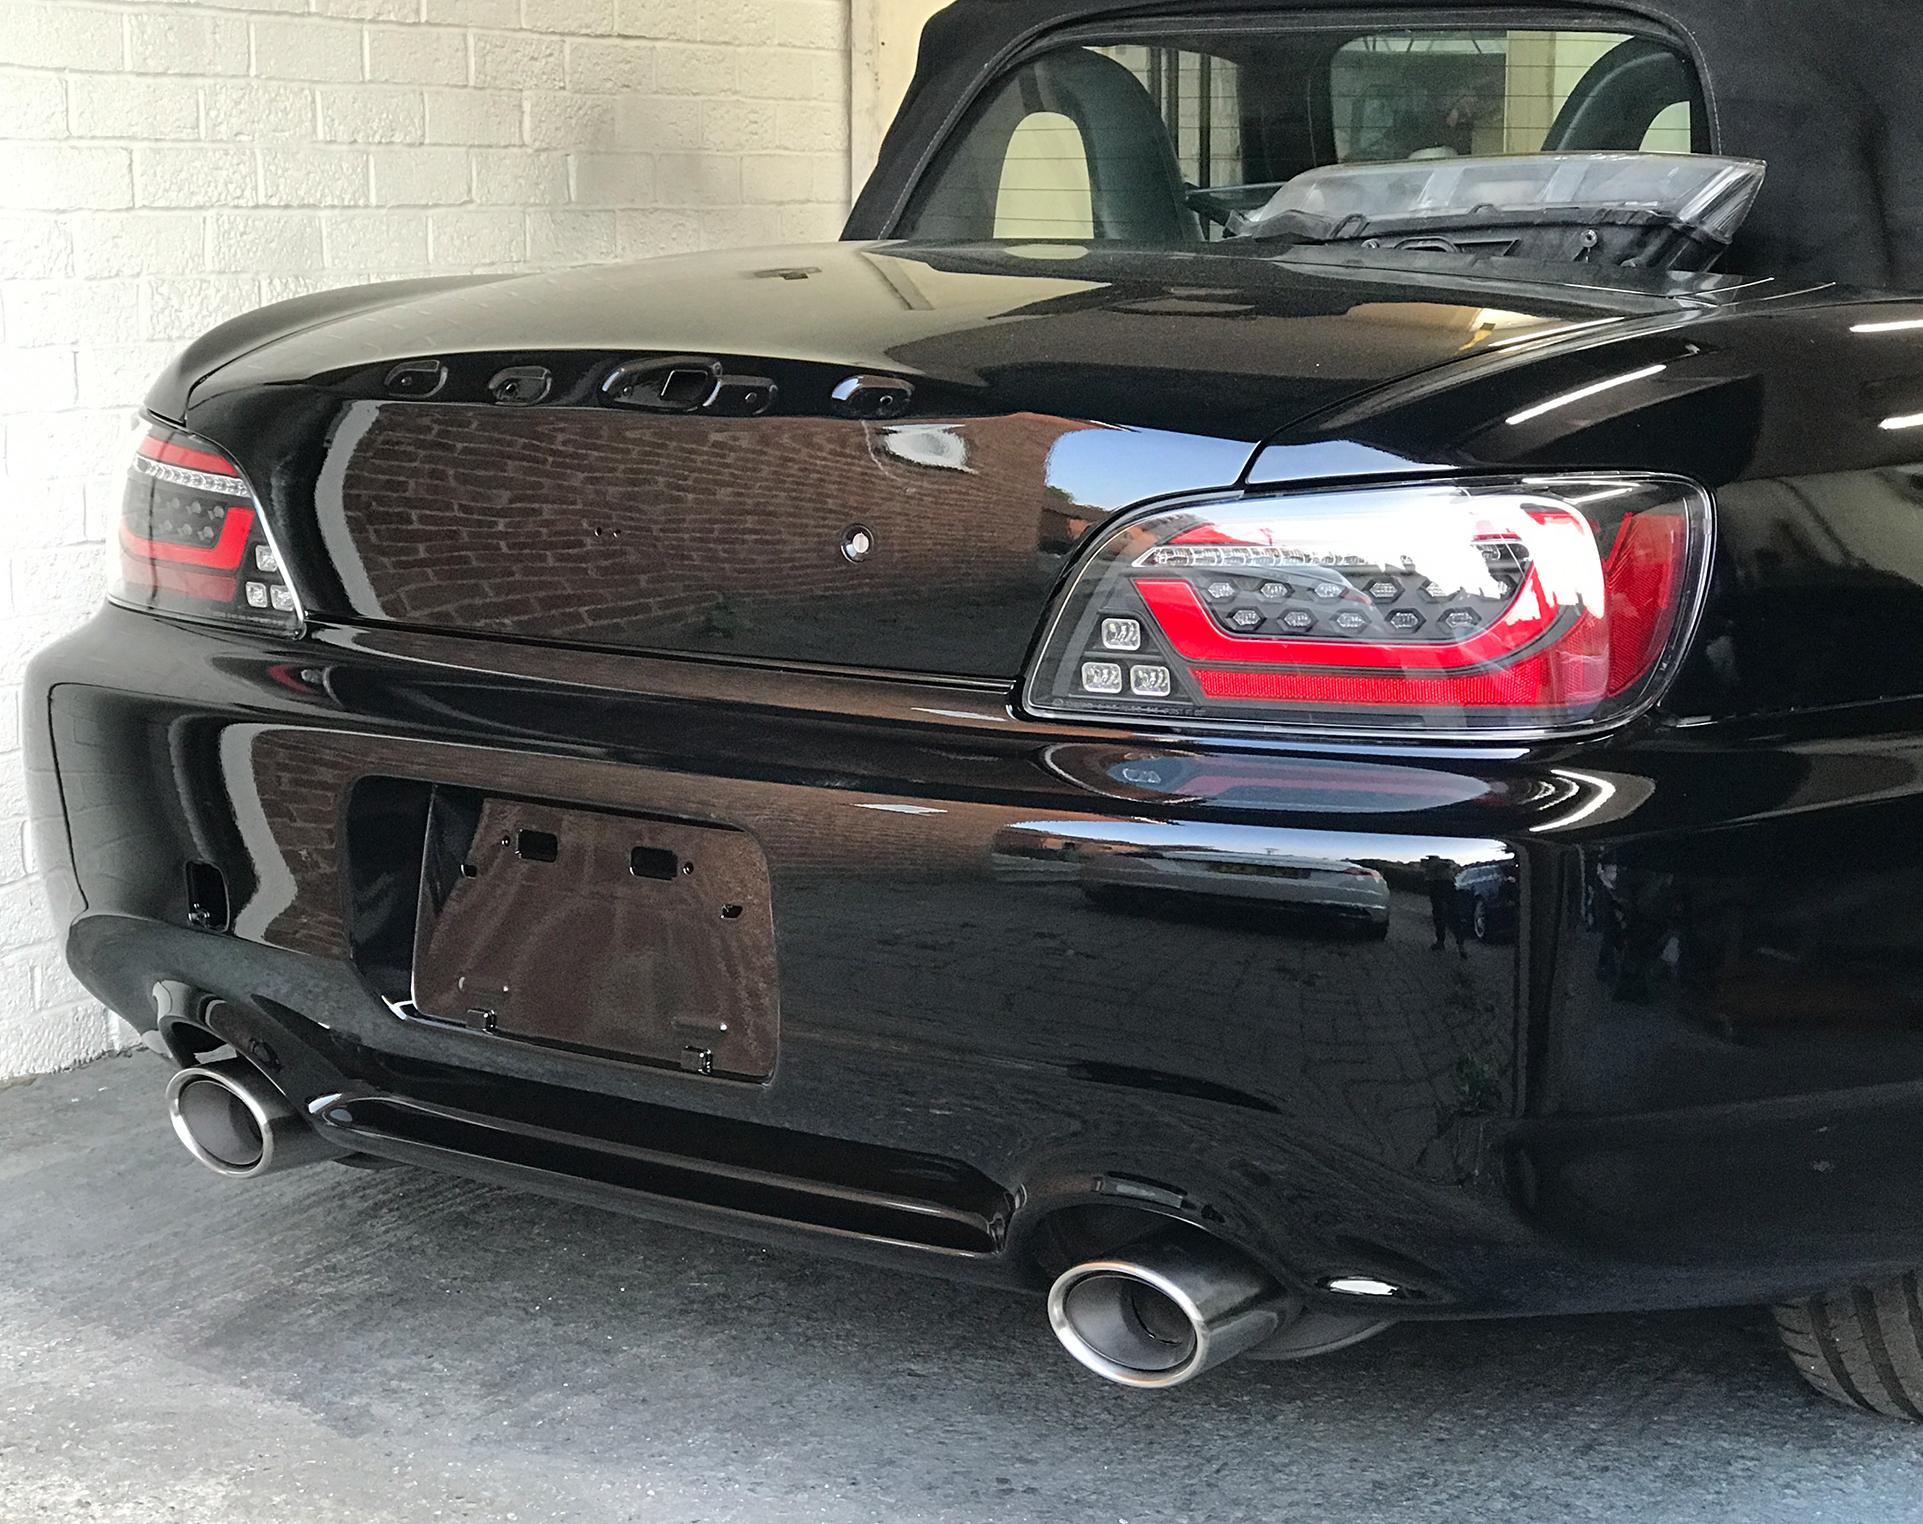
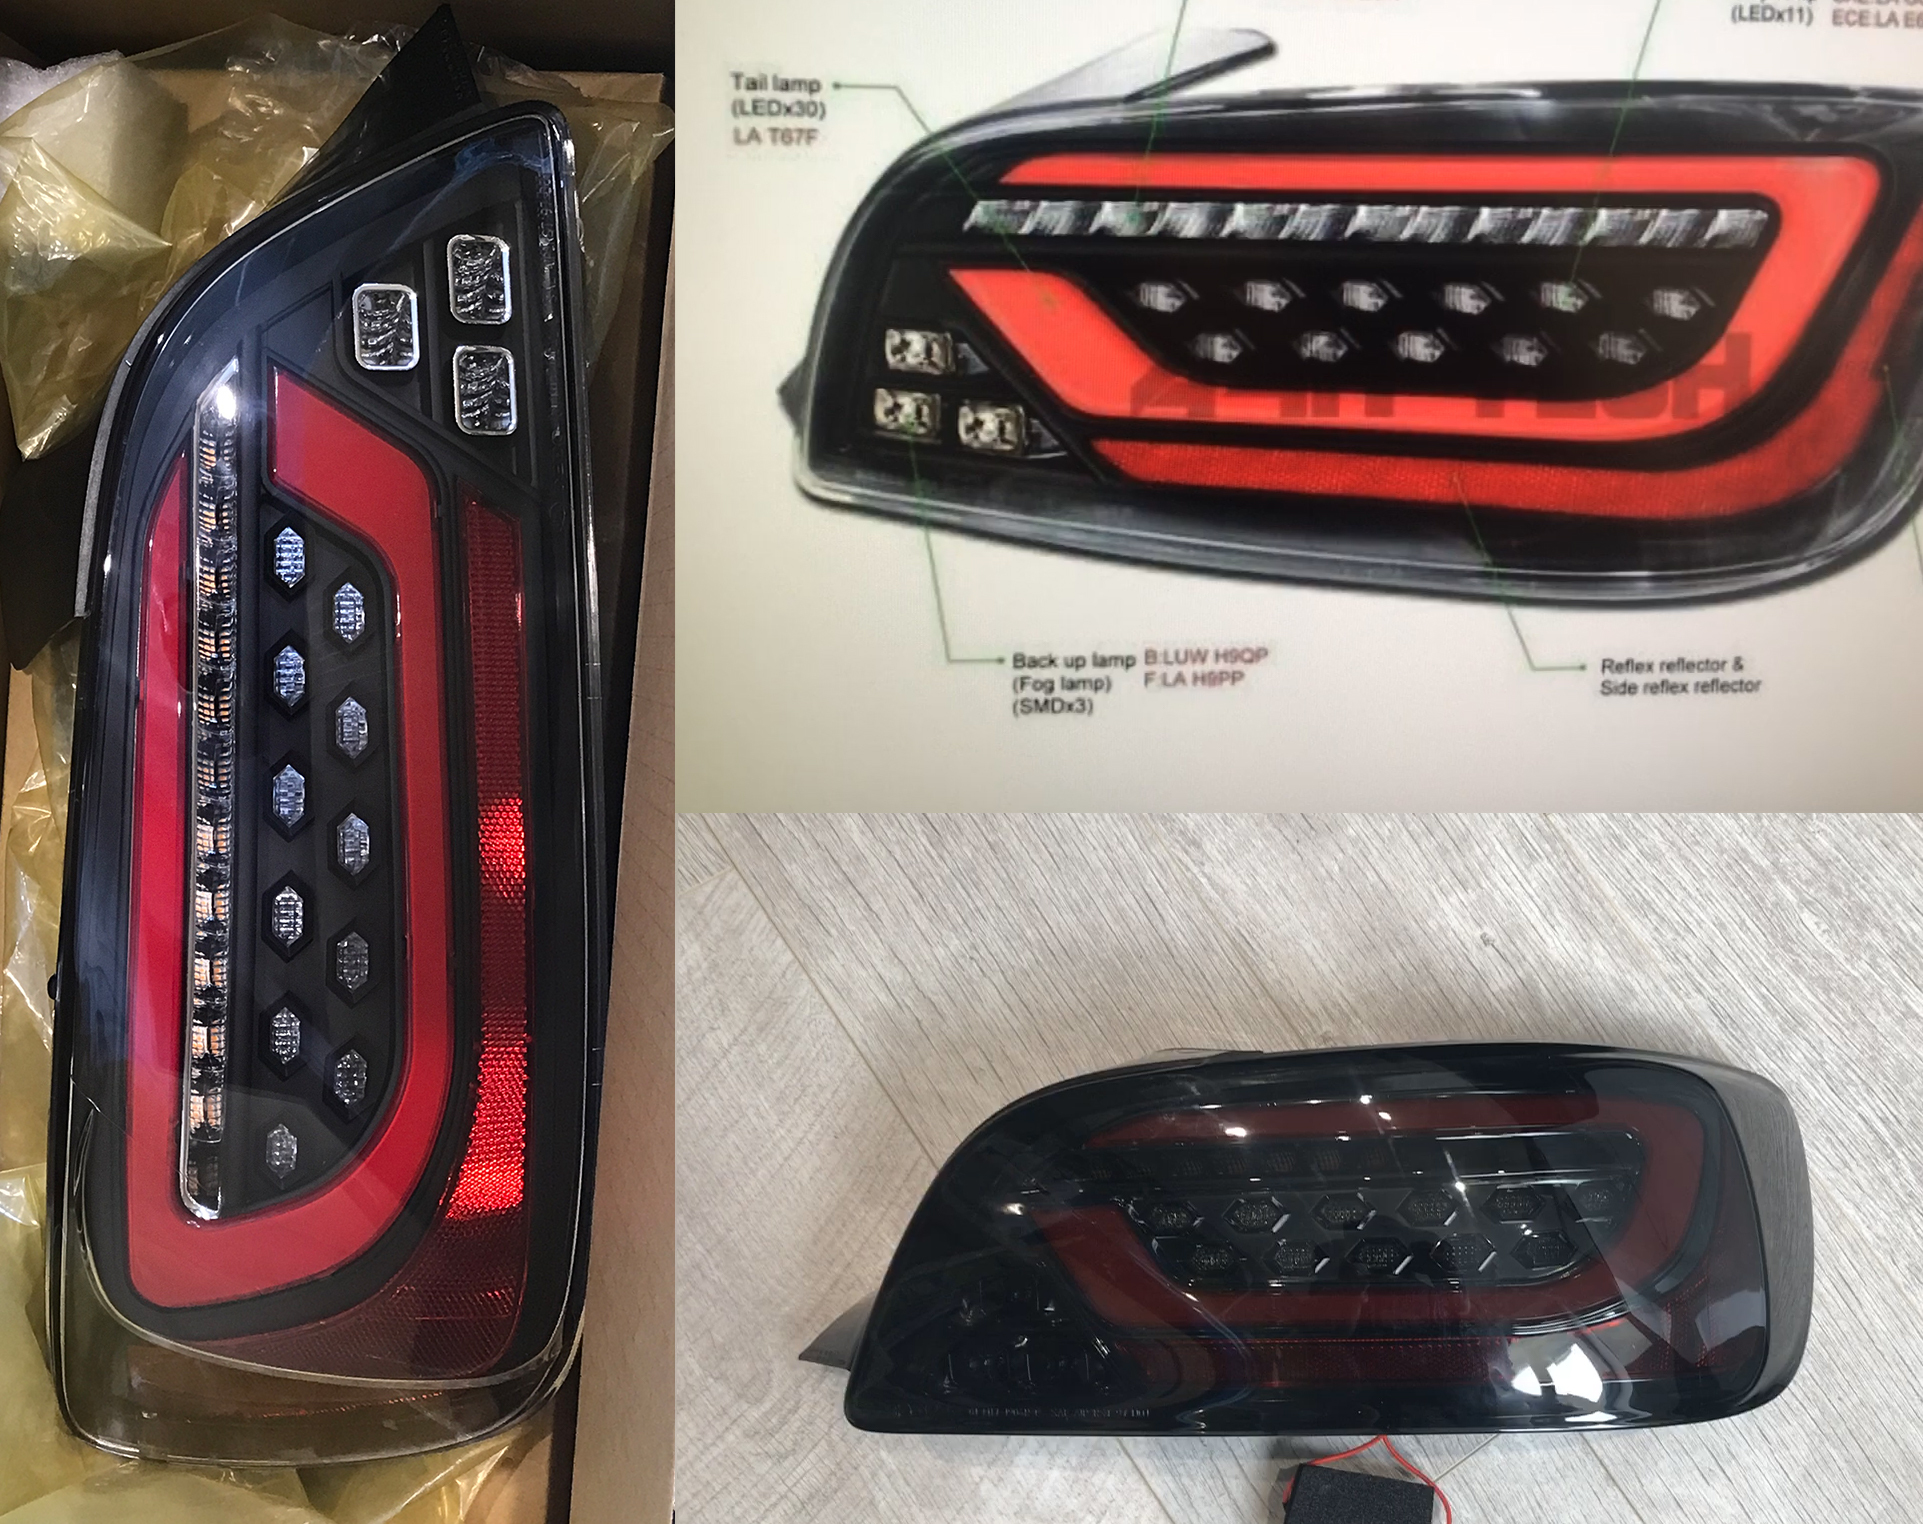
I really liked these tail lights, and since they are road legal in the UK, the decision to go with them was an easy one.
However, there was an ordering mishap—I had originally ordered clear tail lights, but I received tinted ones instead. The store admitted that the mistake was on their end, but we quickly ran into a complication.
Thanks to Brexit, I had already paid VAT, import taxes, and clearance fees. Returning the lights to Europe meant I would have to figure out how to claim back those costs, which was far from straightforward. After discussing the situation with the shop, we reached an agreement: I would try to sell the incorrect set locally, and they would offer some compensation for their mistake.
Fortunately, I got extremely lucky and managed to sell the tinted set on Facebook Marketplace within a day of listing them. With that sorted, I went ahead and ordered another set, this time receiving the correct version. In the end, I didn’t lose any money, and everything worked out just fine.
And here it is—the final result. For an amateur paint job, I couldn’t be happier. Every step, from bodywork prep to painting, cutting, and polishing, has come together beautifully. The finish is smooth, glossy, and reflective, exactly what I was aiming for.
Considering all the effort and learning that went into this project, seeing the car in its fresh, showroom-worthy state makes it all worth it!
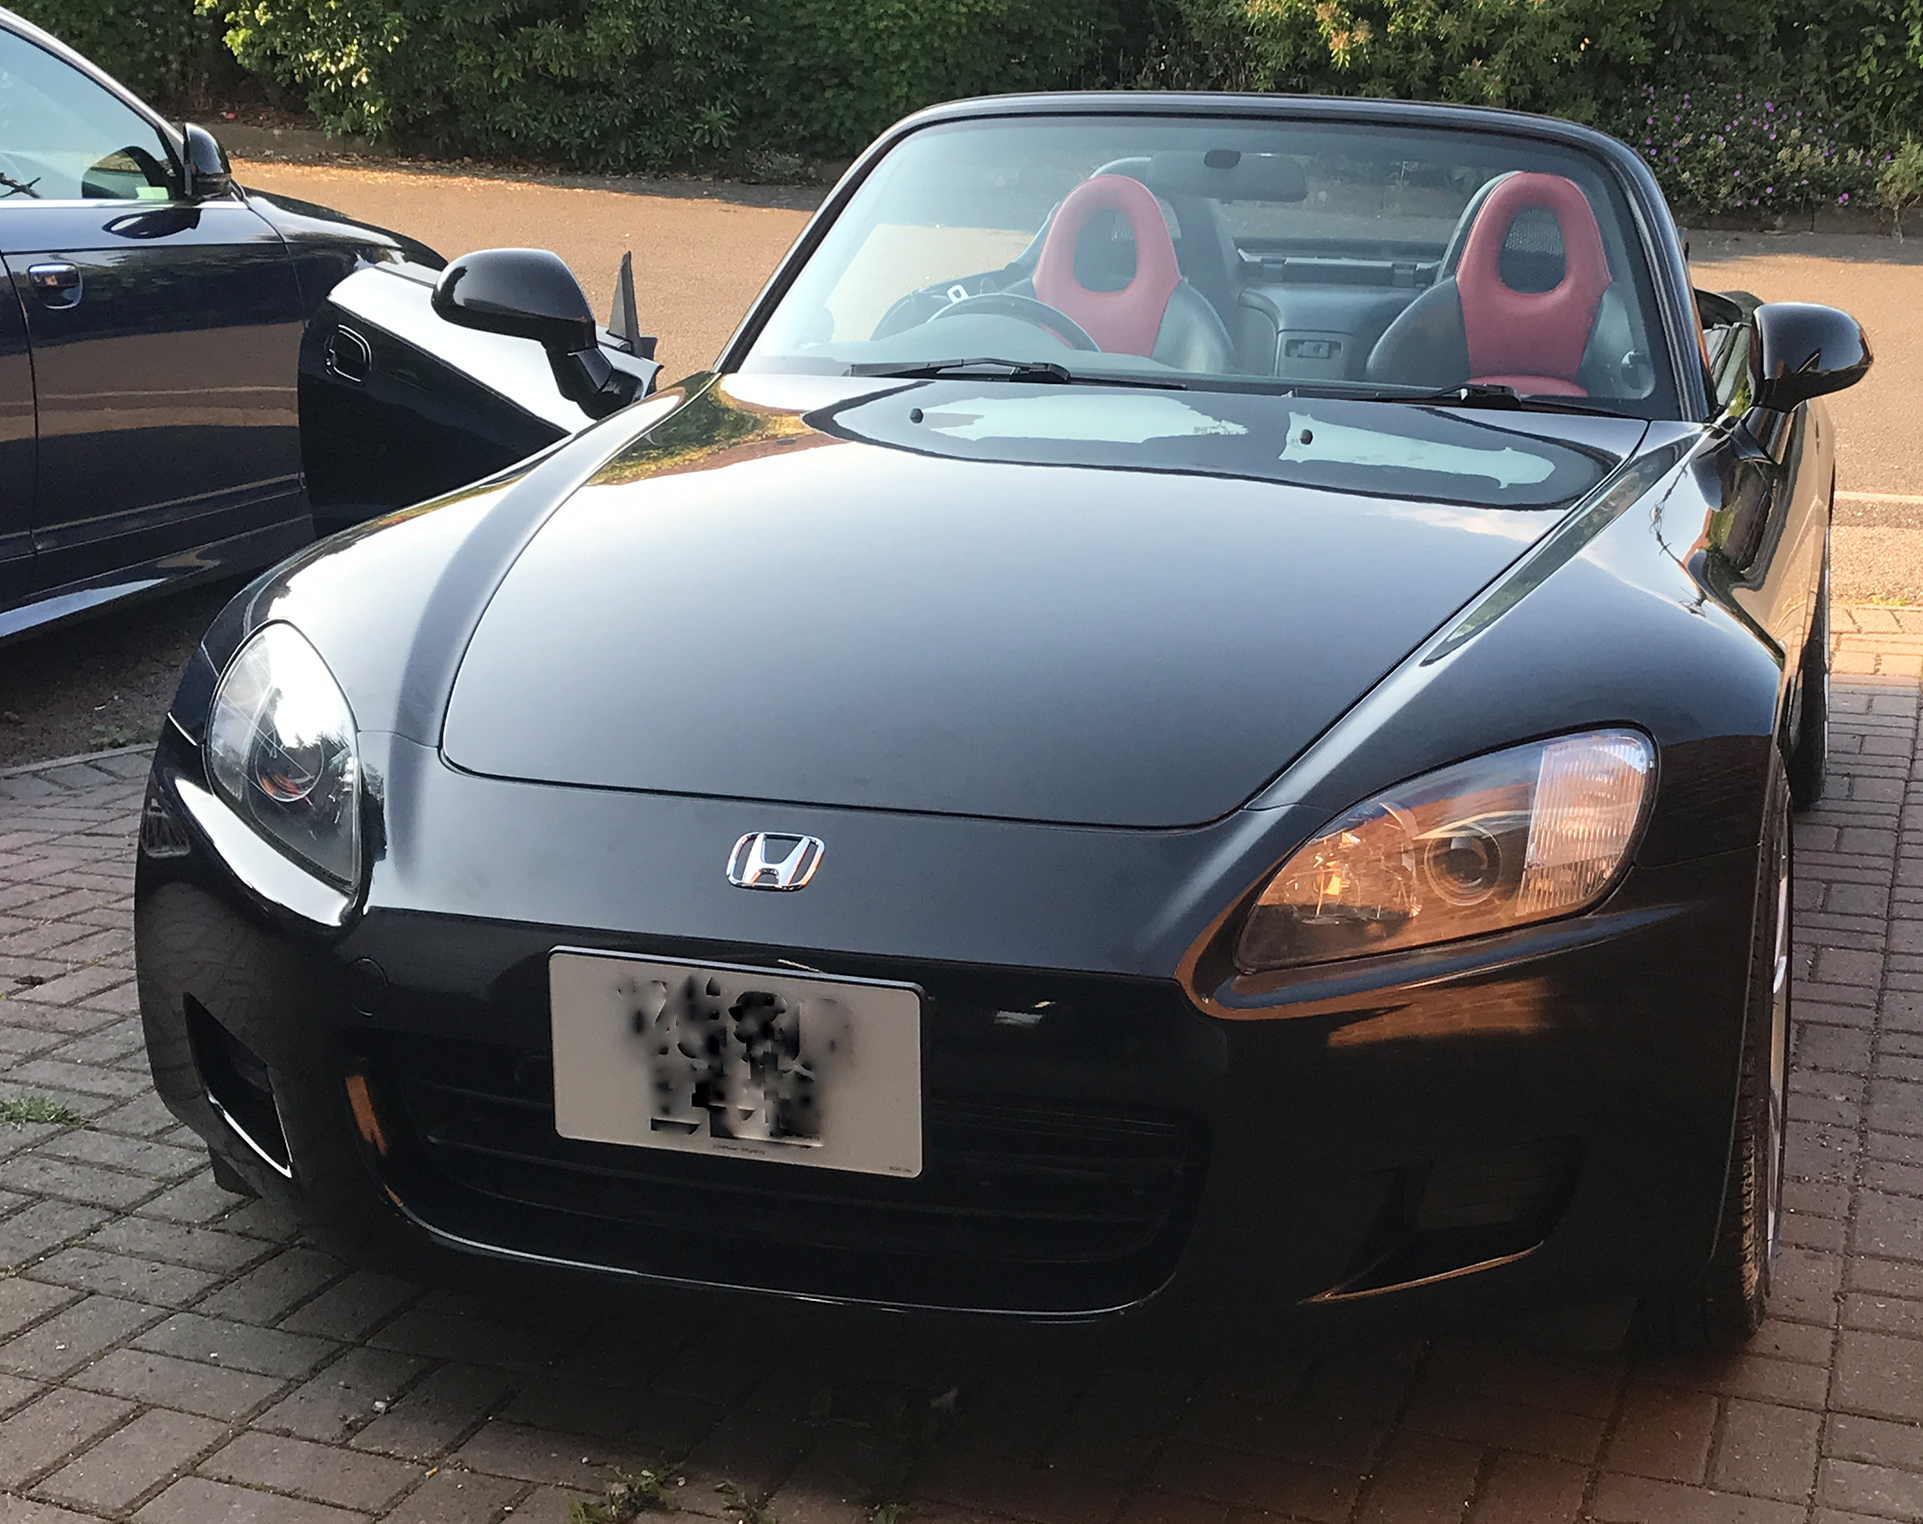
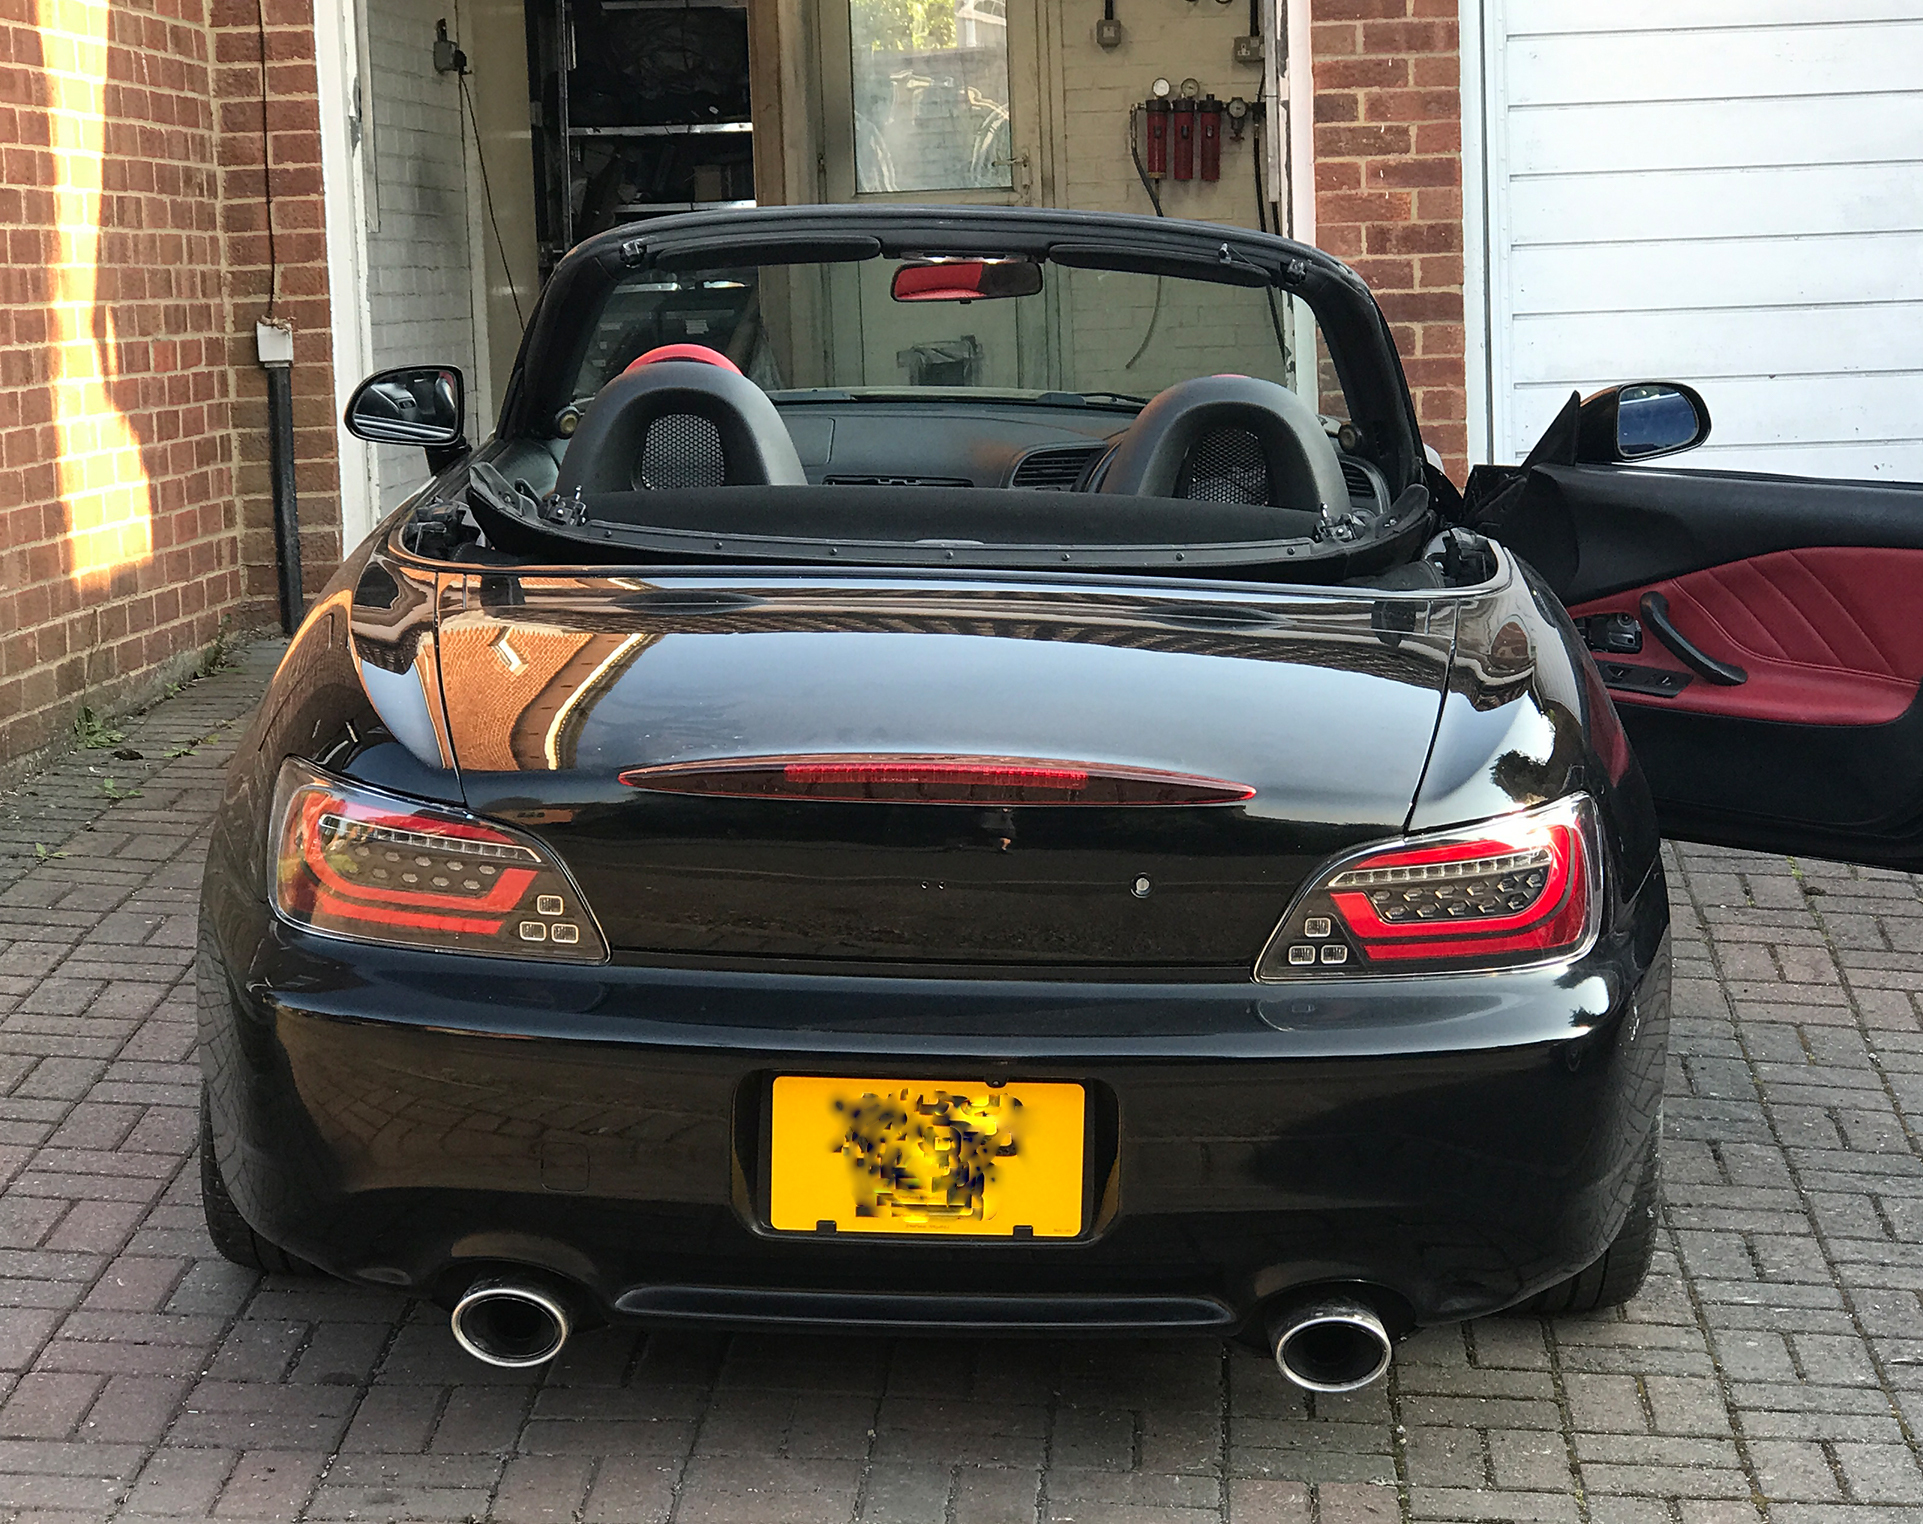
There’s still some work left to do, and in the next episode, I’ll be focusing on restoring the seats and reinstalling the interior. With the exterior now looking better than ever, it’s time to bring the inside of the car up to the same standard. Stay tuned for the next stage of the build!

