Posted by Ondrej M on 23rd Feb 2025
Building the dream - Part 3 Subframes, fuel tank, brake lines
Subframes, Fuel tank, brake lines: My Year-Long DIY Honda S2000 Restoration Journey
If you’ve been following my progress, you might have seen in the previous chapter that I completed the engine restoration, and the engine is now set aside, waiting to be installed back into the car.
This time, I’ll be making progress on the shell, and as the title suggests, I will be restoring the fuel tank to look like new, refurbishing the subframes, and making new brake lines from marine-grade stainless steel. I know—it’s not the easiest material to work with, but I’ll touch on that later.
Fuel Tank Restoration
First things first—the fuel tank. Removing it is pretty much a rear subframe-down type of job, and since I had already removed the subframe earlier while preparing the car shell, I was one step ahead.
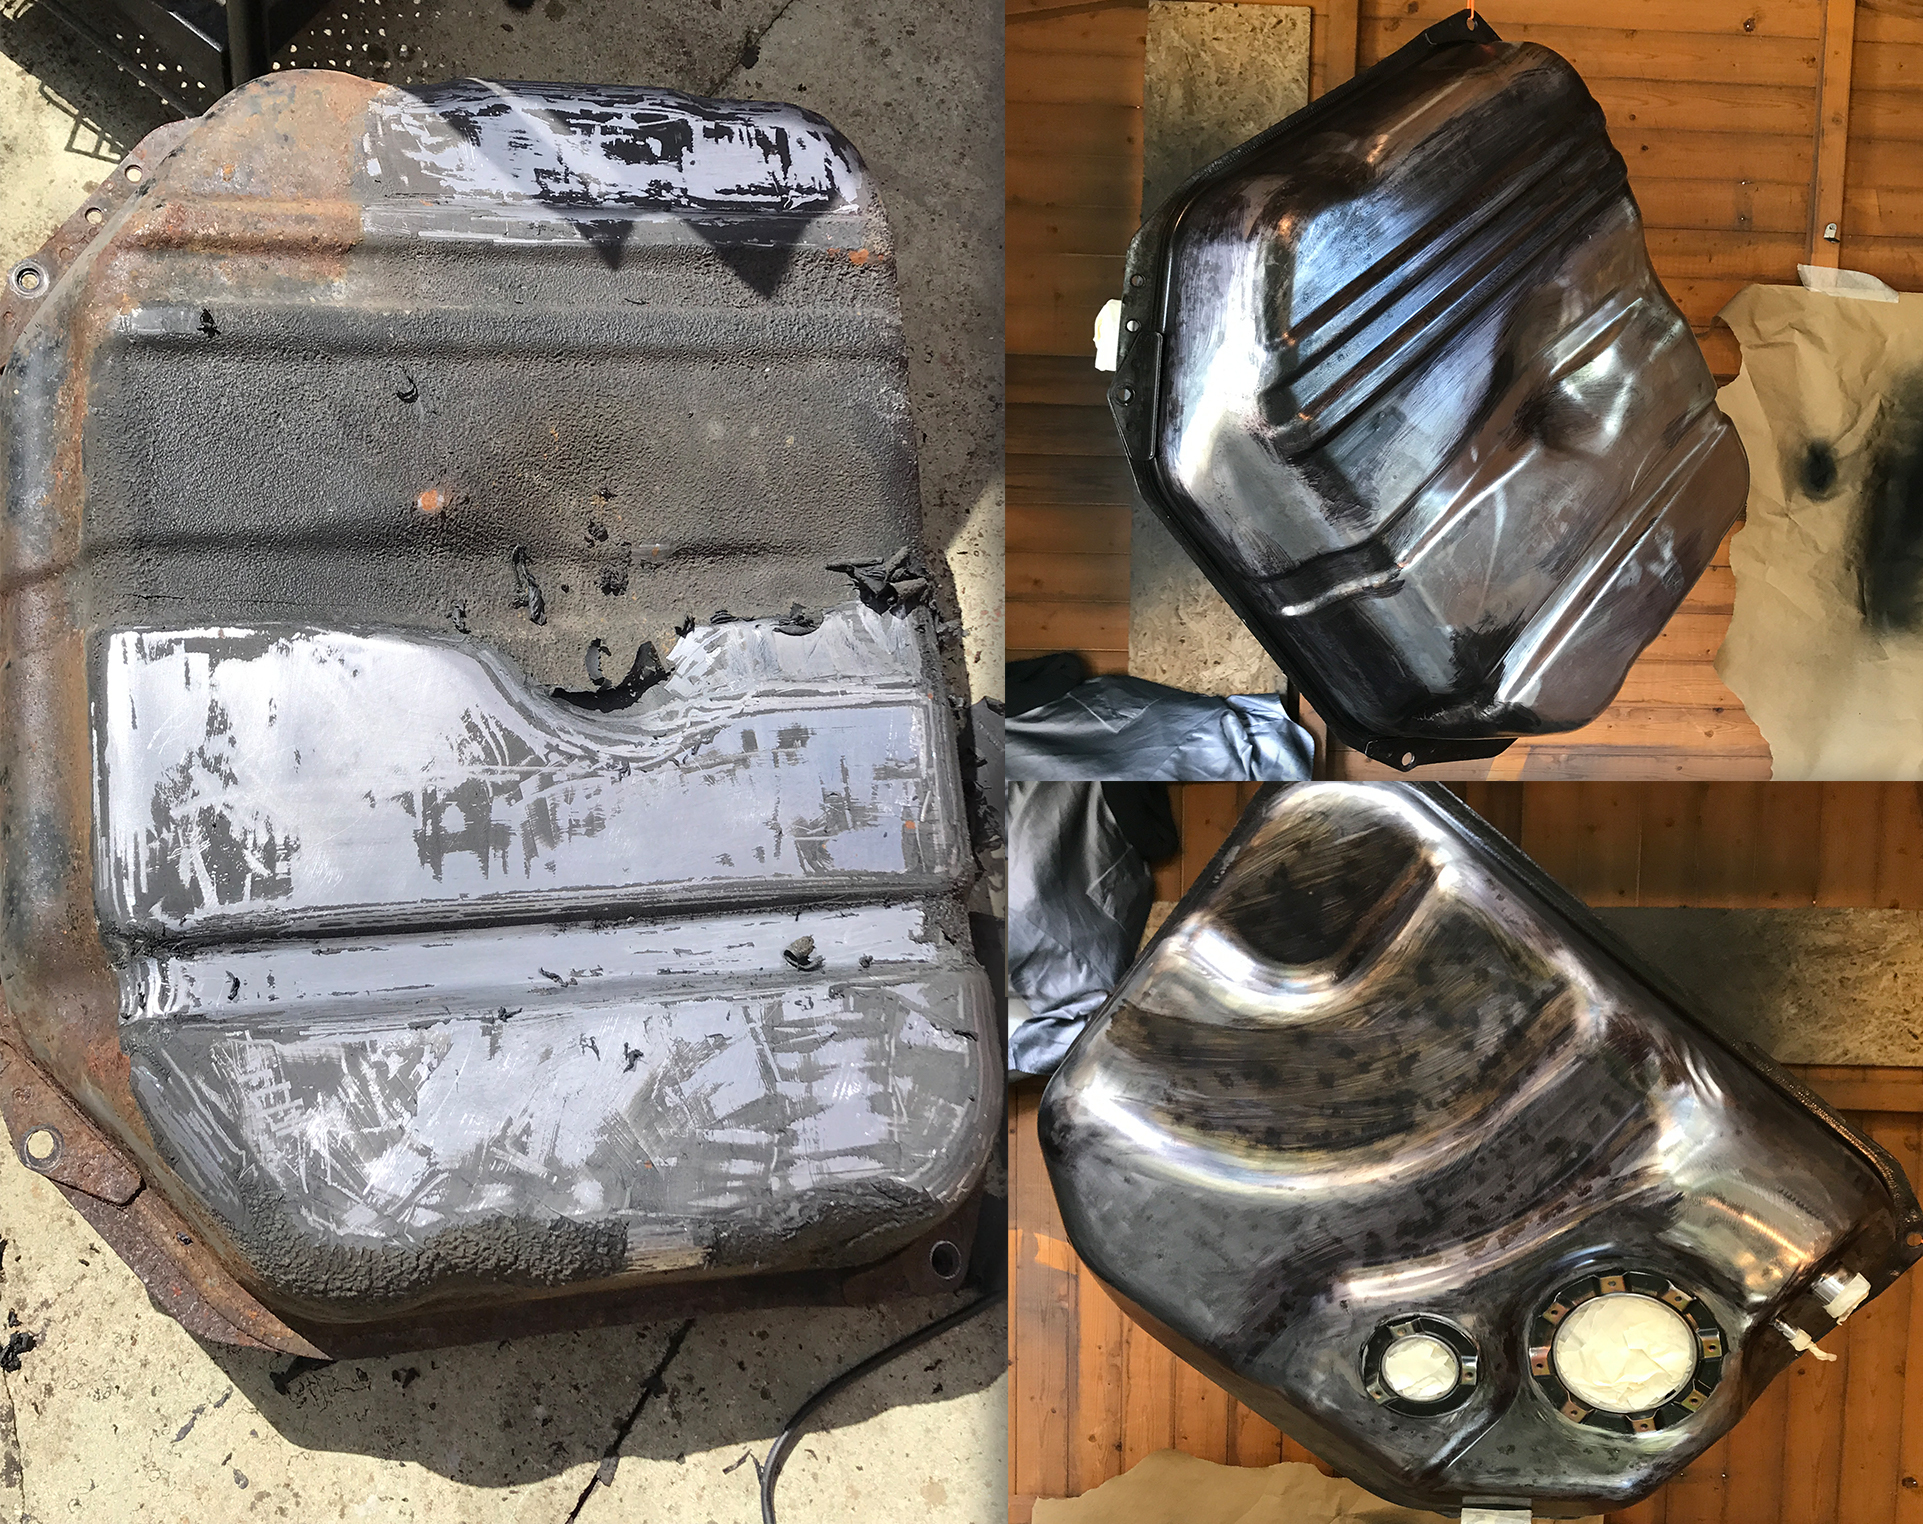
I had to strip all the old paint, and the toughest part was removing the rubber coating. Luckily, there was no rust compromising the integrity of the tank, so with just a rust converter treatment, I was happy to move straight to the painting process.
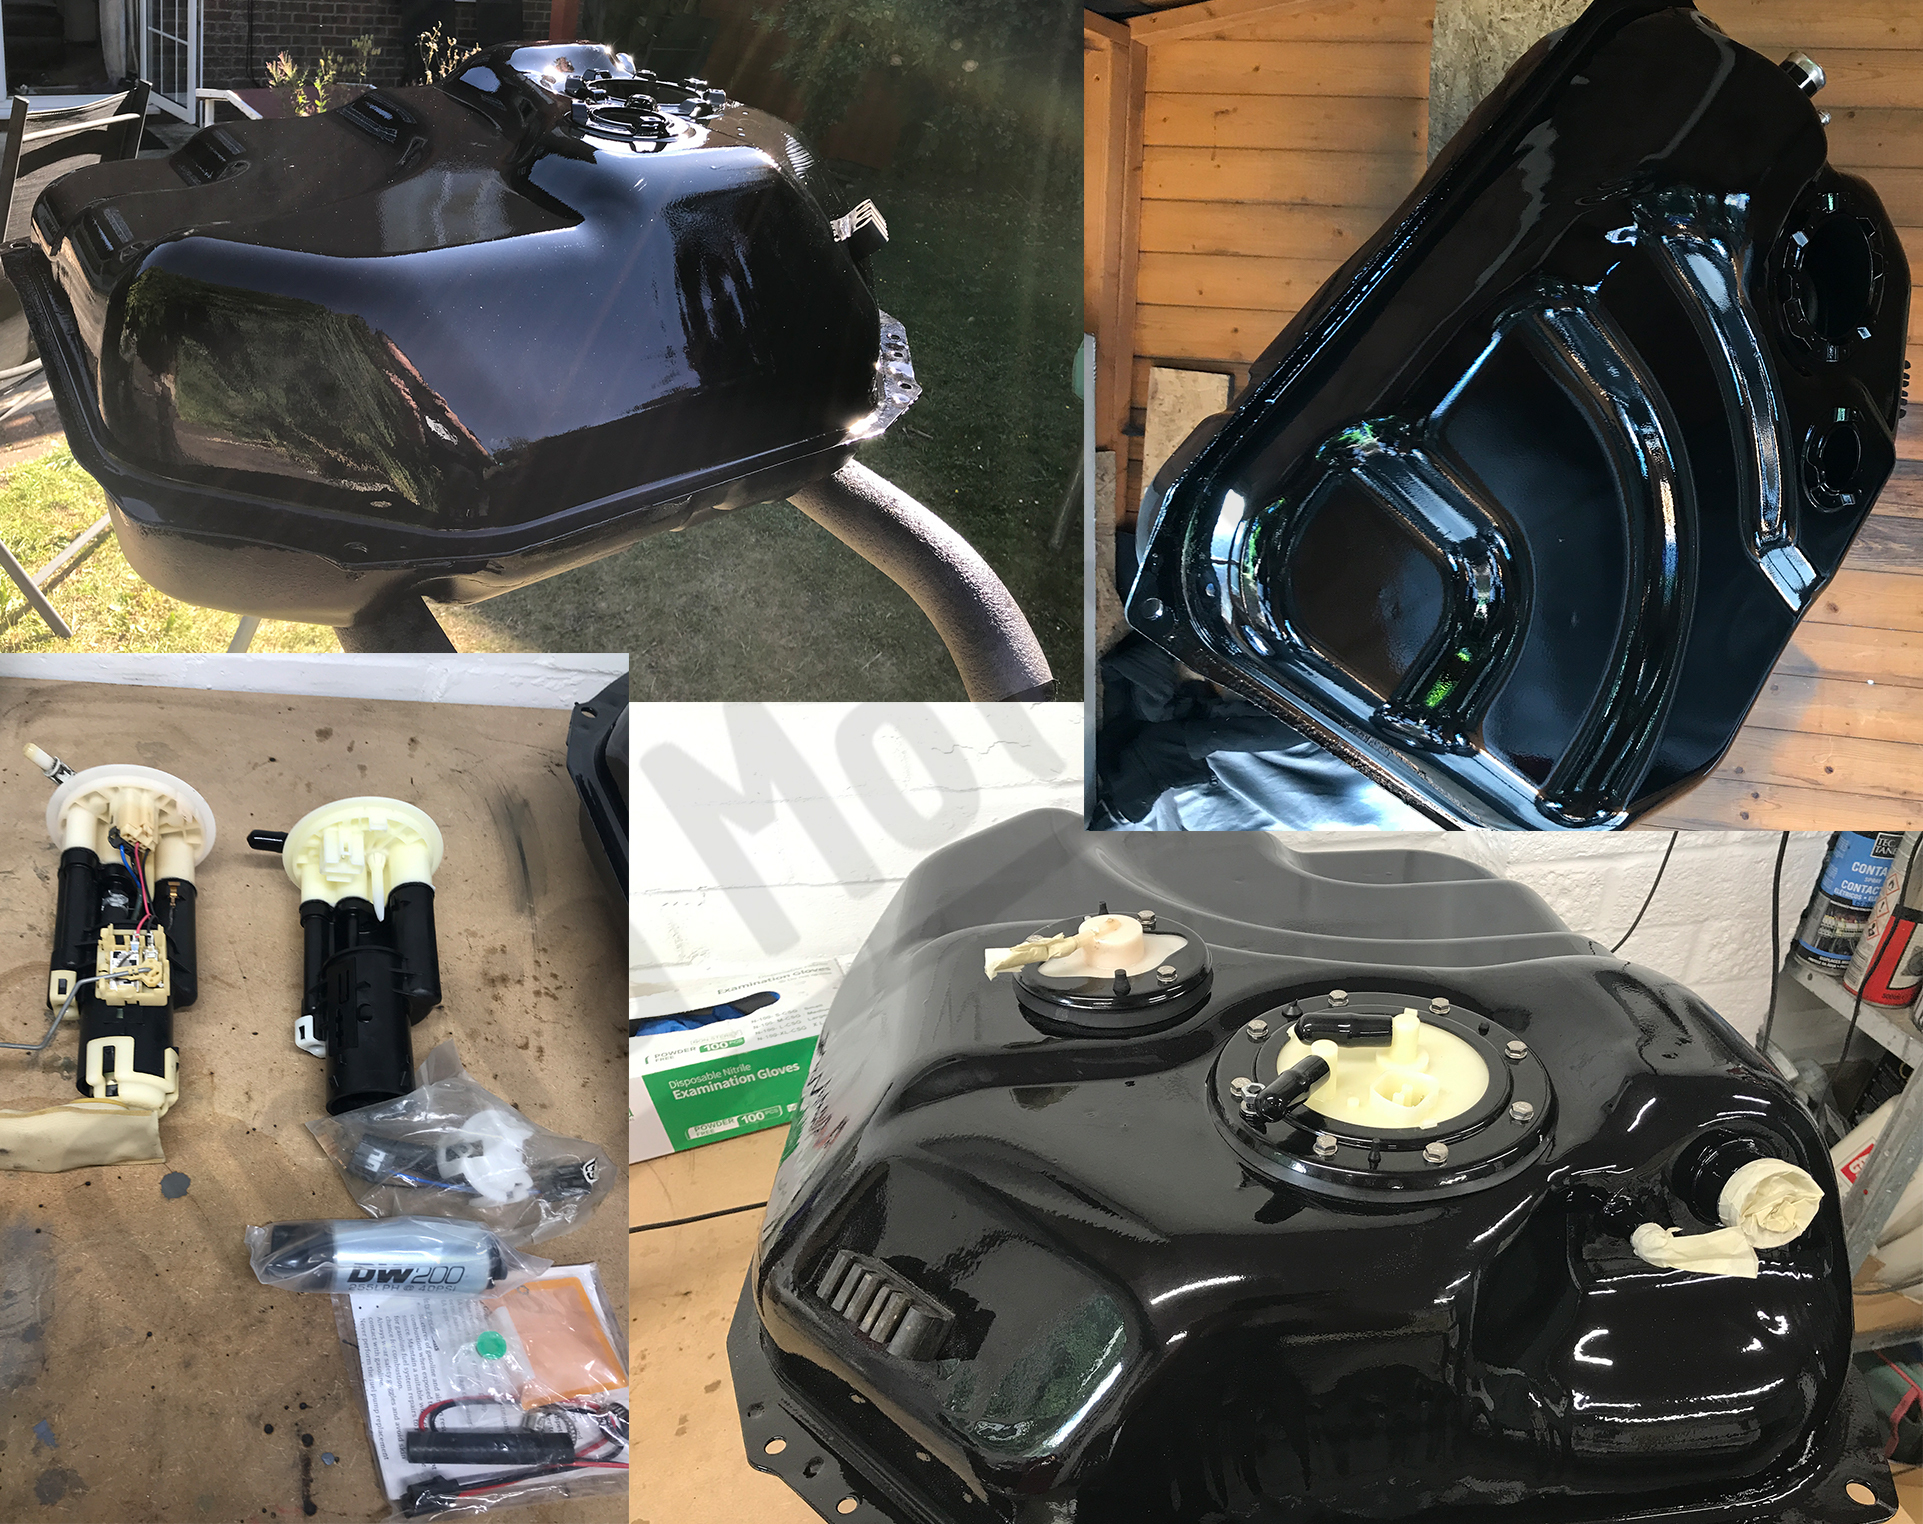
As with the shell, I started with Raptor epoxy primer. However, unlike the shell, I then used polyurethane industrial paint as the top coat. This should protect the epoxy primer from UV light and create a tough, hard-wearing finish. The bottom of the fuel tank was also treated with Raptor bed liner for added durability, helping prevent paint chips from small stones.
As part of the fuel tank restoration, I also decided to replace the fuel pump and fuel filter sock. When driving, I had noticed the old fuel pump getting louder and louder—perhaps it was replaced just in time.
The fuel pump I chose was the DeatschWerks DW200 255LPH In-Tank Fuel Pump, paired with an original genuine Honda fuel sock.
Fuel Tank Sorted—Now Moving On to the Subframes
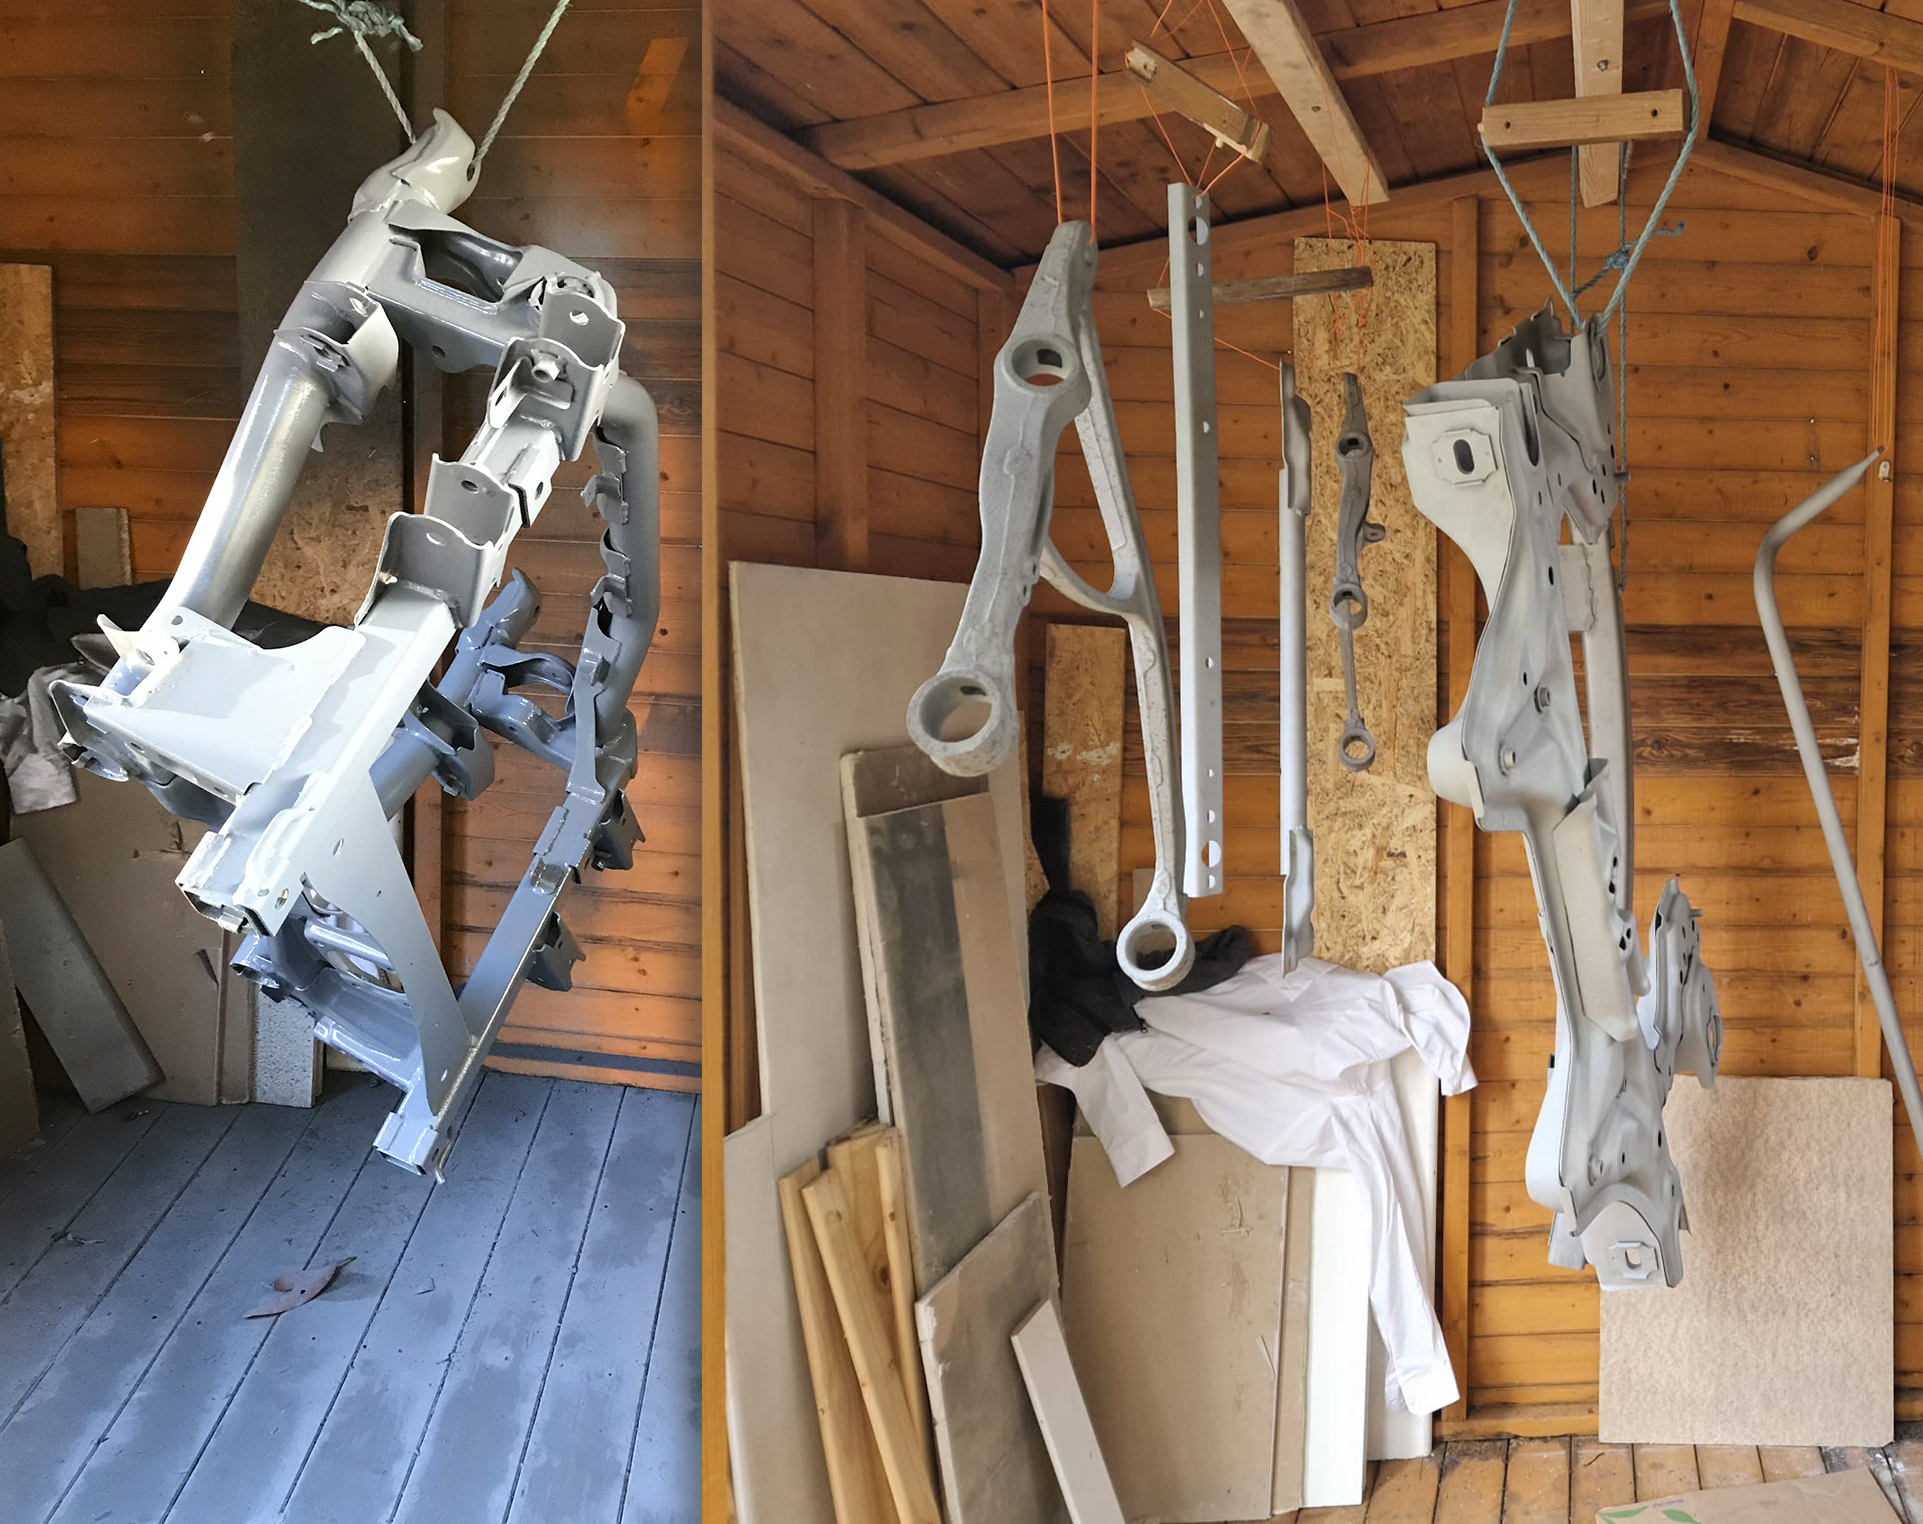
For this part, I found a local sandblasting specialist. Choosing someone local was very important, as I wanted to ensure the parts were painted immediately without unnecessary delays. The main reason for this was to prevent flash rust from setting in.
To save some time, I also gave him some of the suspension parts so they could be painted at the same time.
As with most of my direct-to-metal applications, I used epoxy primer. For the subframes and suspension parts, I opted for a polyurethane-based paint as the top coat.
I know some people prefer powder coating, but from my experience working with powder-coated parts, I found them too easy to chip. Powder coating creates a crust-like shell that looks nice and can hide imperfections better than primer and topcoat. However, painting is my personal preference
Subframes Done – Now Moving On to Brake Lines
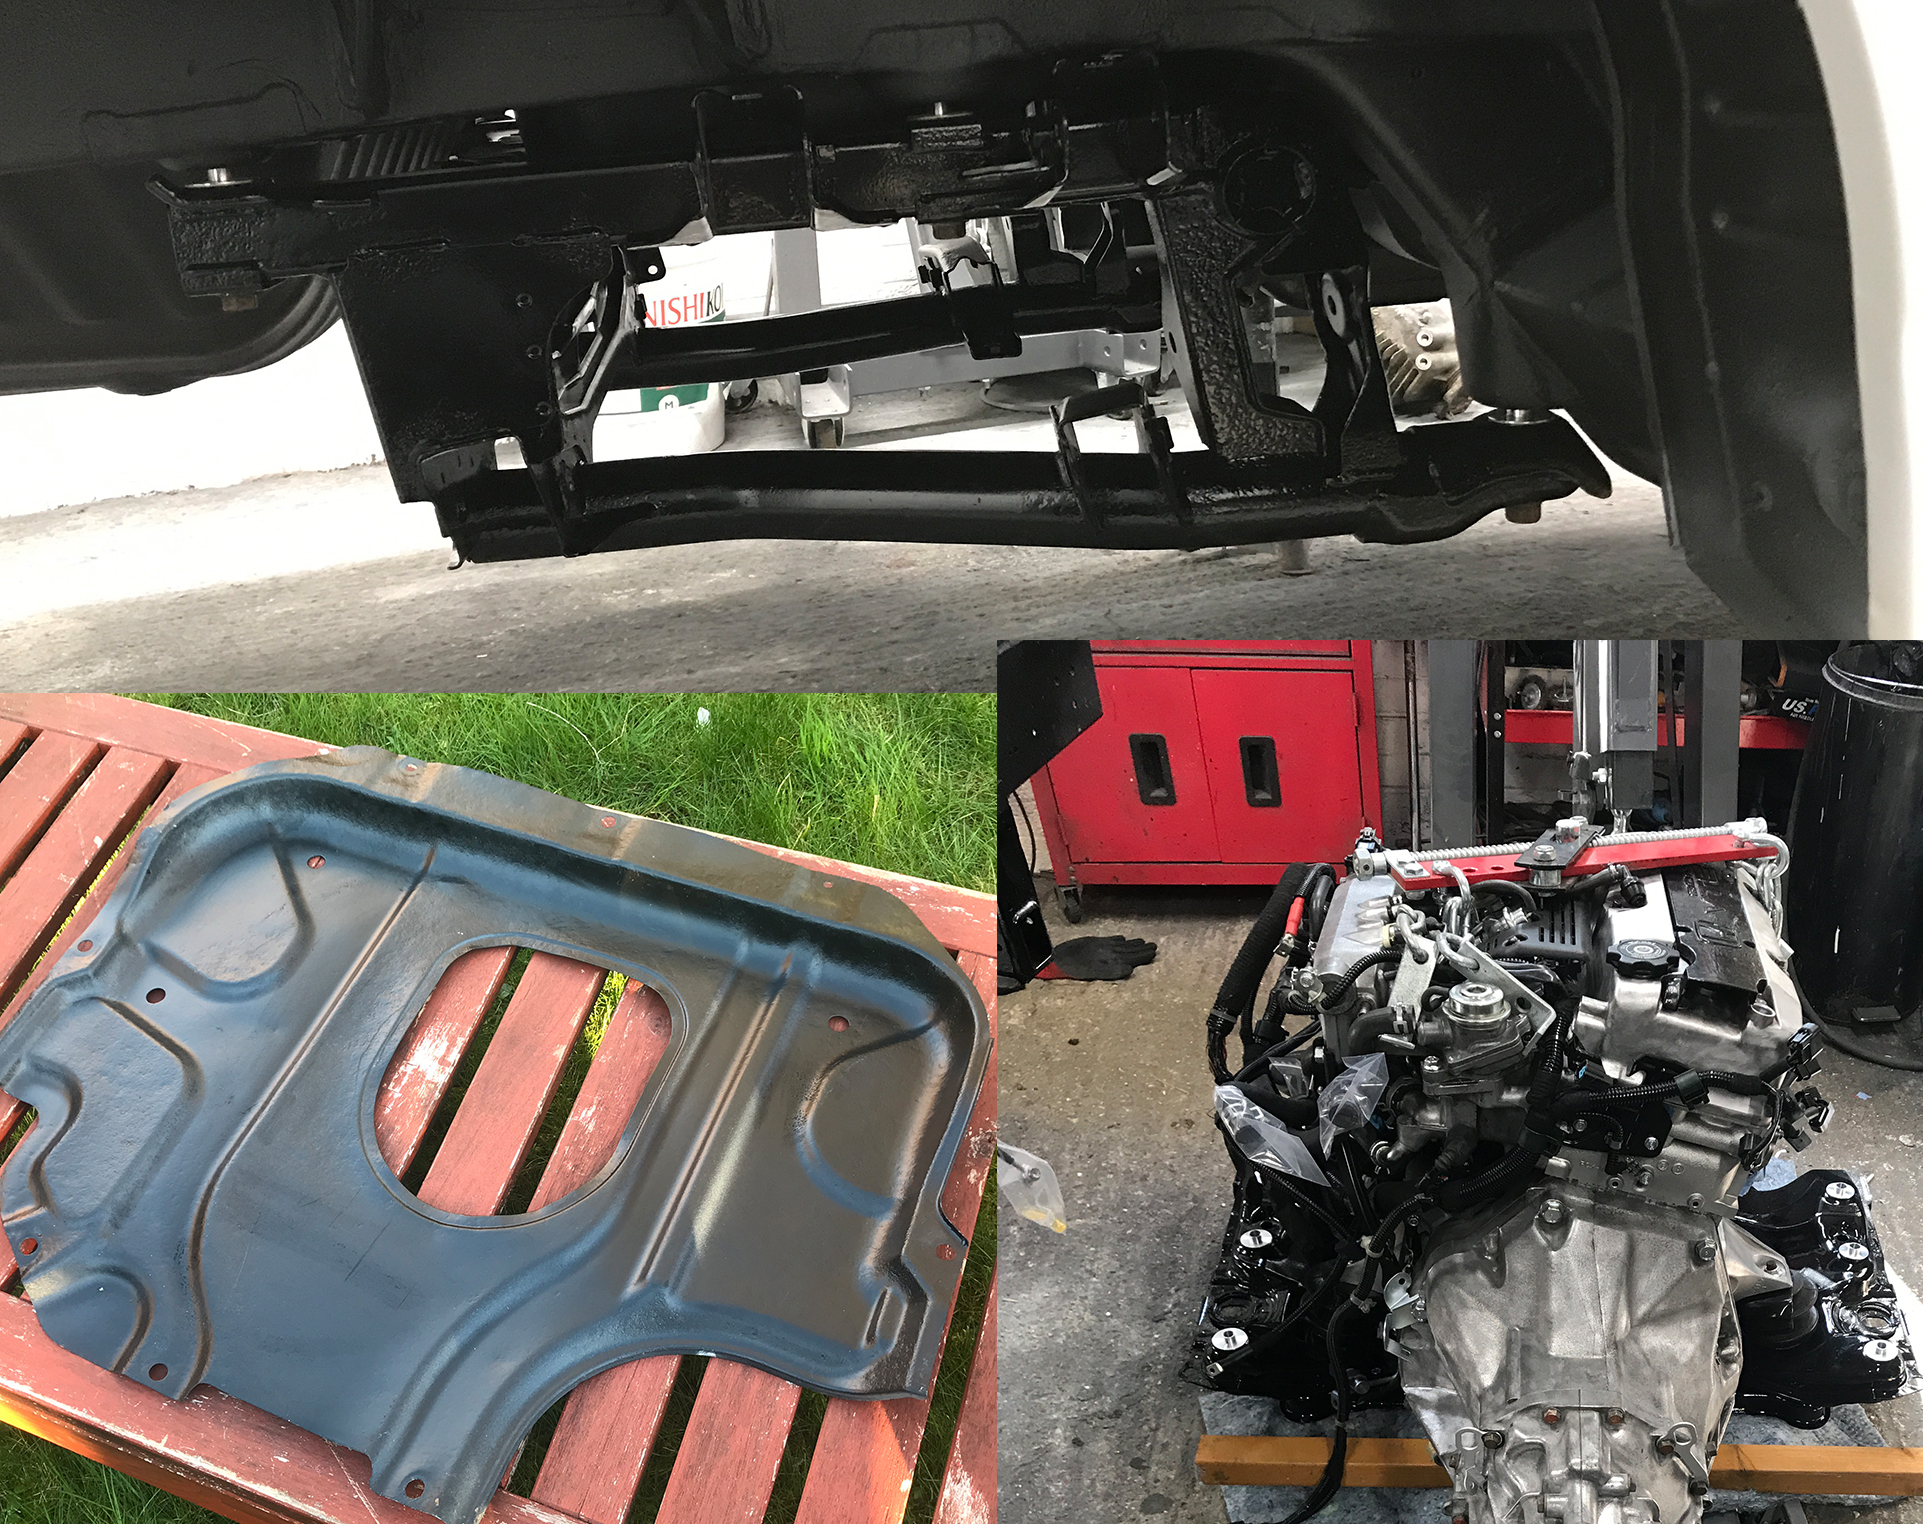
The subframes are done, painted, and semi-installed. You might have noticed that there are new differential bushes from Innovative—I decided to go for the softer option to keep the car closer to a stock-like feel.
The fuel tank is installed back in the car, and the rear subframe is in place, although it's only loosely fitted. The reason I haven’t tightened it yet is because of the rear brake lines—they actually run between the shell and the top part of the subframe, so it would be very tricky to fit them later if the subframe was fully tightened now.
Now on to the Brake Lines
As I mentioned earlier, I decided to go for stainless steel brake lines instead of the more traditional copper-nickel lines, which are commonly used by DIY car restorers in the UK. Here’s why:
Copper-Nickel Pros:
✔ Cheaper (a lot cheaper)
✔ Easy to find in the UK
✔ Easier to work with – the material is softer, bends more easily, and flares with less effort
Copper-Nickel Cons:
✖ Although copper is corrosion-resistant, it oxidizes over time, creating a greenish tint on the surface
✖ The burst pressure is lower than the original steel lines and also lower than stainless steel
Stainless Steel Pros:
✔ Looks good for longer – resists oxidation and discoloration
✔ Higher burst pressure than copper-nickel
✔ Holds its shape better – once straightened, it stays straight better than copper-nickel
Stainless Steel Cons:
✖ Expensive – costs 3-4 times more than copper-nickel
✖ Harder to bend – requires more force and some practice to avoid kinking
✖ Flaring is trickier – extra care is needed to inspect for splits at the flare
So, where did I manage to get the stainless steel lines from? The USA. Yes, I couldn’t find a supplier in the UK, so that was my only option. For this car, I ended up ordering two 25ft coils.
Although I had no luck finding the lines in the UK, I did manage to source the stainless steel brake unions locally.
To make the flares, I decided to use a turret-style flare tool.
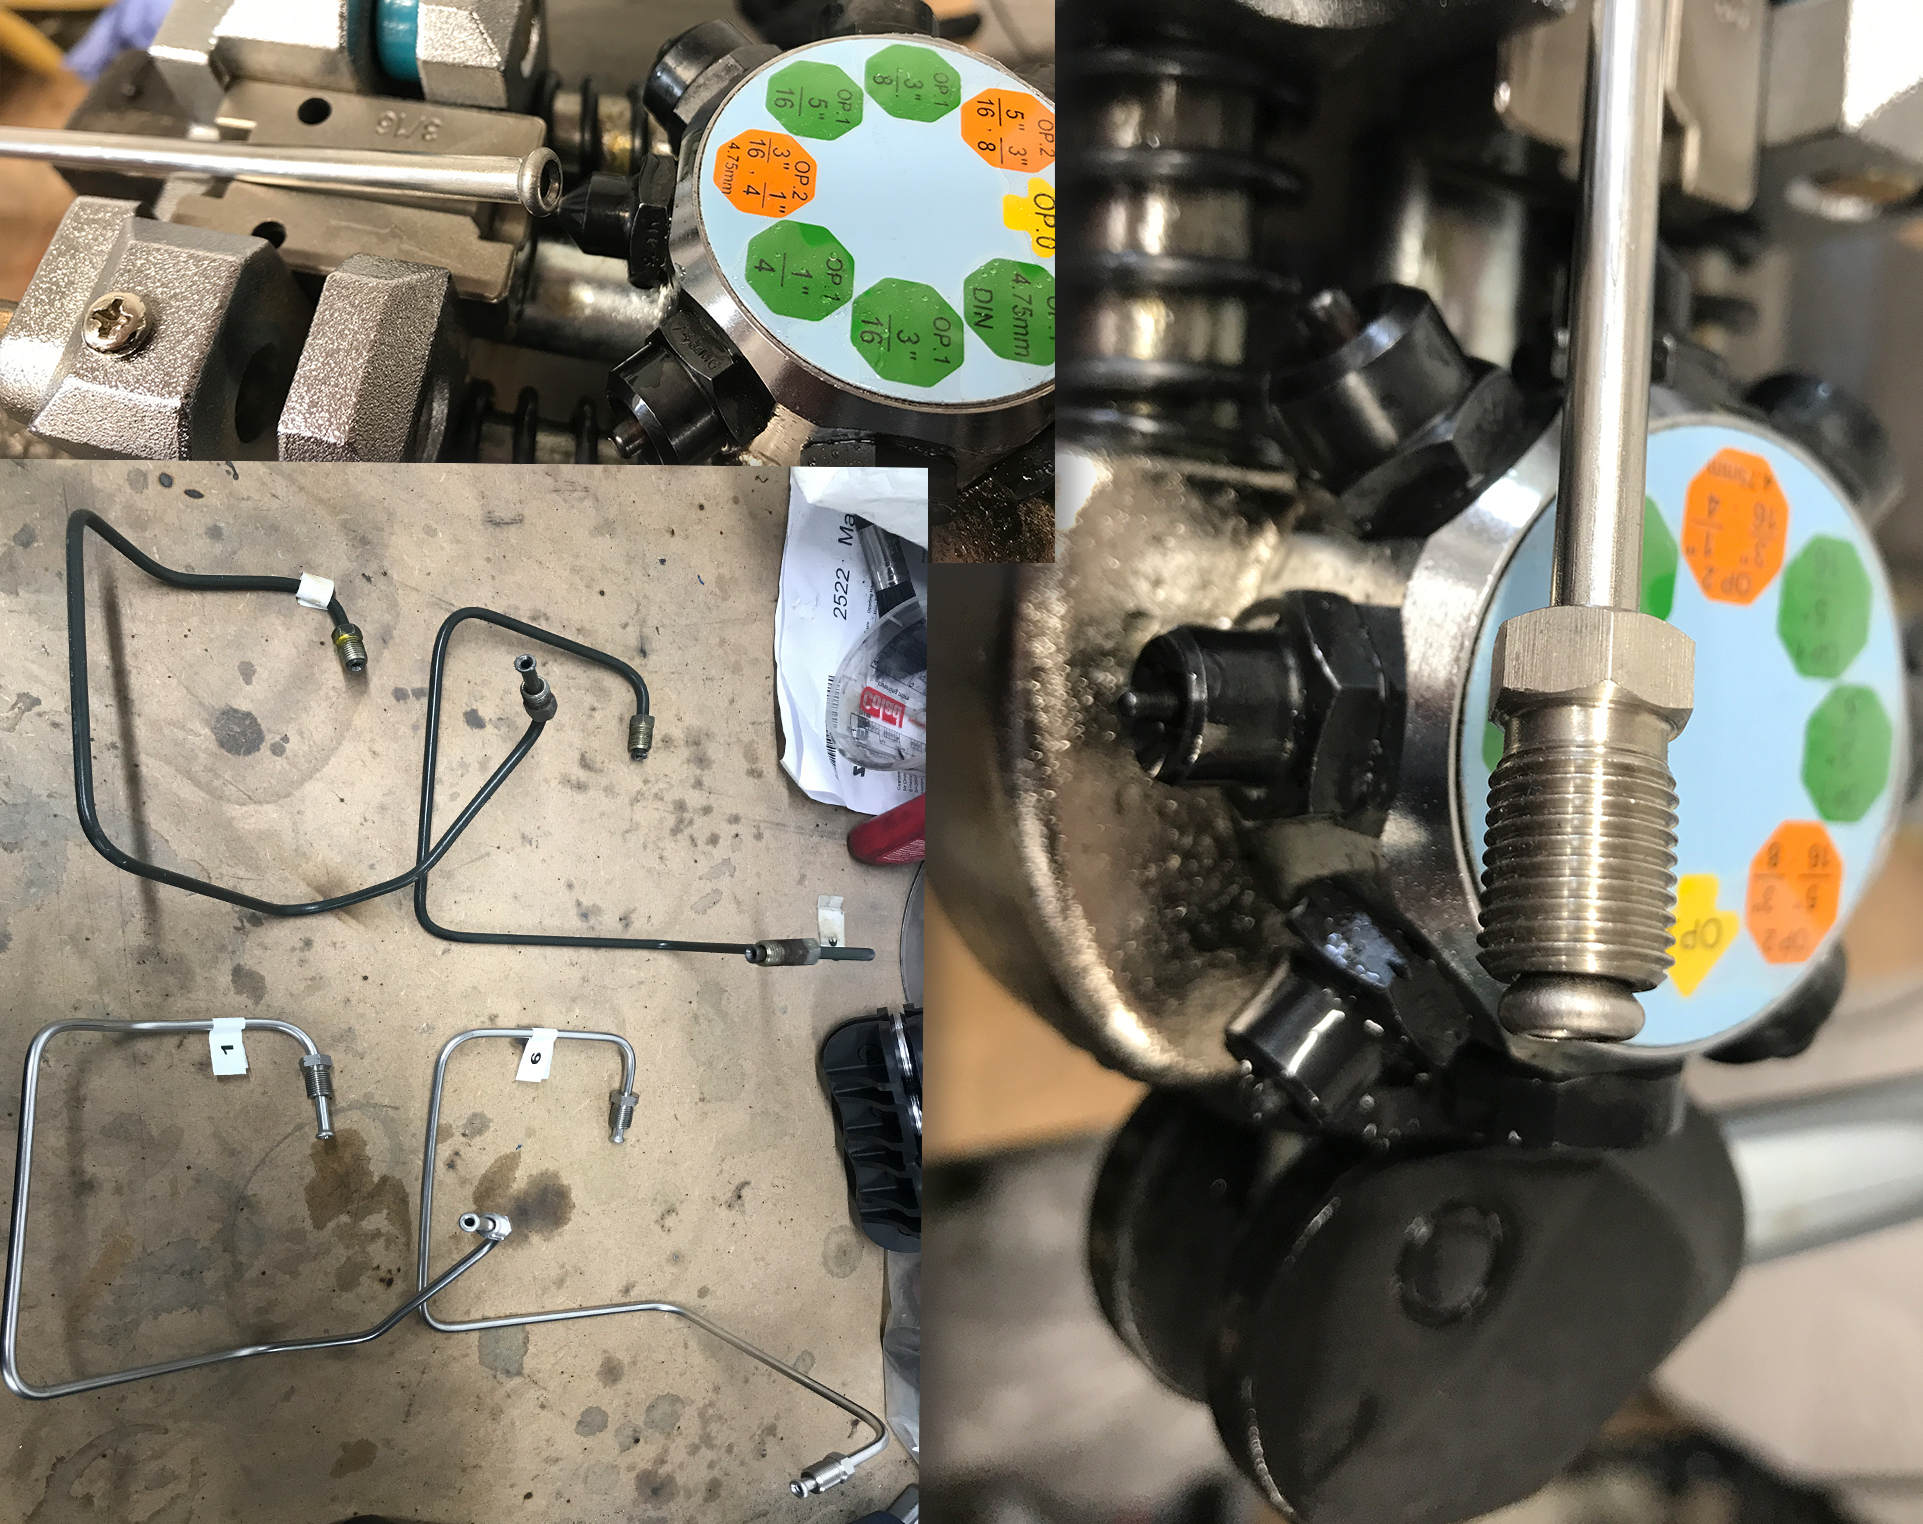
I used the original lines as a template, and it worked pretty well.
Before installing the brake and clutch lines, I have also started to installing some of the other engine bay components back in and again used new PVC sleeve to wrap the wiring harness in.
This was also a good opportunity to install a new brake master cylinder. Additionally, I noticed a dark paste leaking into the interior from the clutch pedal—a clear sign that the clutch master cylinder also needed to be replaced.
I didn’t just completely replace the brake lines—I also replaced the clutch line, including the flex hose.
On the Topic of the Clutch System...
Well, I accidentally ordered the clutch slave cylinder for the facelift model. The good news is that it’s a direct fit. However, this also means I now have the delay valve.
This could be a good thing, as it helps protect the drivetrain, but if I find it annoying, I can remove the internal valve, which will eliminate the delay.
For now, I’m keeping it as is.
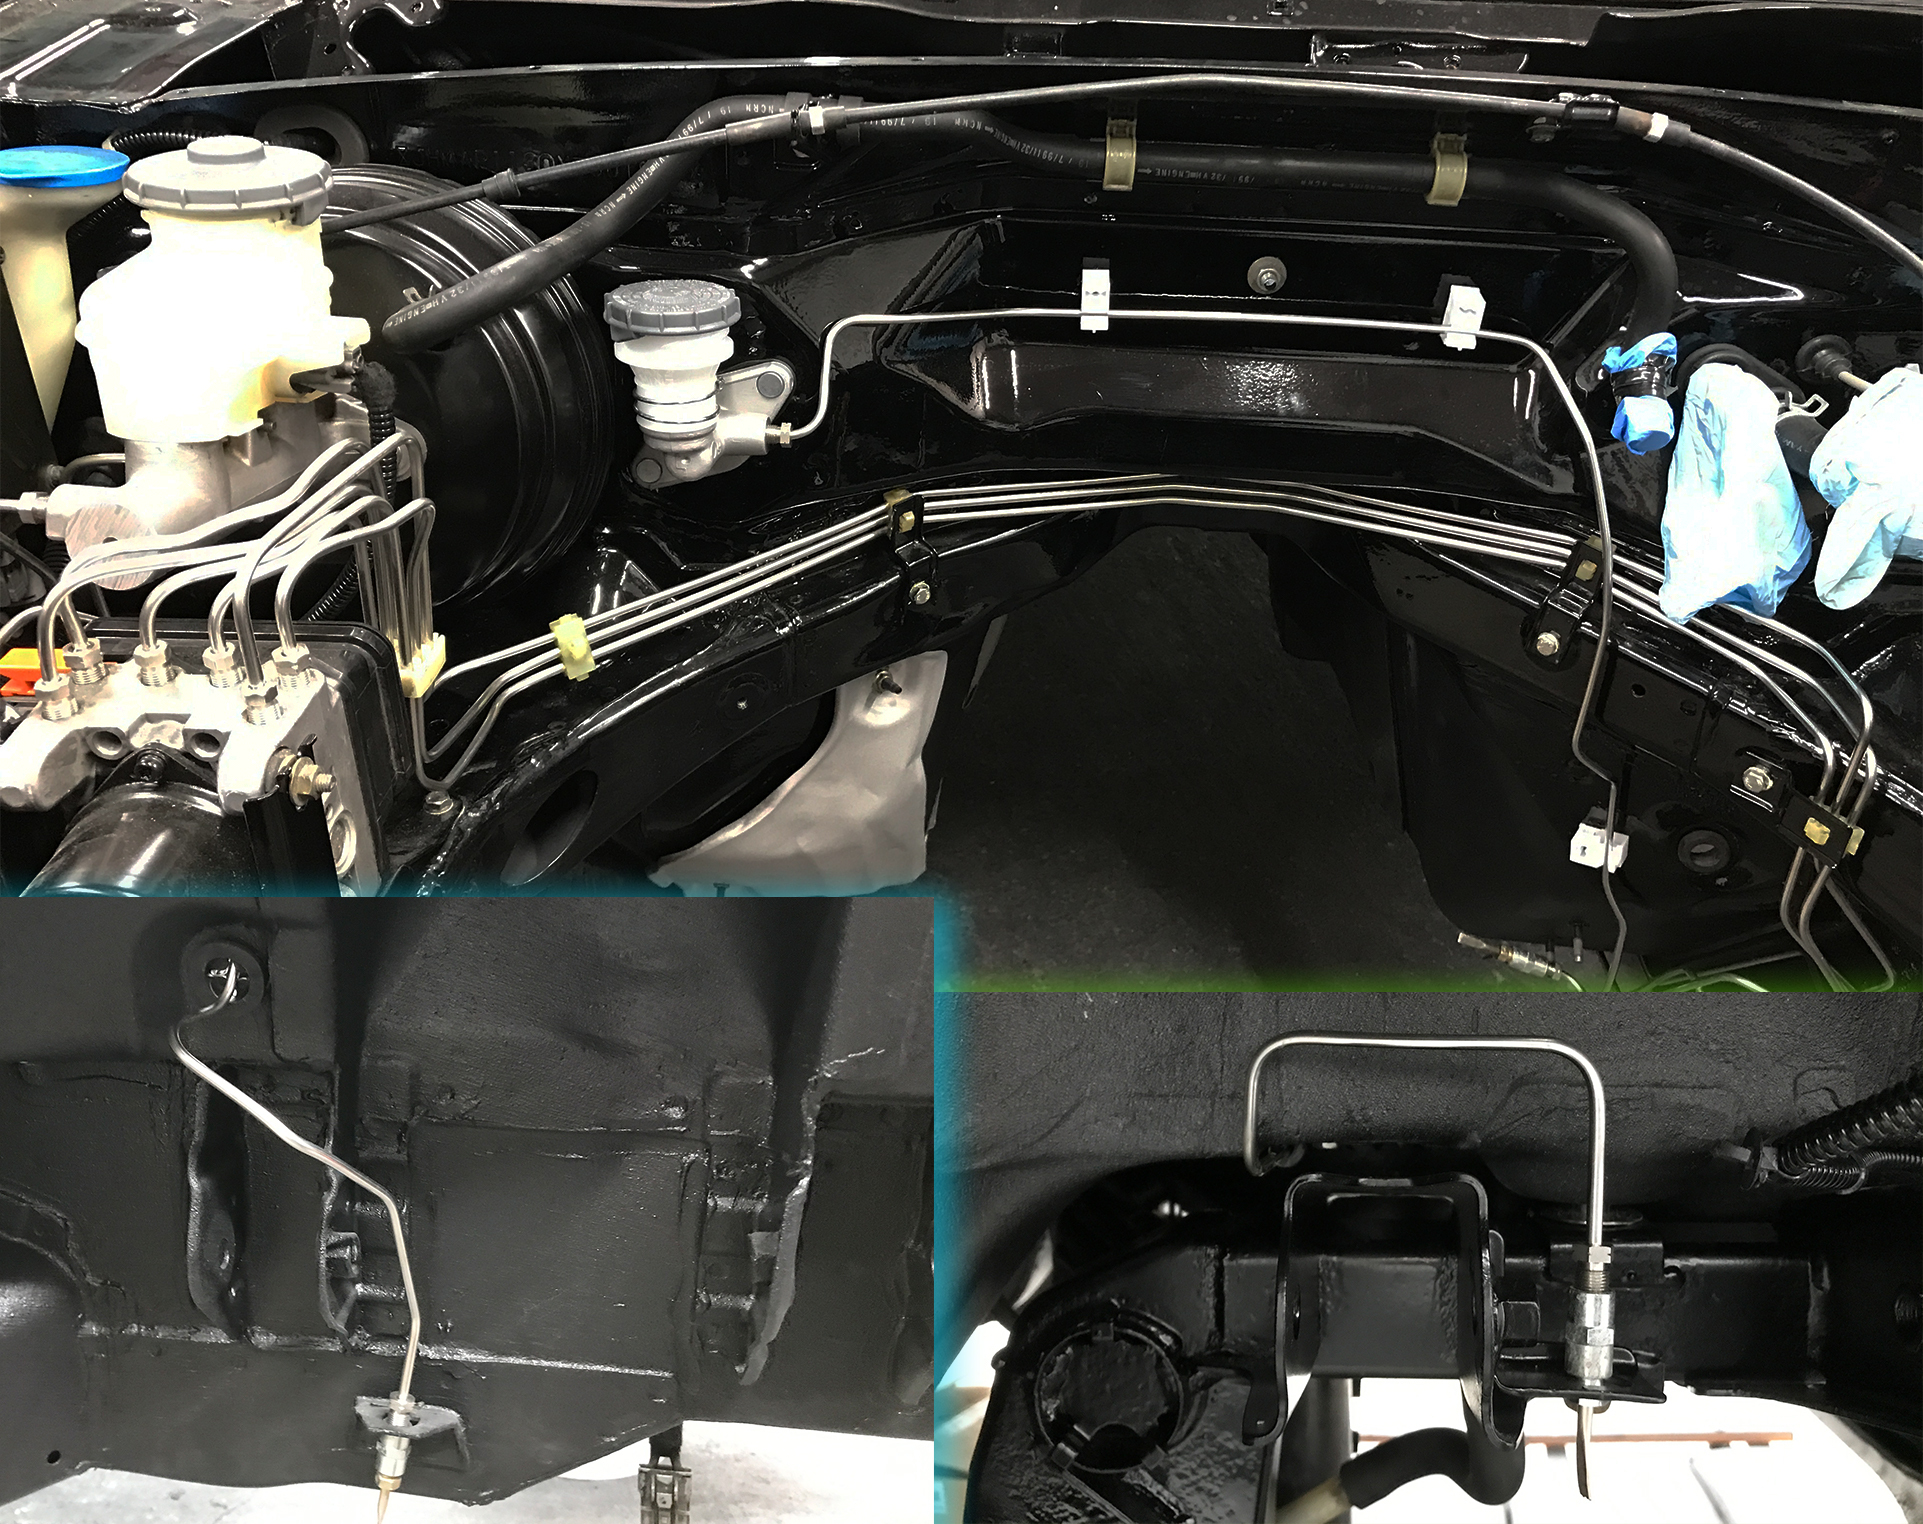
The brake lines are connected to the calipers via braided lines. I will revisit the brakes in a later chapter when I install a BBK (Big Brake Kit), so for now, I’m leaving them as they are.
It’s January, and it’s too cold to do any bodywork, so that leaves me with the next task—and perhaps a very exciting one. In the next chapter, I’ll be designing and installing the sound system—let’s give the little Honda a bit of oomph when it comes to music!

